
01Who this is for
- Founders of ecommerce brands need a way for shoppers to control tracking cookies for privacy compliance.
- Marketing managers of SaaS landing pages want to segment essential and analytics cookies to keep tracking accurate.
- Local service providers with client portals require a simple banner that only shows essential cookies to comply with regional rules.
02Cookie consent banners, explained
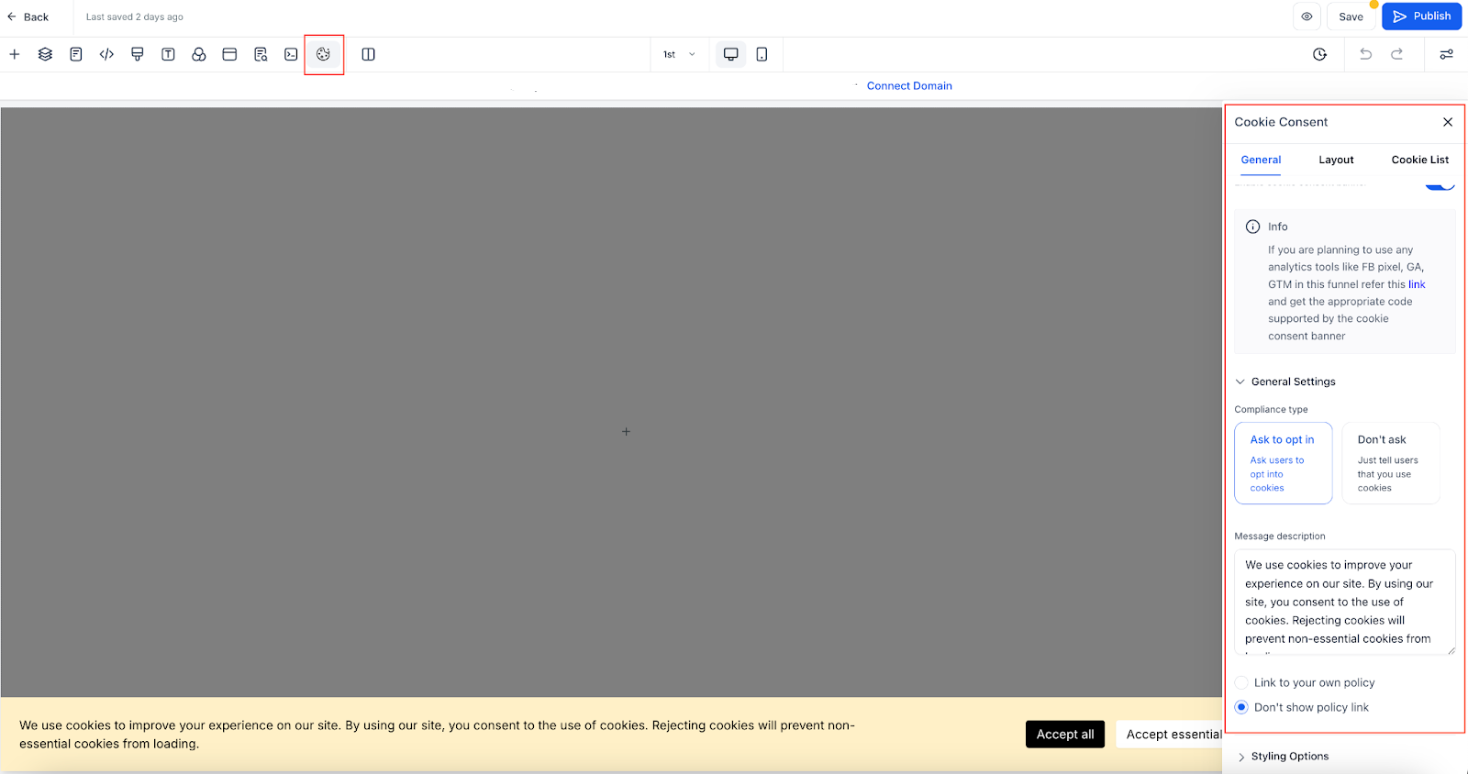
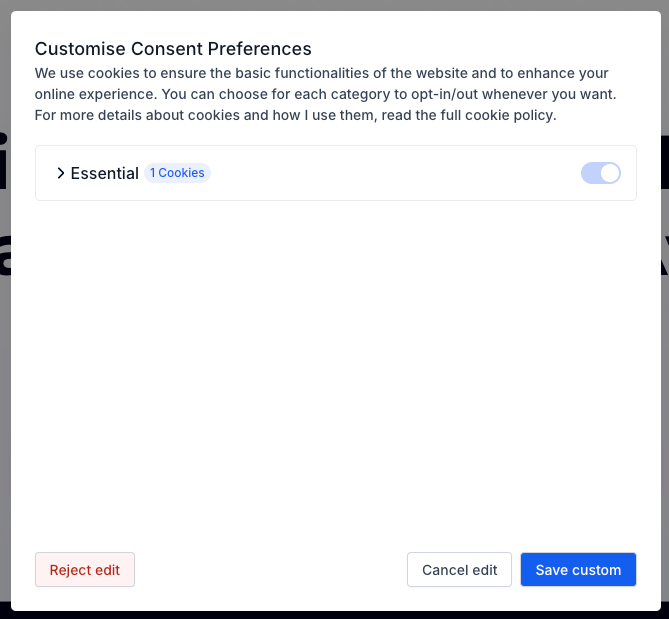
The Cookie Consent Banner appears at the top or bottom of every page in a funnel or website once it is enabled. Visitors can click buttons to accept all cookies, accept only essential ones, or open a preferences popup to choose categories. The banner works at the domain level, so the same setting applies to all steps in the funnel.
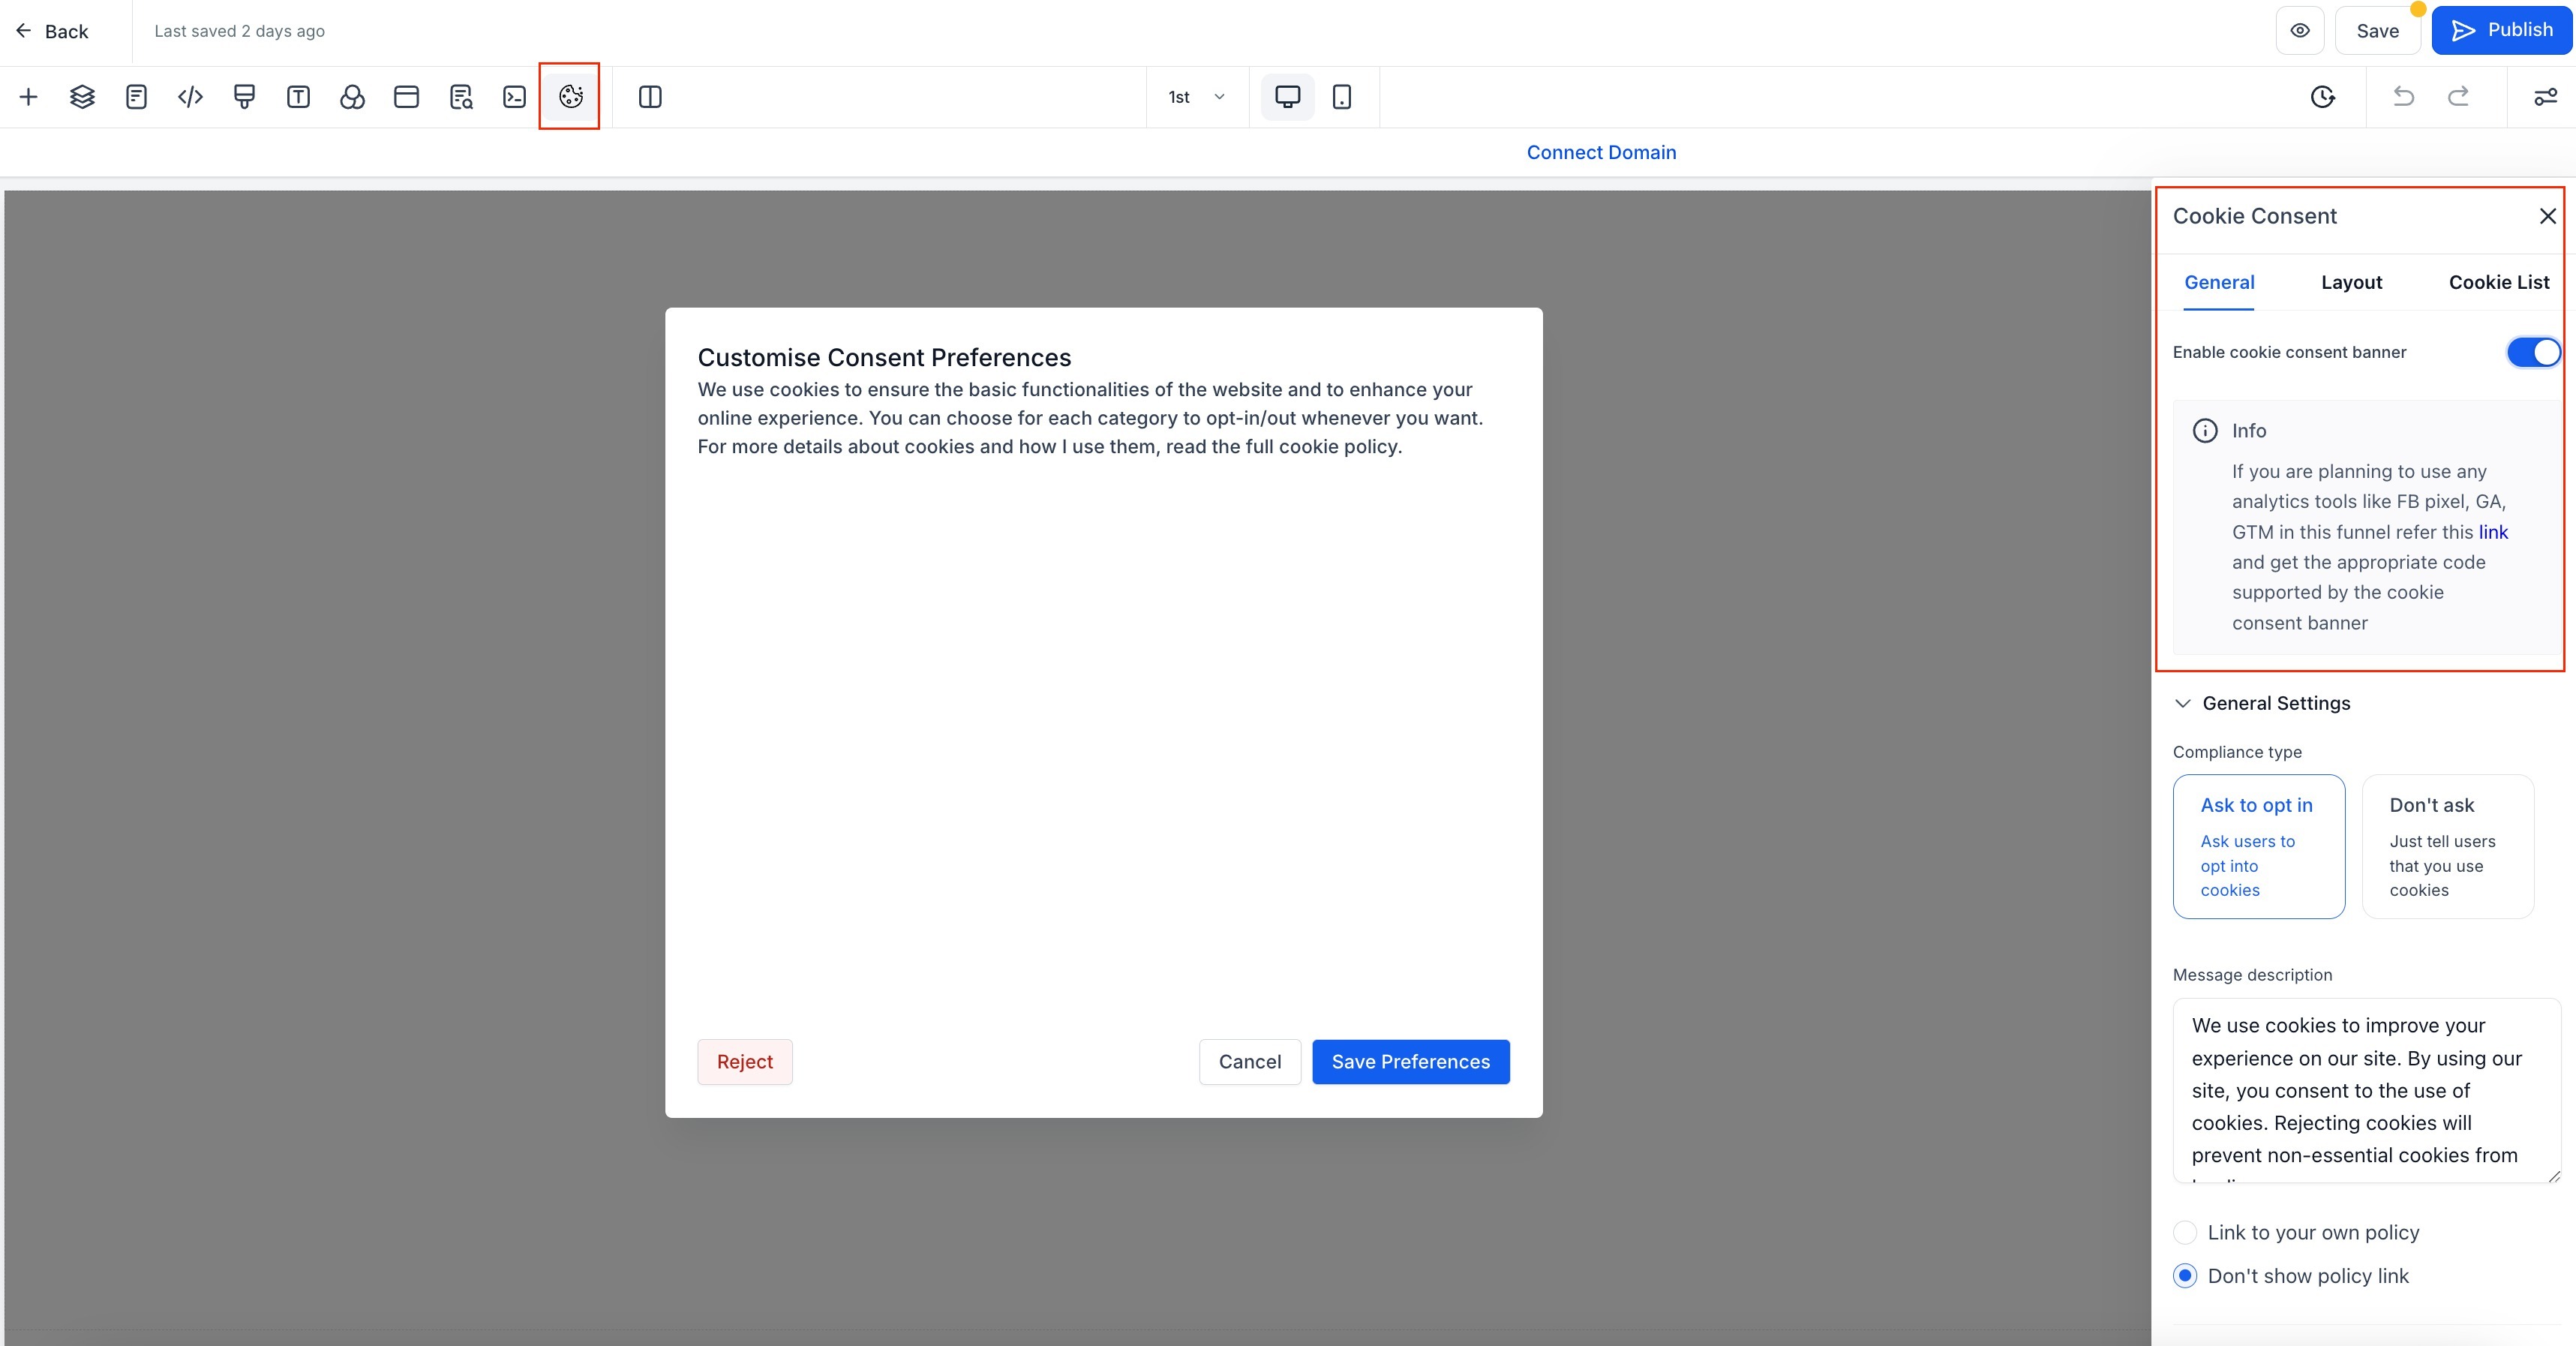
You control the banner from the Funnels & Websites Builder. An icon opens a settings panel where you can toggle the banner, edit button labels, adjust colors and fonts, set consent expiration days, and define which regions see the banner. You also manage a list of cookies, assign them to predefined categories, and use regex patterns to match groups of cookies.
03How businesses use the cookie consent banner
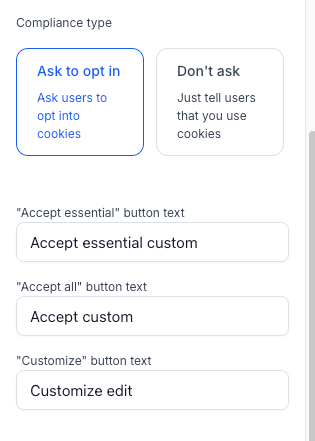
- Ecommerce store. Enable the banner on the storefront funnel, set the compliance type to "Ask to Opt In," and customize the "Accept All" and "Accept Essential" button text. This lets shoppers choose whether tracking cookies for ads and analytics are stored.
- SaaS product landing page. Activate the banner, choose the "Don’t Ask" option so only an "OK" button shows, and hide the cookie list. This provides a minimal prompt while still meeting basic privacy expectations.
- Local service provider website. Select "EU & UK" under Region Based Display Controls, edit button labels to match local language, and add the provider’s privacy policy link. The banner then appears only for visitors from regulated regions.
04The numbers and rules that matter
- Customizing button labels disables automatic translations (i18n).
05How to set up and use the cookie consent banner in HighLevel
Enable the cookie consent banner on a funnel or website
- Open the desired funnel or website in the Funnels & Websites Builder.
- Navigate to the specific page where the banner should appear.
- Click the Cookie Consent Banner Settings icon.
- Flip the toggle switch to turn the banner on.
06What it looks like in HighLevel

07Settings that matter
- Cookie list. Turns the list of selectable cookie categories on or off for visitors.
- Compliance type. Determines whether the banner shows "Accept Essential" and "Accept All" buttons or only a single OK button.
- Consent expiration. Specifies how many days must pass before the banner asks for consent again.
- Region, Based Display Controls. Limits banner visibility to worldwide visitors, only EU & UK, or a manually selected set of countries.
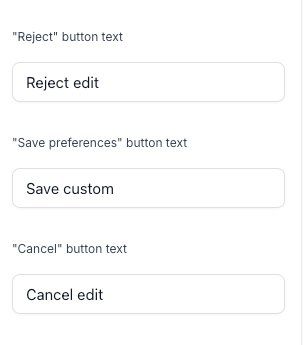
- Button label text. Allows editing of all button captions in the banner and the preferences popup; disables automatic translations when changed.
08Things to know before you rely on it
- Custom button labels stop automatic i18n translations; you must add translations manually.
- The banner does not guarantee compliance with any specific privacy law.
- Users cannot modify their cookie preferences after the initial selection.
- Scanning for cookies requires temporarily disabling the banner, otherwise non essential cookies are blocked.
09How it connects to the rest of HighLevel
- Add tracking code to funnels and websites Add tracking code
- HighLevel website setup overview Website setup
- HighLevel pricing and plans Pricing
Michael's take

The cookie consent banner feels like a small convenience that can turn a vague compliance effort into a visible, user friendly control. It gives you a single place to manage consent without building a custom solution from scratch.