
01Who this is for
- Marketing agencies, improve the polish of landing pages by adding depth to headings and buttons.
- Ecommerce store owners, make product images and call to action buttons stand out with subtle shadow effects.
- Coaches and consultants, highlight testimonial text and section headings for clearer visual hierarchy.
02Shadows, explained
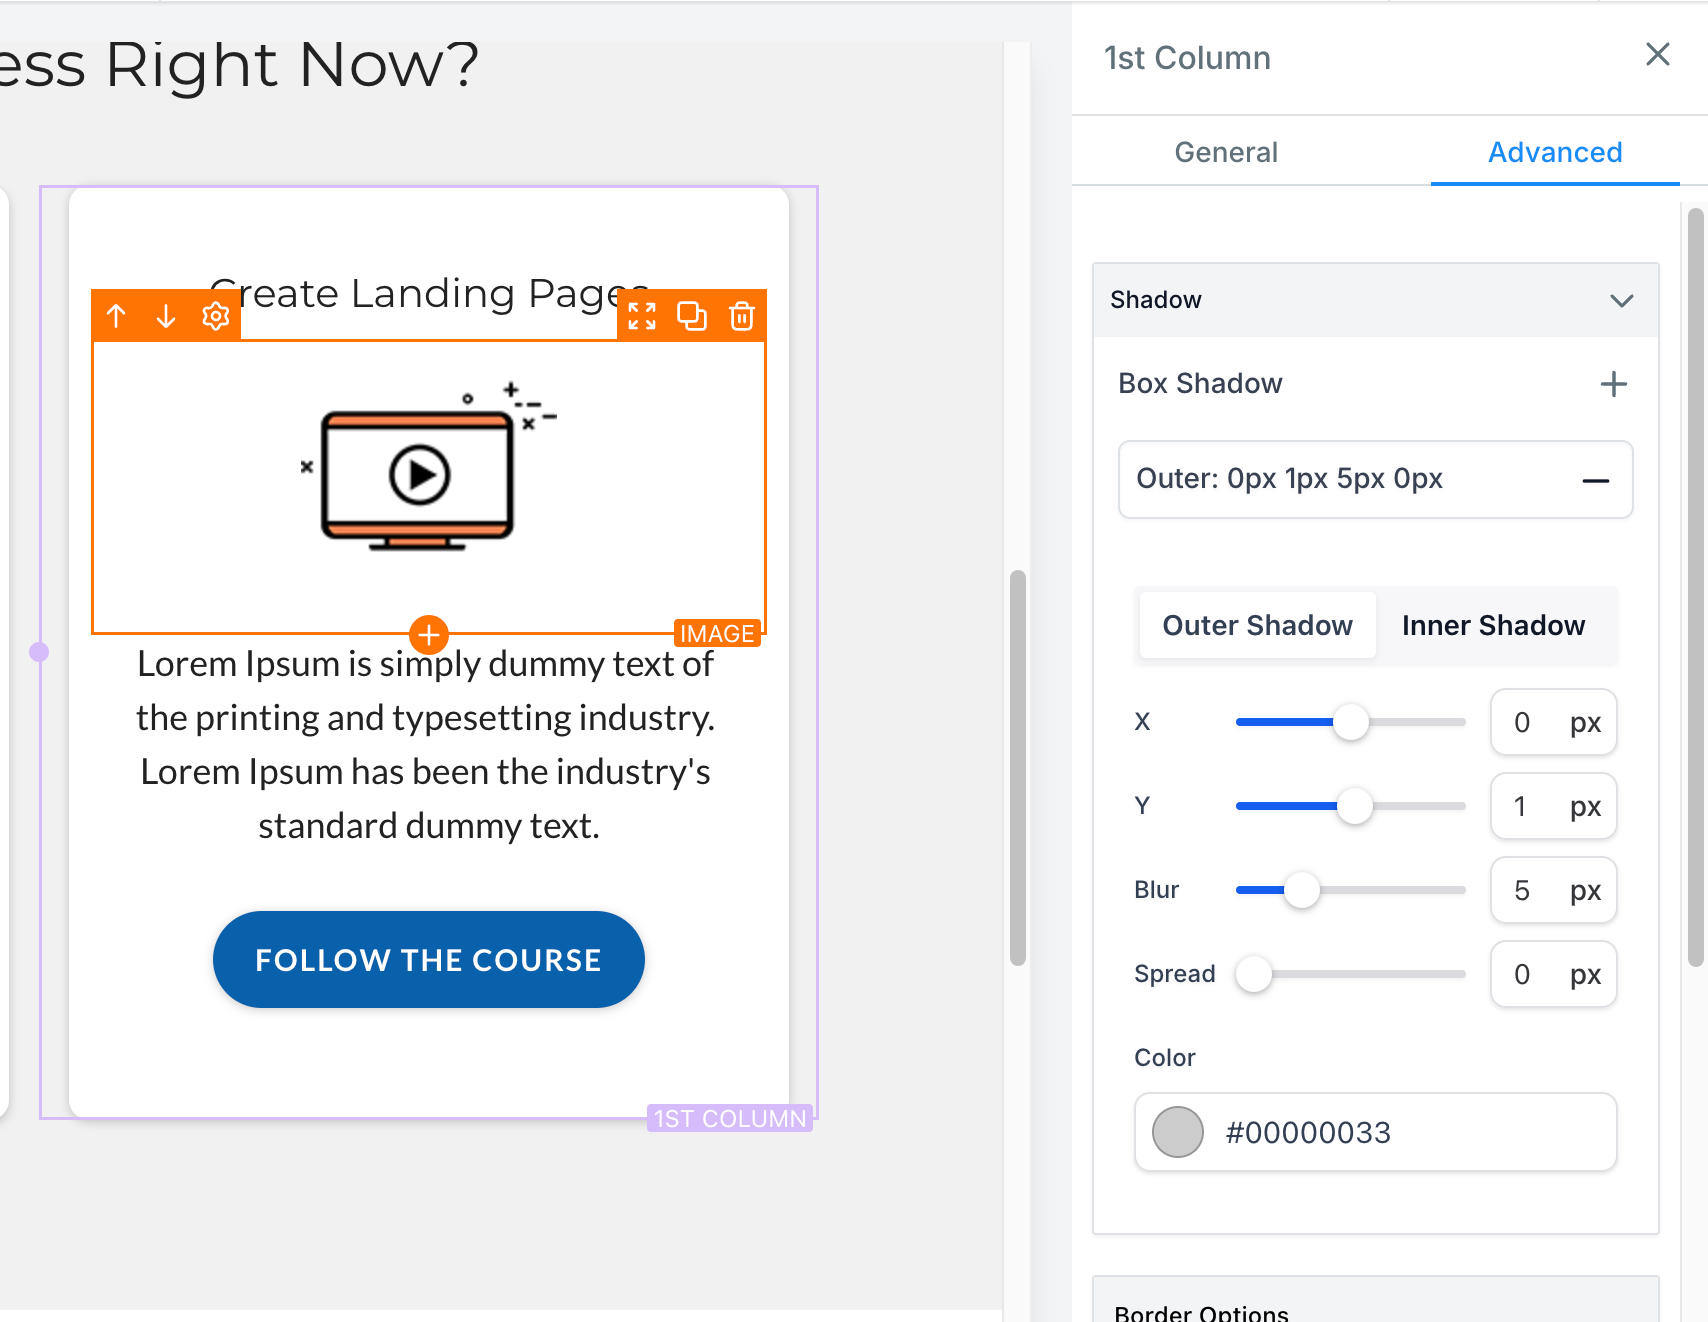
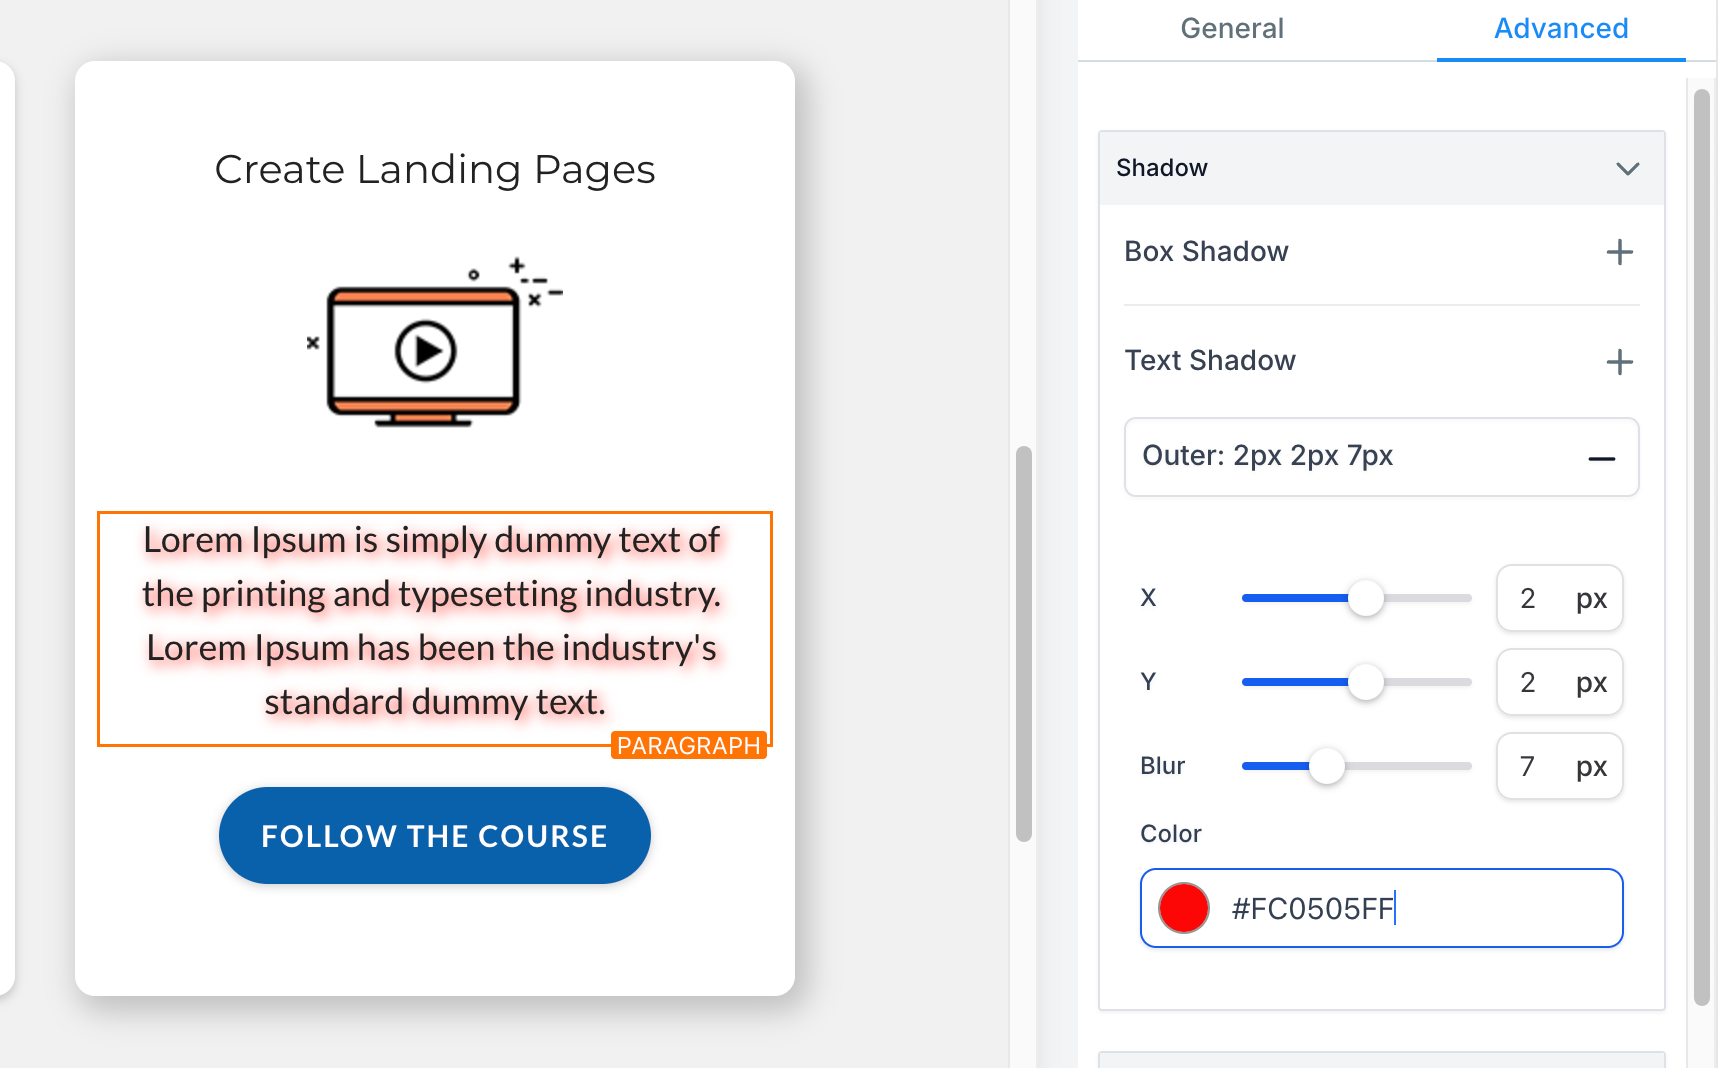
The shadow feature lives inside the Advanced tab of the Funnels and Websites Builder Editor. It introduces two separate sections, one for box shadows and another for text shadows, each with a plus button to add a new effect. When you click the plus, a default outer shadow appears with preset values that you can immediately see on the element.
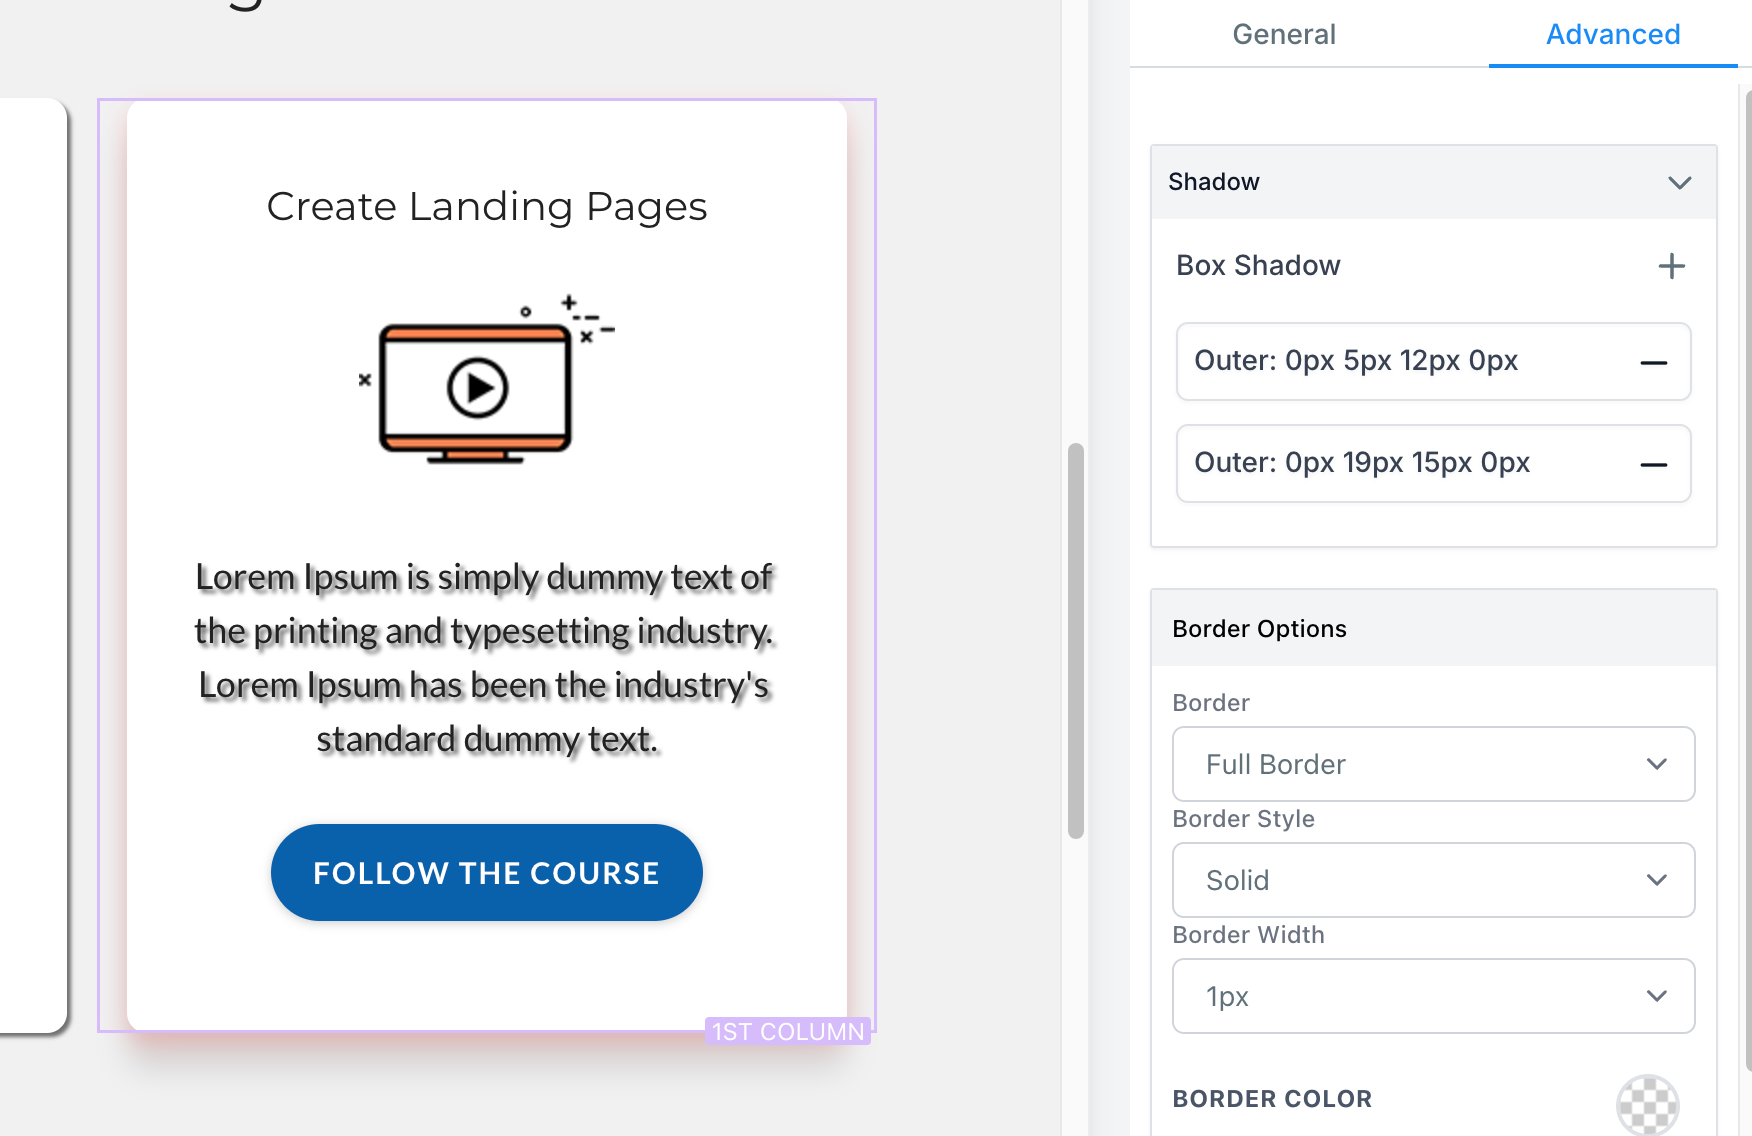
Each shadow can be customized individually. You decide whether the shadow is outer (appears outside the element) or inner (appears within the element’s bounds). Then you set the horizontal offset (X), vertical offset (Y), blur intensity, spread size and color. Multiple shadows can be stacked on the same element by adding more entries.
The editor updates in real time, so you see how each adjustment changes the visual depth. Text shadows are limited to text based elements, while box shadows work on any component such as images, buttons, paragraphs or headings.
03How businesses use shadows
- Digital marketing agency. A designer opens the Advanced tab for a checkout page, adds a box shadow to the submit button, and tweaks the blur and color to match the brand palette. The agency also adds a subtle text shadow to the headline for extra emphasis.
- Online boutique. The store owner selects a product image, applies a default outer box shadow, then adjusts the spread and color to create a lifted look effect that draws attention without any coding.
- Business coach. The coach edits a testimonial section, adds a text shadow to the client quote, and fine tunes the X and Y values to create a gentle depth that separates the quote from the background.
04How to set up and use shadows in HighLevel
Add and edit shadows on an element
- Open the funnel or website in the builder and switch to the Advanced tab.
- Click the shadow heading at the top to reveal the shadow editor dropdowns.
- Press the plus button next to either Box Shadow or Text Shadow to select the type you need.
- Note: Text shadow can only be applied to text based elements.
- A default outer shadow appears; modify its parameters or leave it as is.
- Press the plus button again to add additional shadow layers to the same element.
- Select a shadow entry and change its outer/inner setting, X offset, Y offset, blur, spread and color.
05What it looks like in HighLevel
06Settings that matter
- Outer/Inner. Determines if the shadow appears outside the element (outer) or inside its edges (inner).
- X value. Sets the horizontal distance of the shadow from the element.
- Y value. Sets the vertical distance of the shadow from the element.
- Blur. Controls how soft or sharp the shadow edges look.
- Spread. Expands or contracts the size of the shadow area.
- Color. Defines the shade of the shadow to match the design palette.
07Things to know before you rely on it
- Text shadows can only be applied to text based elements.
08How it connects to the rest of HighLevel
- Overview of HighLevel website builder features Website overview
- Add tracking code to funnels and websites in HighLevel Add tracking code
Michael's take

Many businesses find that flat looking pages don’t capture attention. Adding shadows provides a quick visual hierarchy and can make calls to action stand out without a full redesign.
The first setting to decide is outer vs inner. Choose whether you want the element to appear lifted or recessed, then fine tune the X, Y, blur and spread values to match your brand’s depth feel.