
01Who this is for
- Agency owners who need to deliver client branded mobile apps without hiring developers, because the tool automates build and publishing.
- Marketing teams that want a consistent mobile presence for their brand, using custom icons, colors, and navigation.
- Product managers who require internal testing builds before a public launch, leveraging internal release tracks.
02Self Service Whitelabelled Mobile App Customizer, explained
The customizer provides a guided flow that starts with app creation and ends with a live store release. Users enter an app name and domain, and the system generates unique package and bundle identifiers for Android and iOS. Branding assets such as icons, splash screens, and fonts are uploaded, and the navigation layout is set with module toggles.
All settings are organized under clear menu paths. Branding lives under Customisation > Branding, store metadata under Distribution > Profile, and store connections under Distribution > Channels. After selecting a subscription plan, the first app is created, a build is generated, and the release track, Internal for testing or Production for public launch, is chosen. Build status is shown live, and failed builds can be inspected and retried.
03How businesses use self service whitelabelled mobile app customizer
- Digital marketing agency. The agency opens the customizer, adds its client’s logo and colors, selects core modules like Conversations and Calendar, and creates an internal build to test on staff devices. Once approved, the agency releases the production build to the app stores.
- Fitness studio. The studio configures its brand assets, adds the POS module to enable tap to pay, fills the store listing details, and generates a production build. The app appears in the stores with the studio’s branding and payment capability.
- Legal consultancy. The consultancy uploads its logo, sets brand fonts, organizes modules into the app drawer, connects its Apple and Google accounts, and creates an internal build for a pilot group. After validation, the consultancy launches the production version.
04Before you start
- Have a valid D U N S number for Apple.
- Own an Apple Developer Program organization account with App Store Connect access.
- Own a Google Play Console organization account.
- Subscribe to the Custom Agency App plan in HighLevel monthly or quarterly.
- Host public URLs for a privacy policy and terms and conditions.
05How to set up and use self service whitelabelled mobile app customizer in HighLevel
Set up the self service customizer
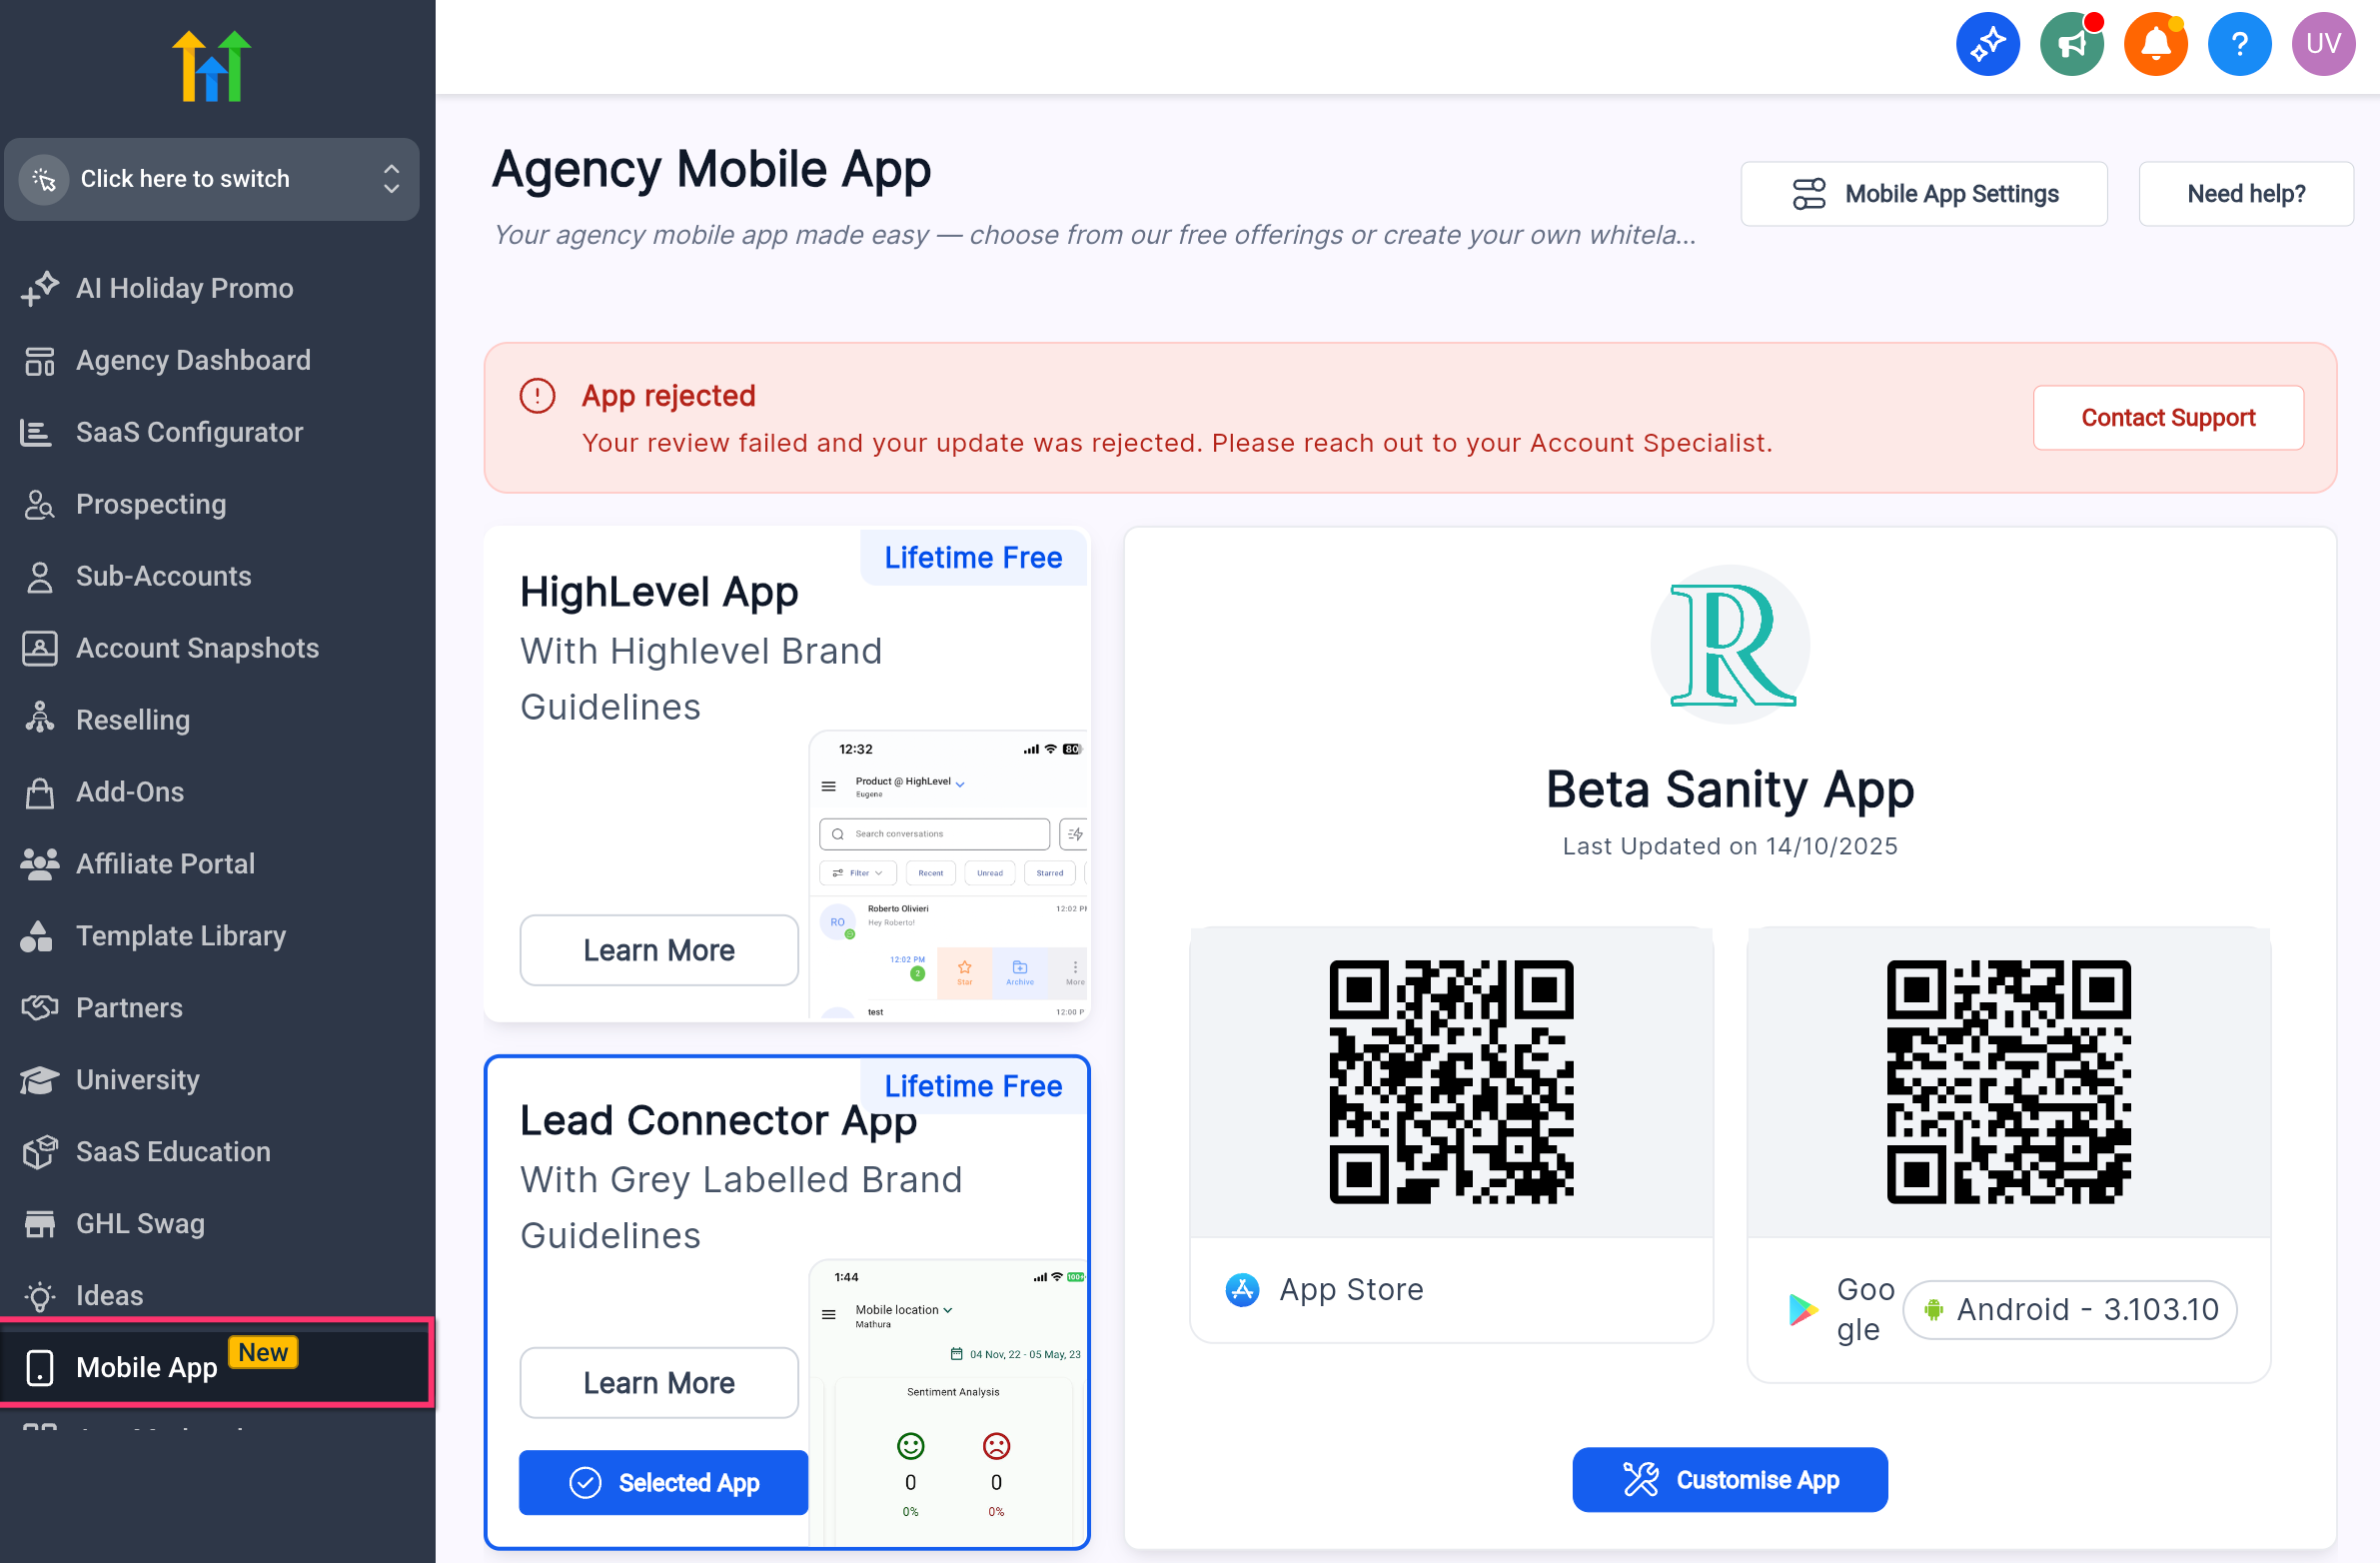
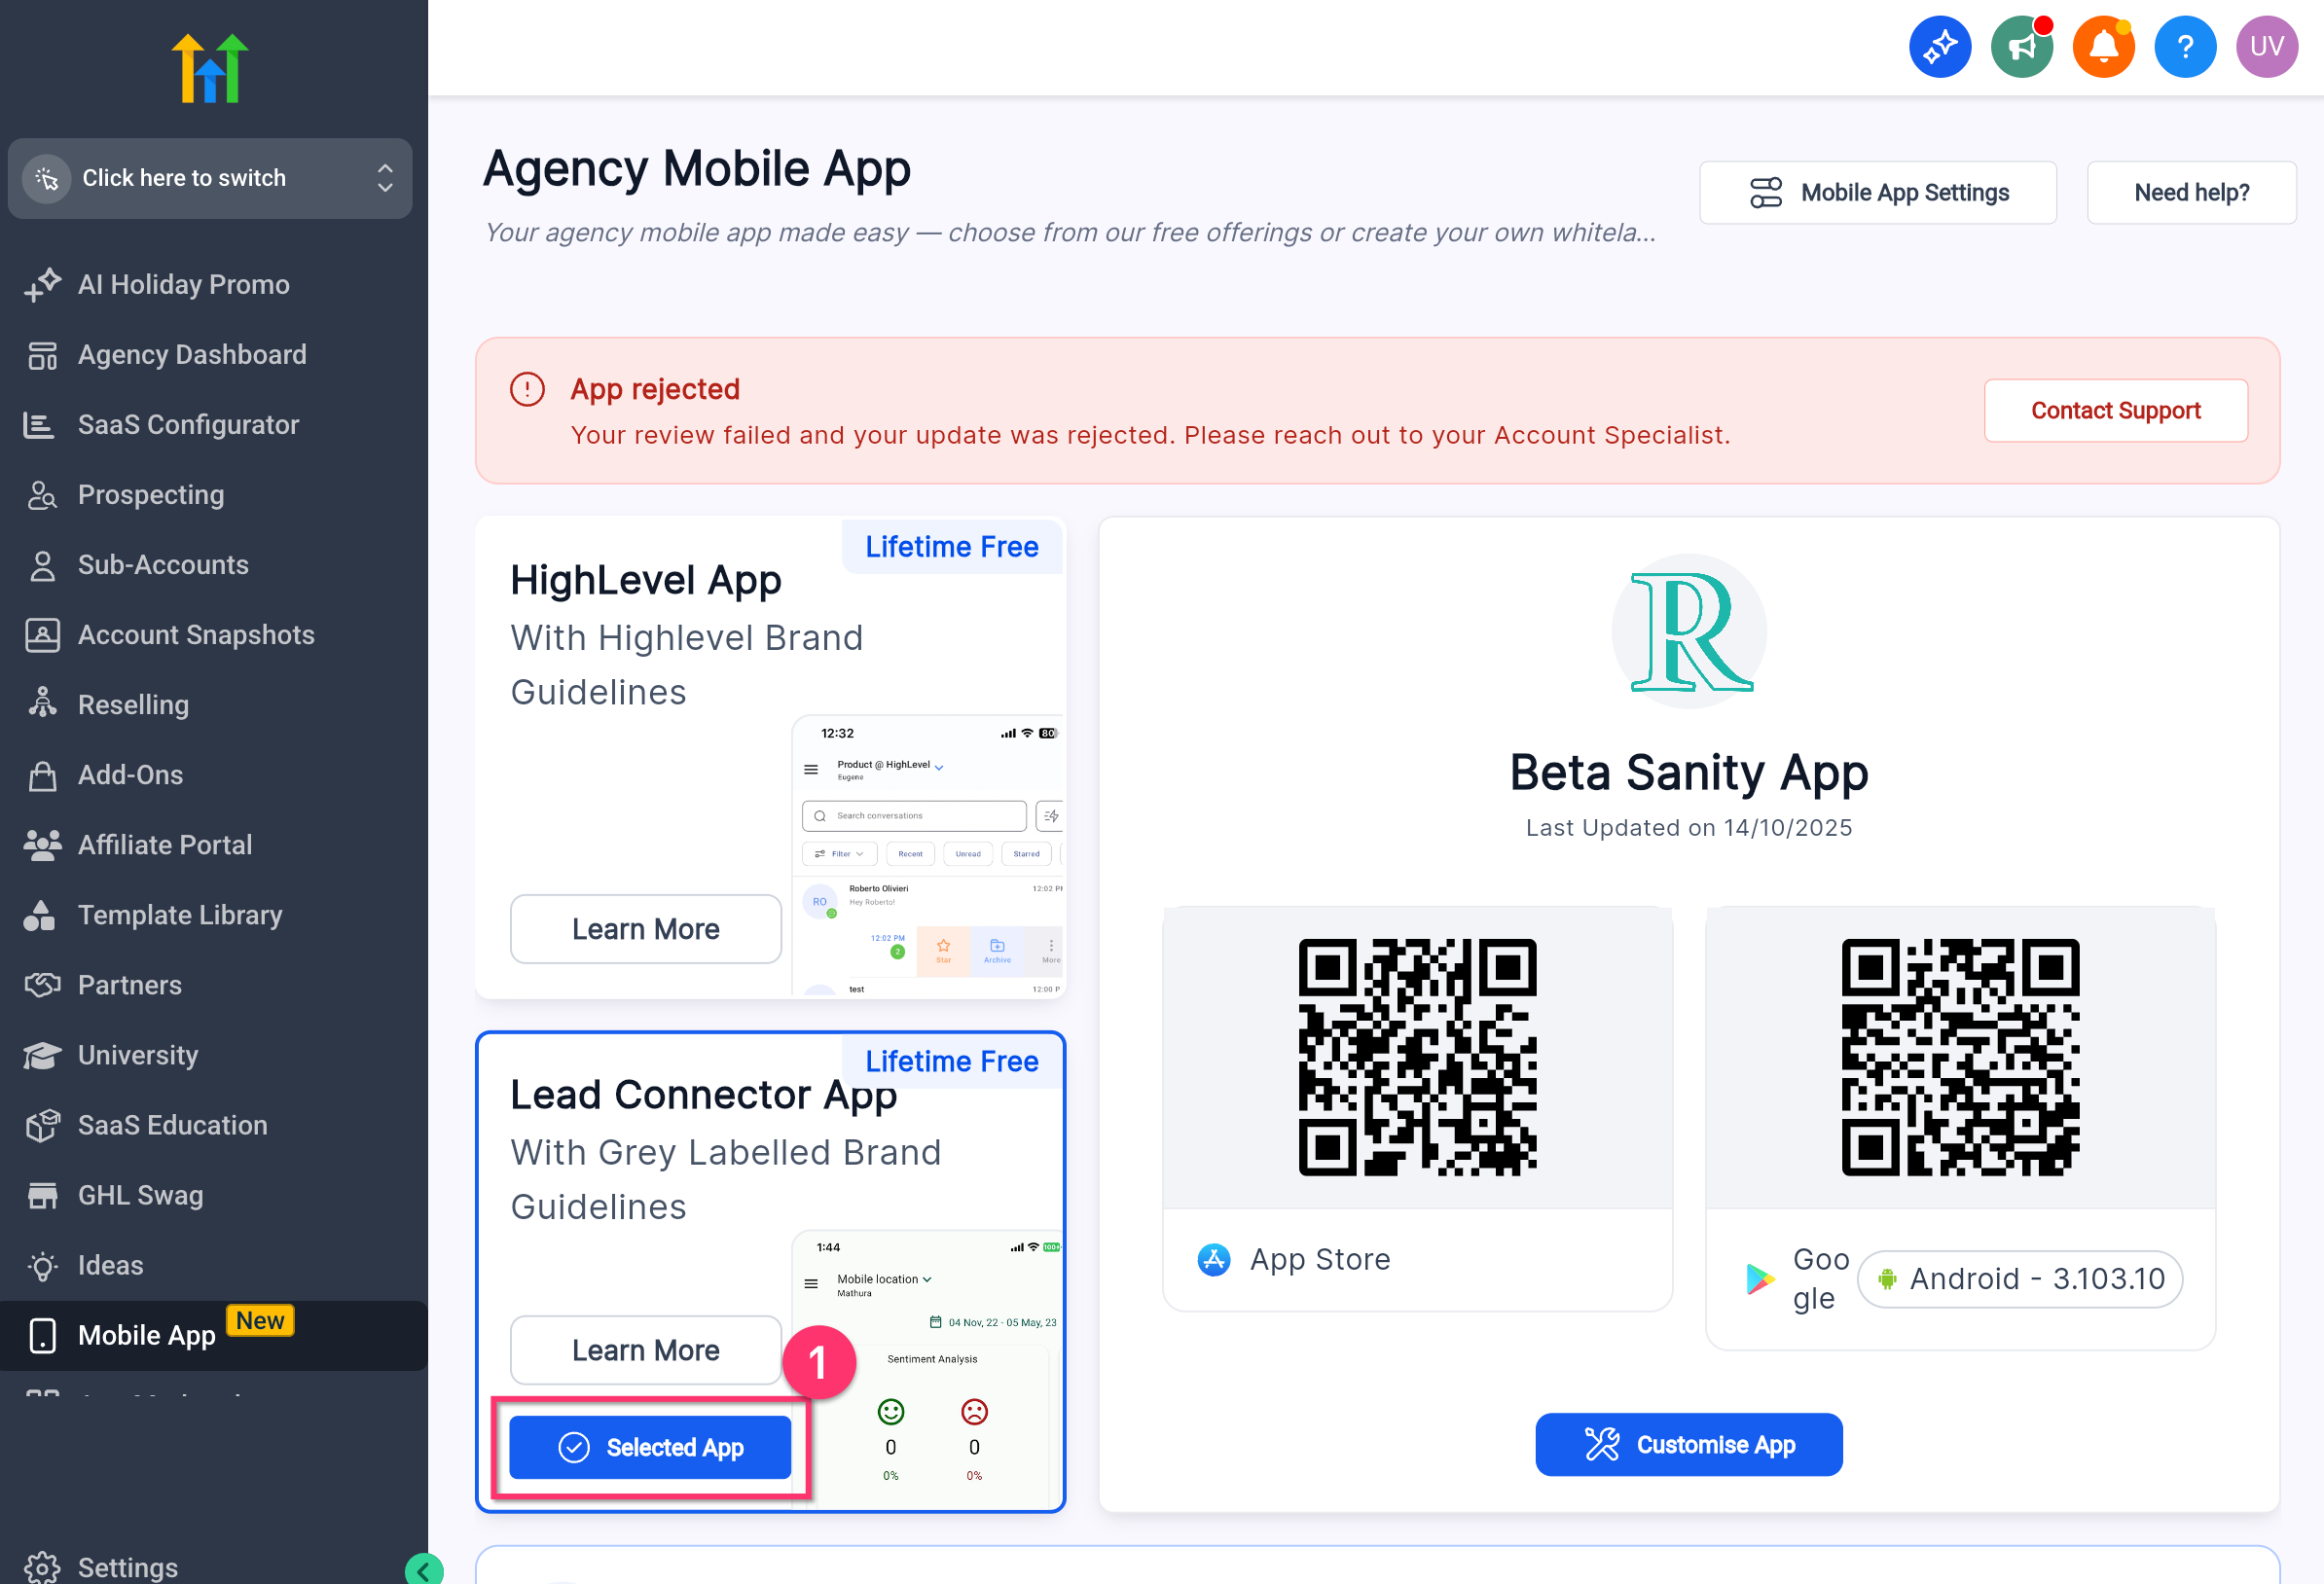
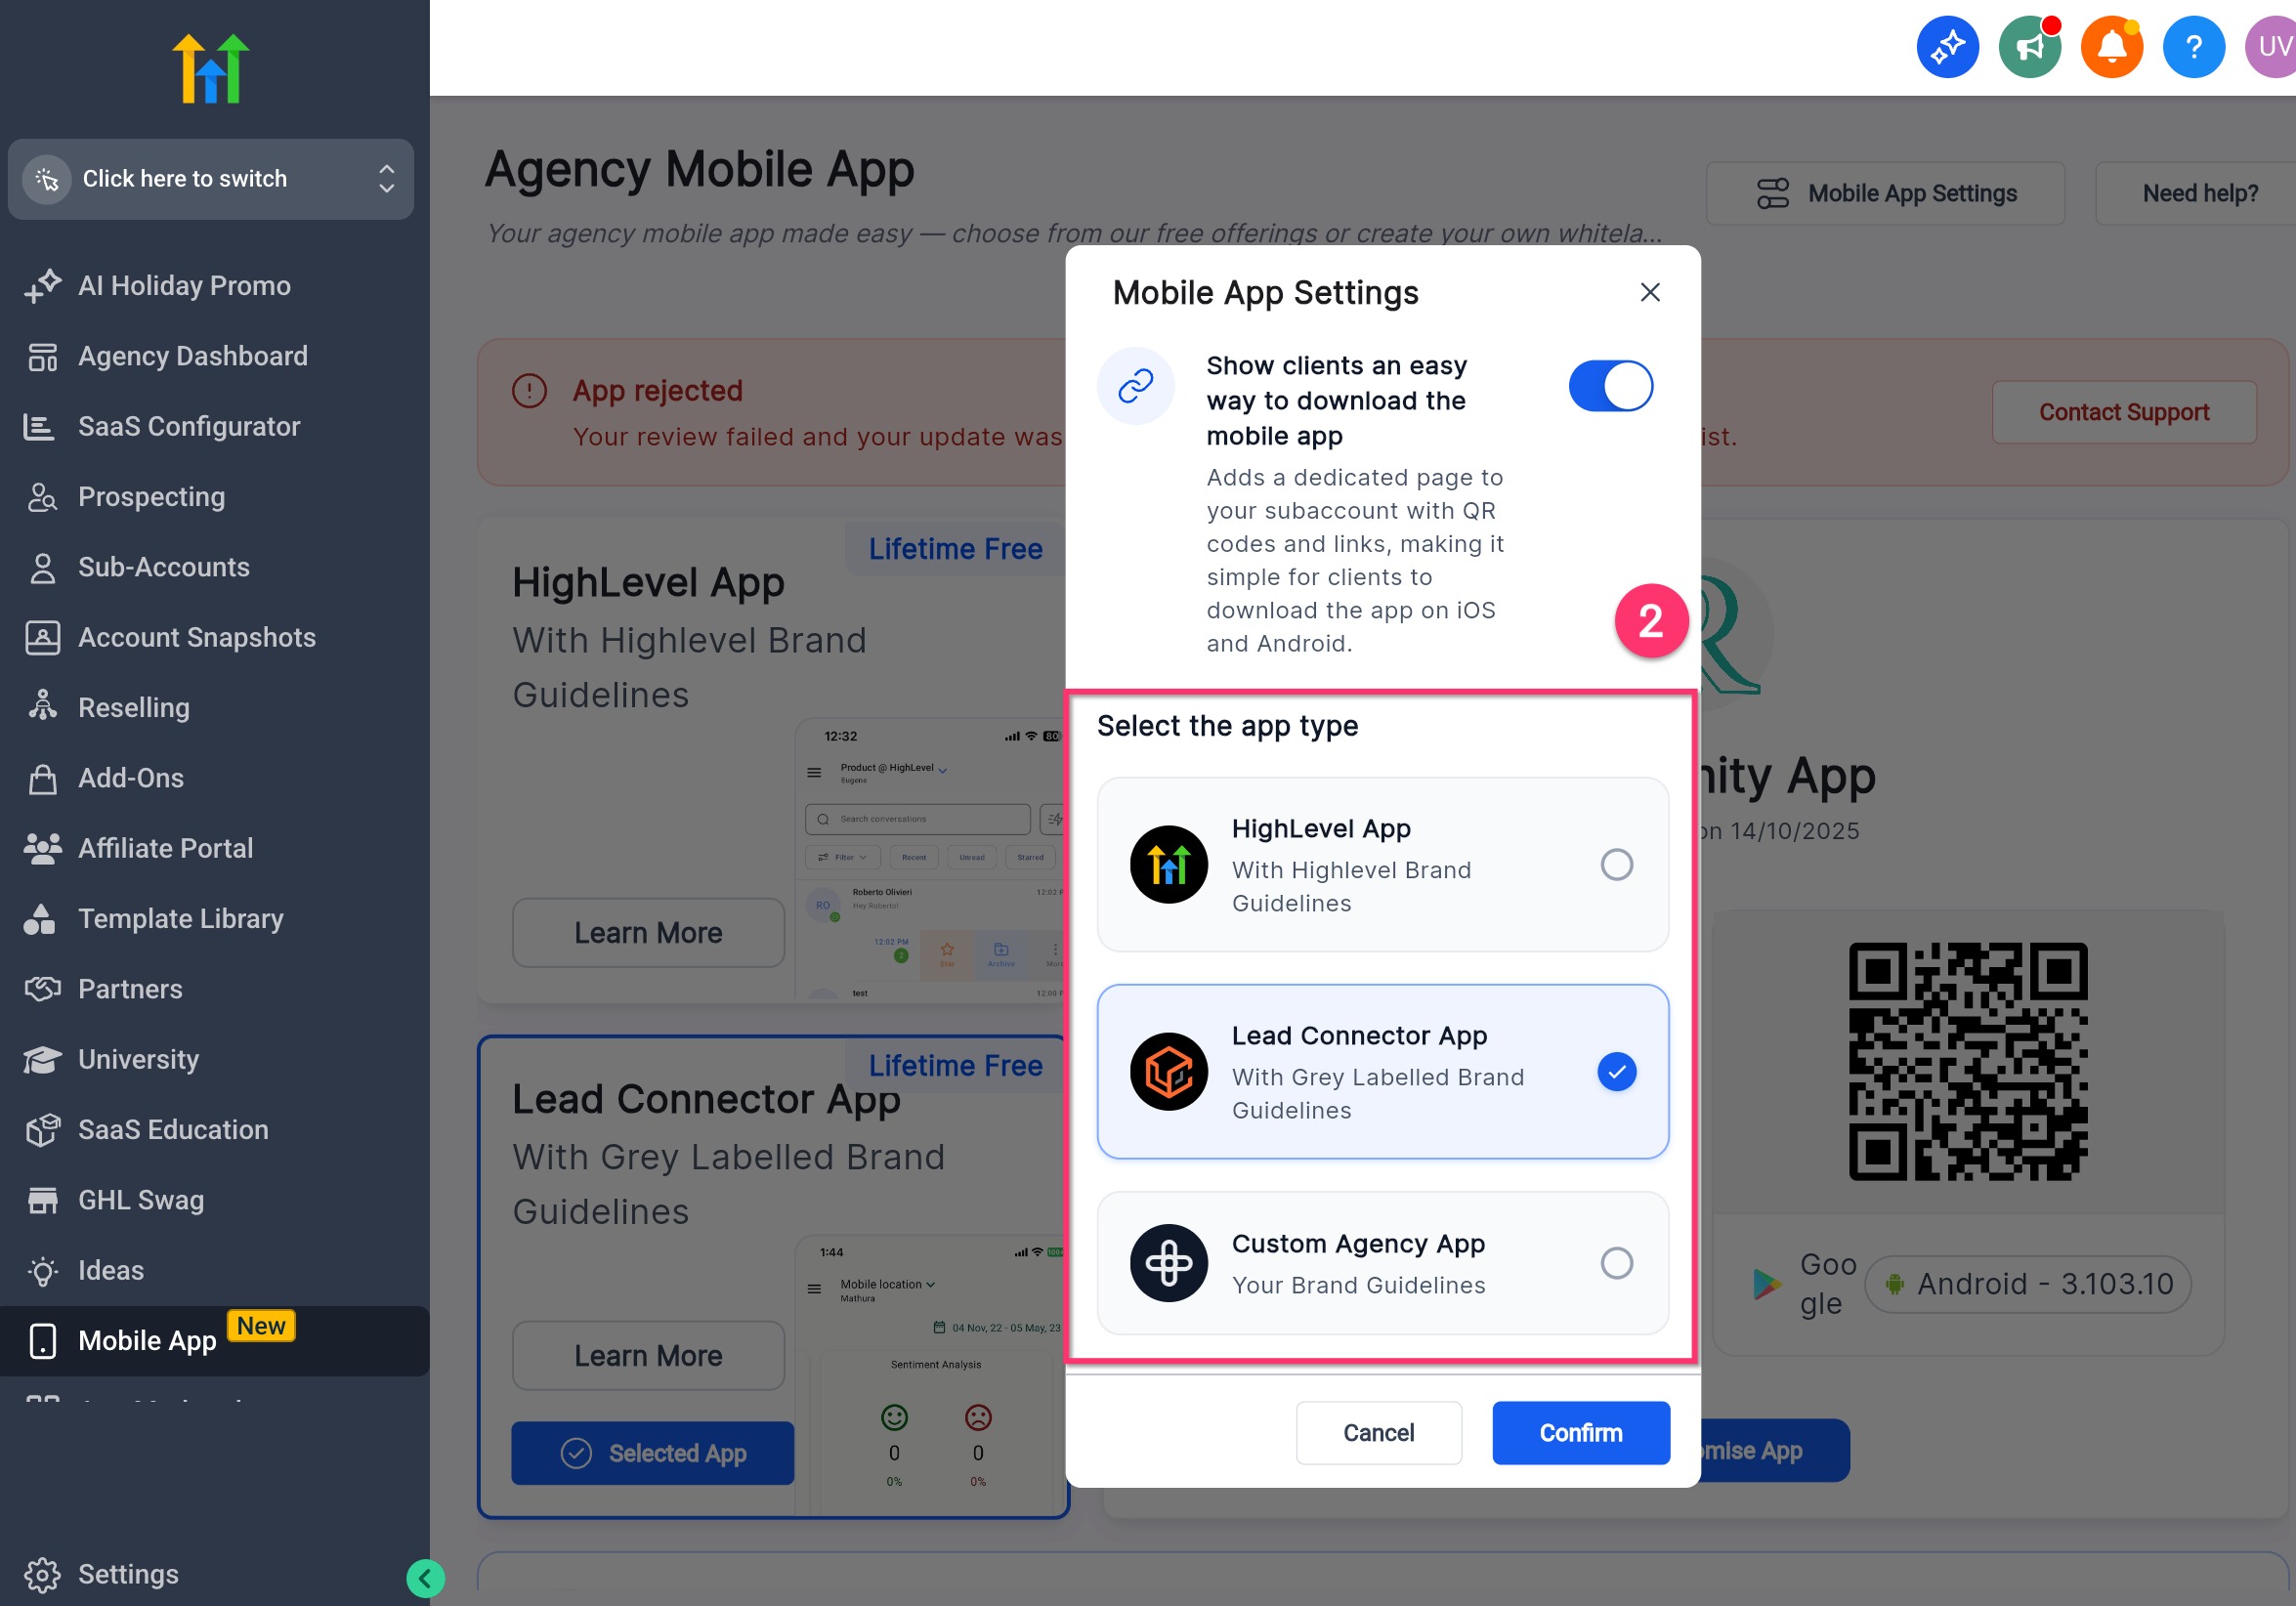
- Open the Customizer by navigating to the Agency view and clicking Mobile App.
- Select the app icon, enter the App Name and Domain Name, and let the system generate a unique package or bundle identifier.
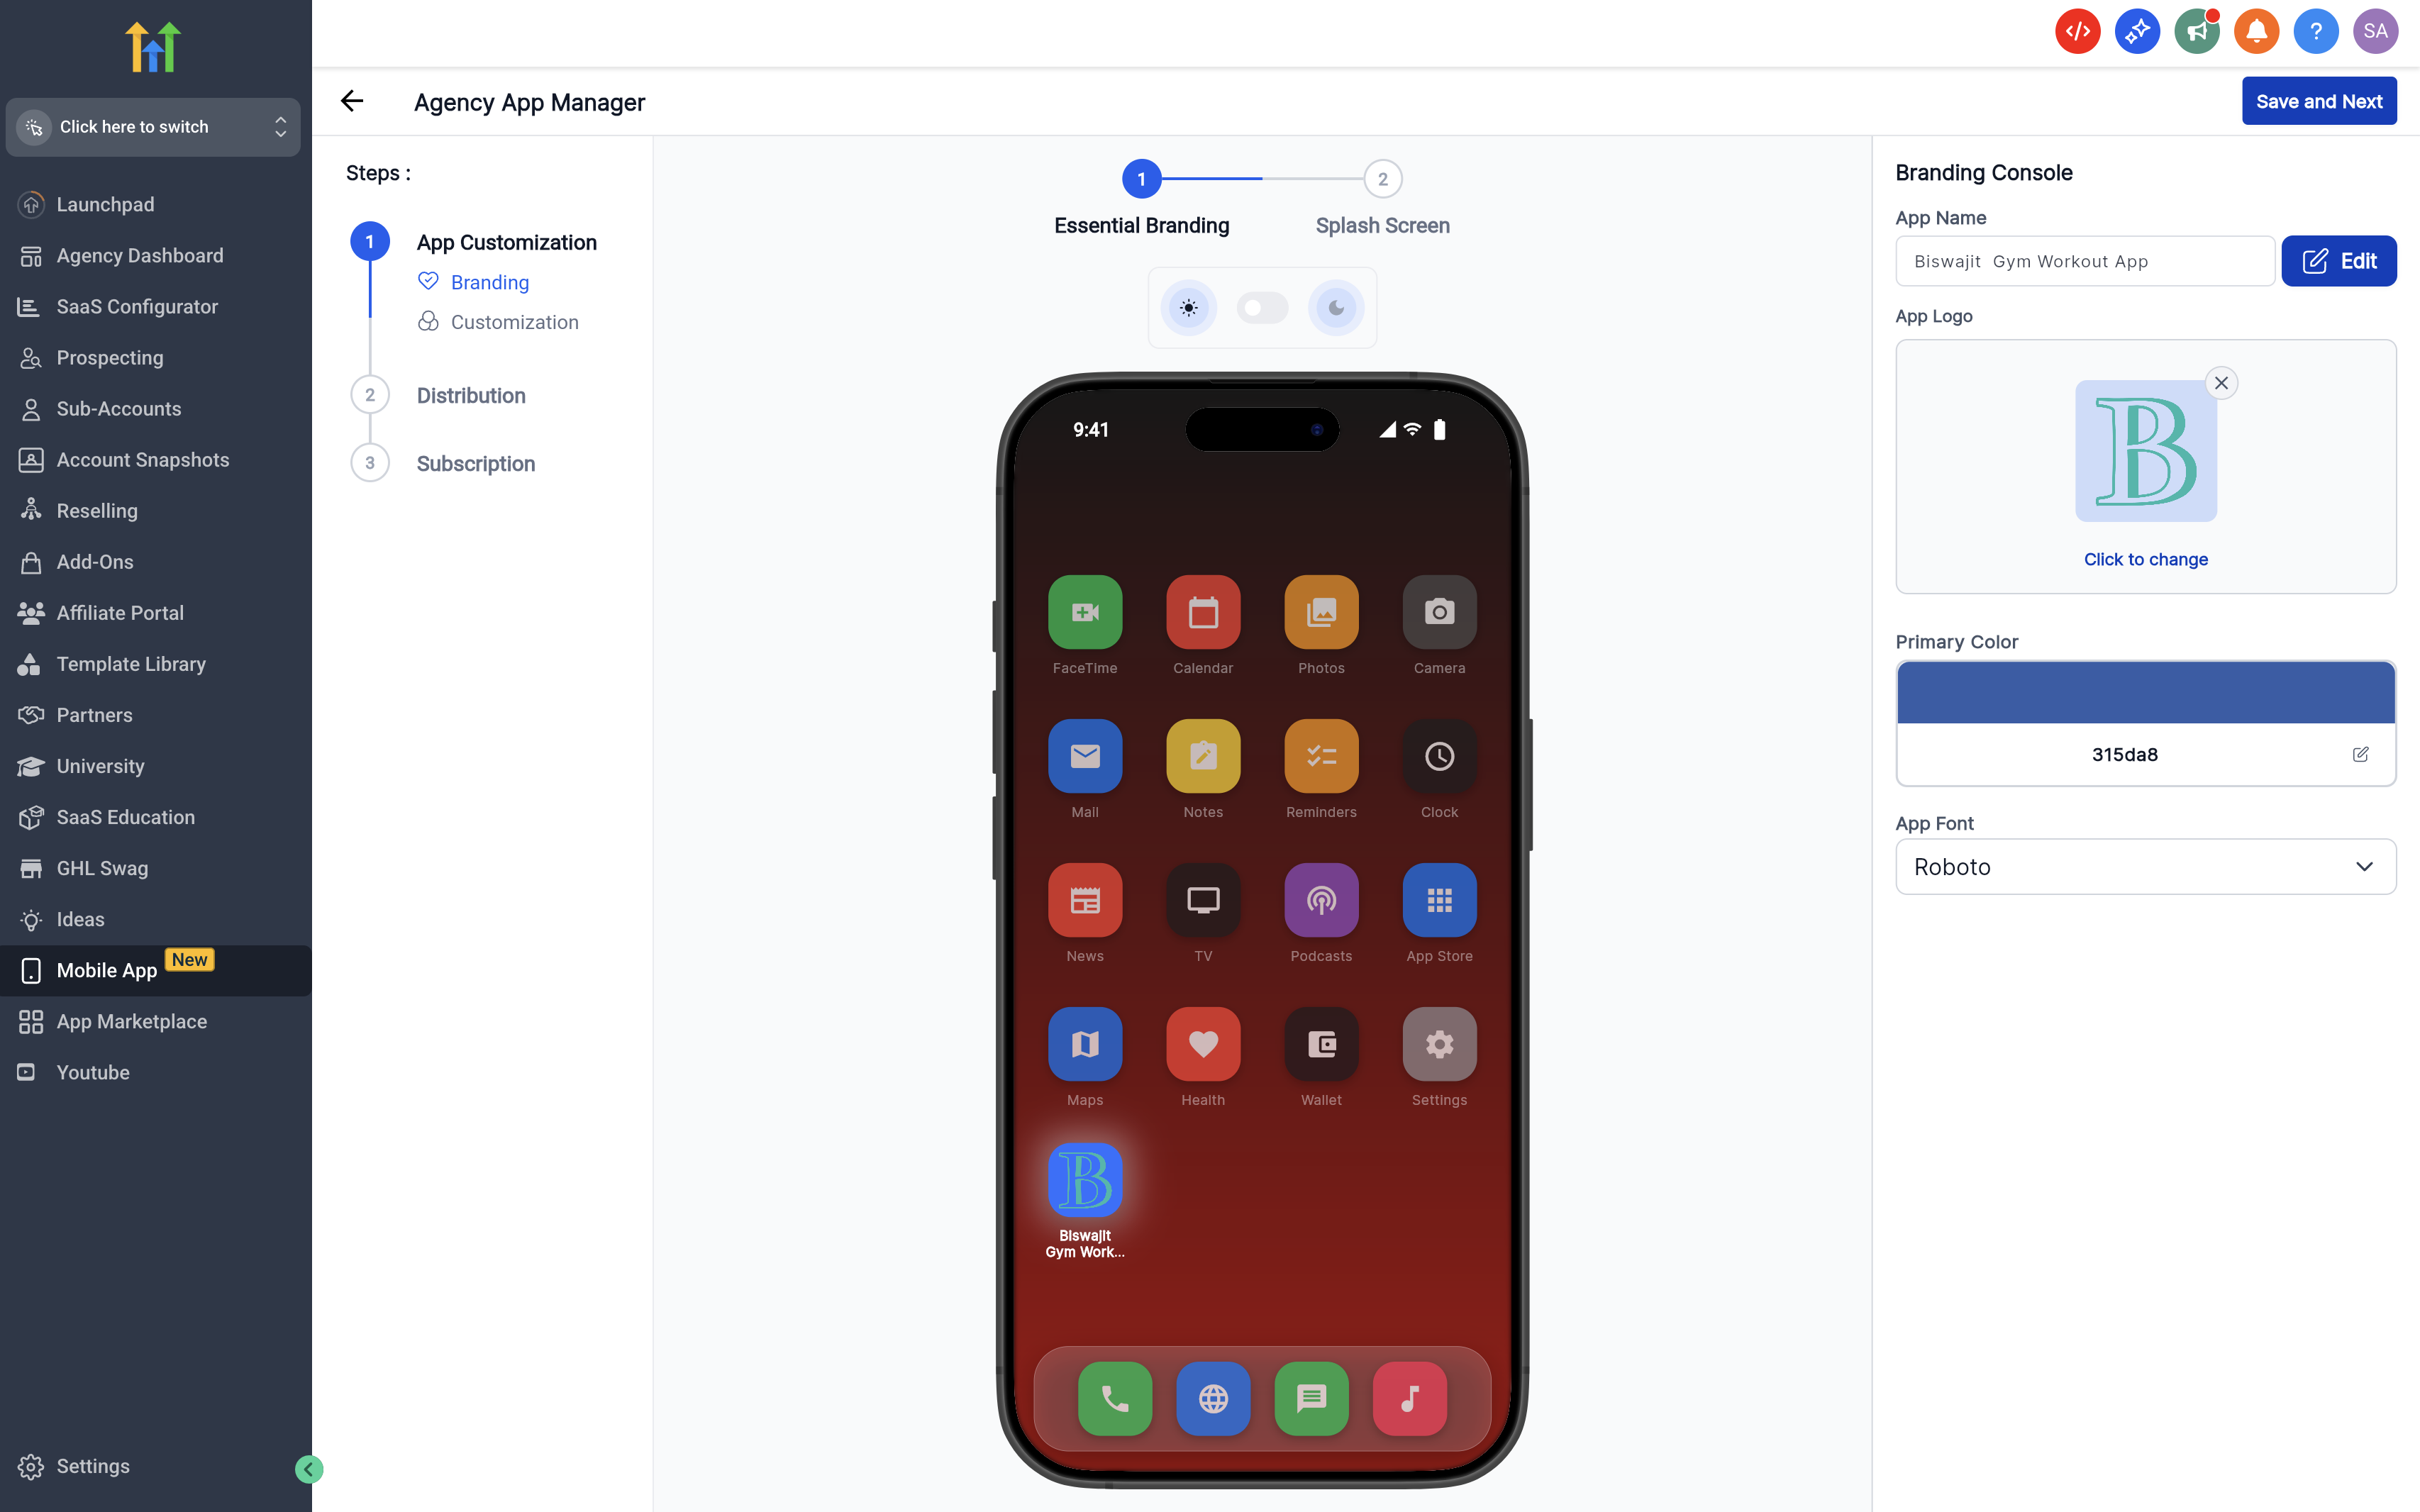
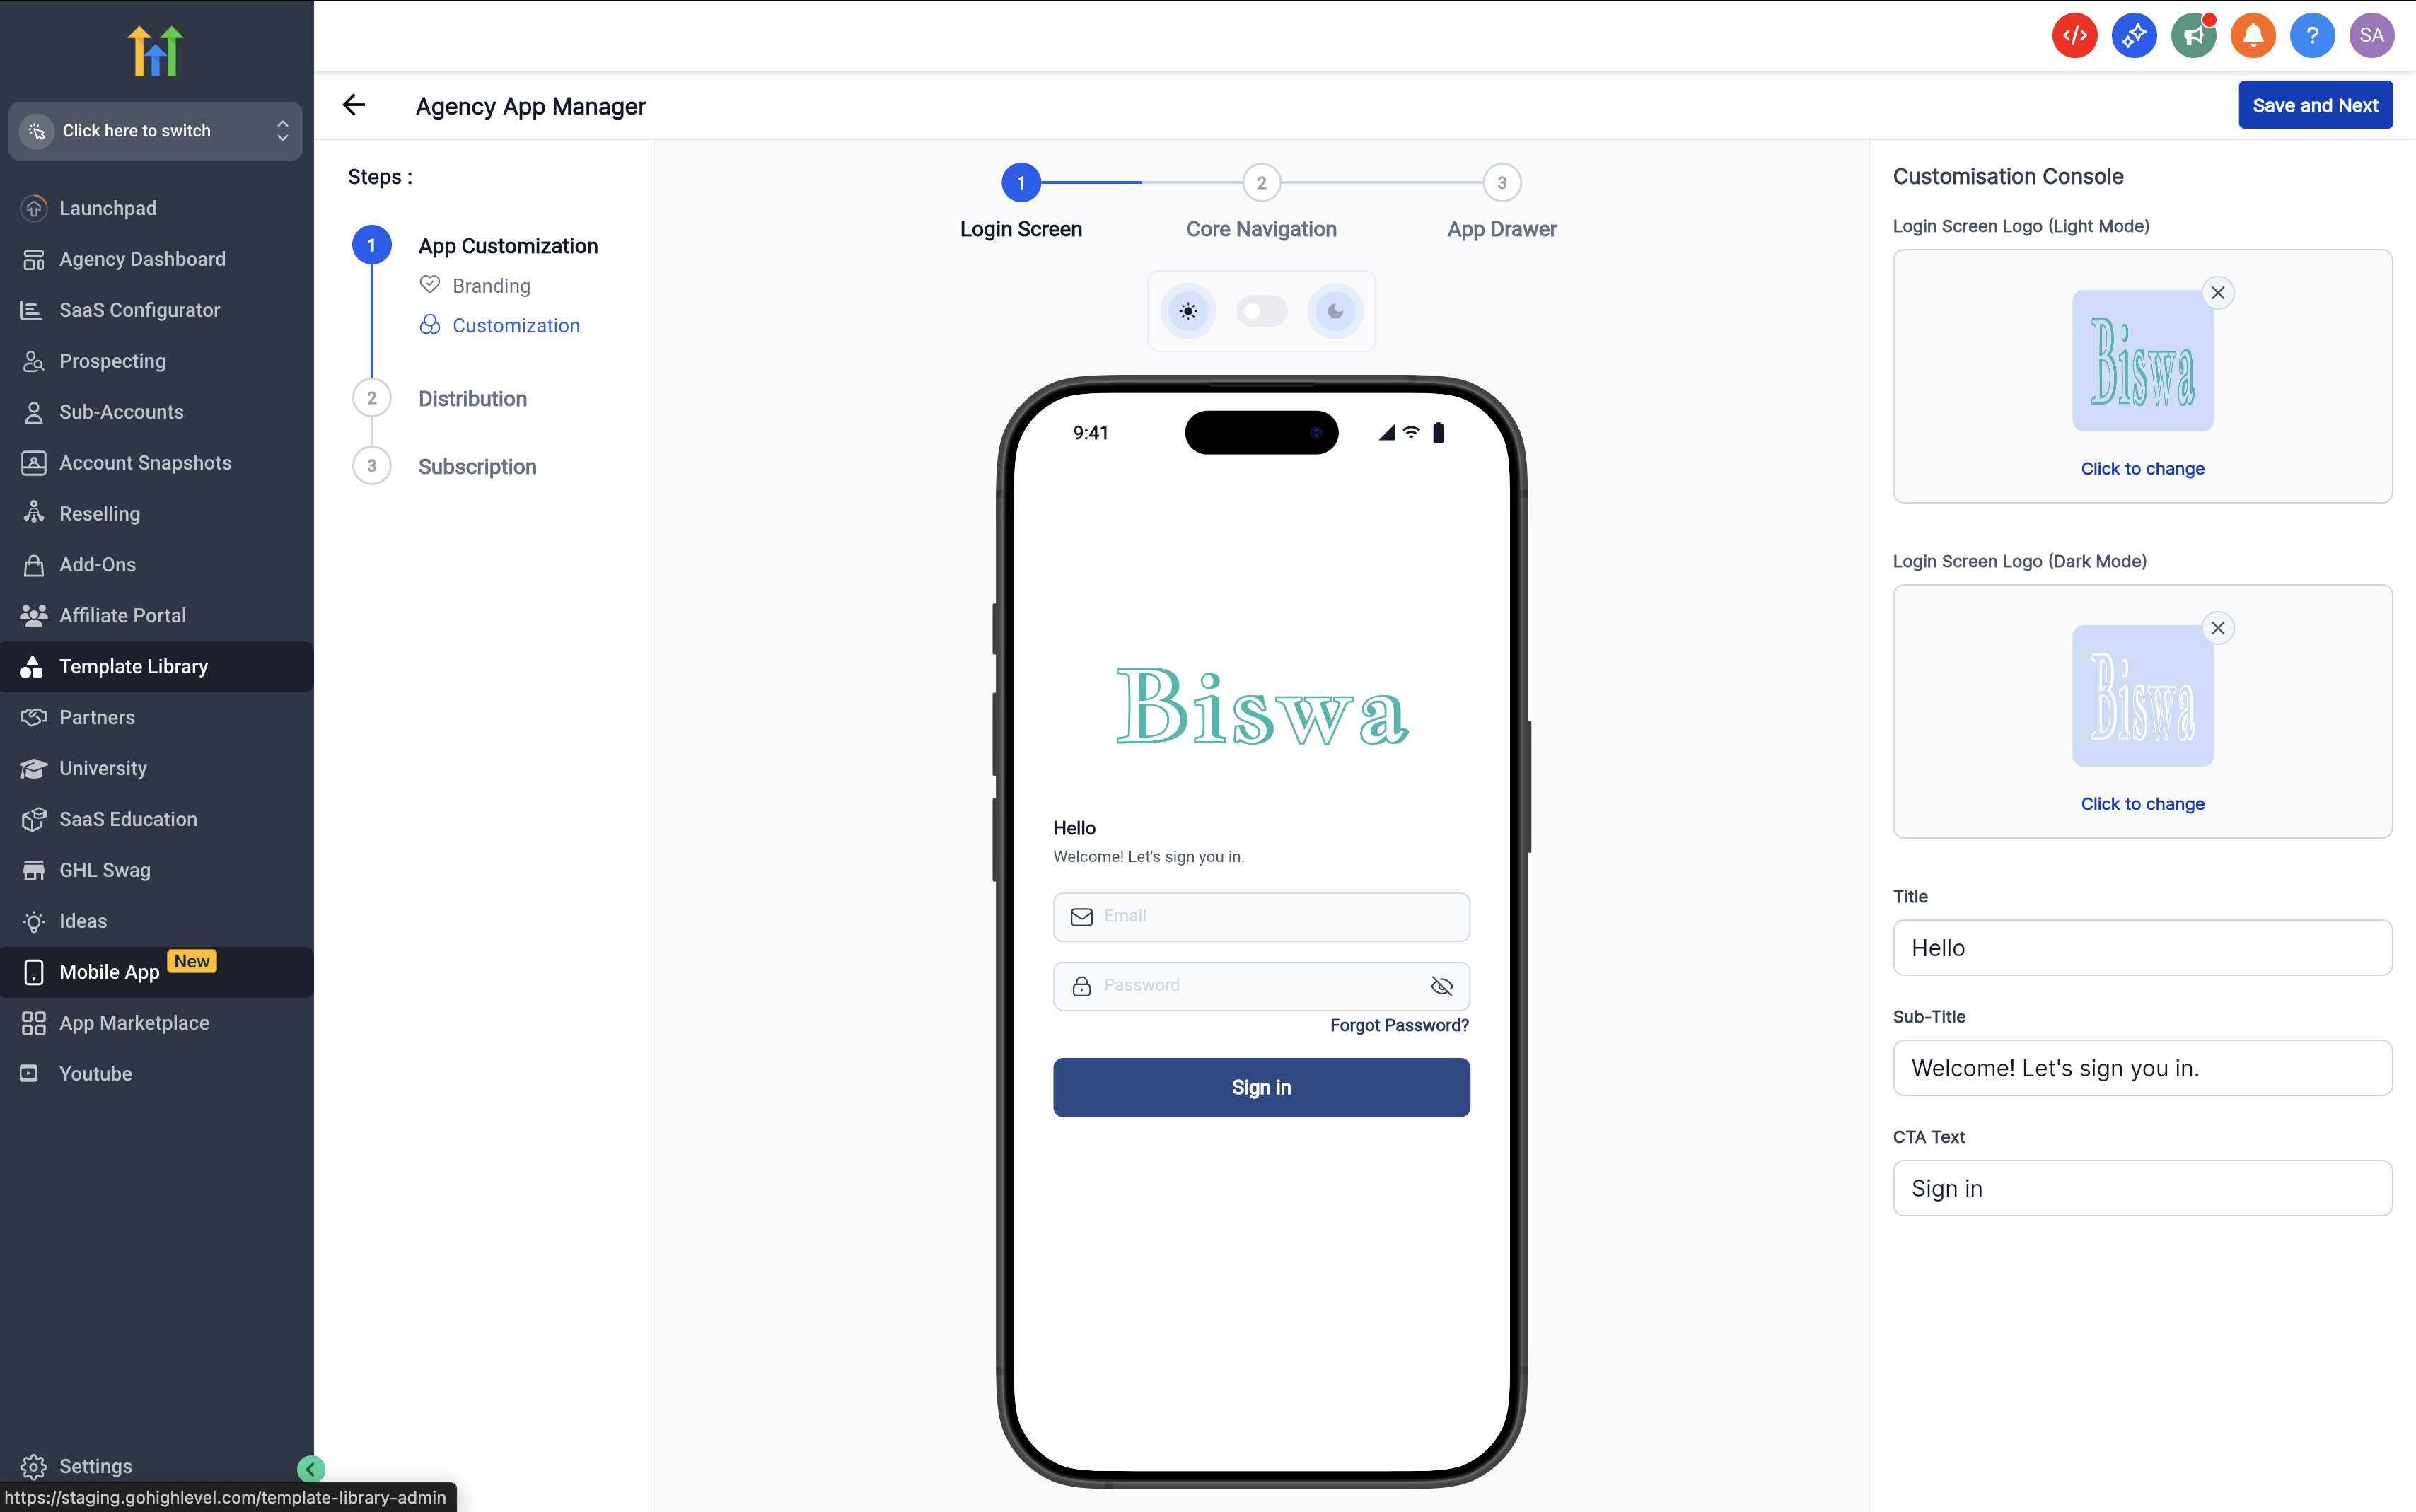
- Open Customisation > Branding and upload the app icon and both light and dark login and splash logos.
- Configure the Login Screen with the logo, brand colors, and an optional tagline.
- Choose either Bottom Nav or Left Drawer for Core Navigation, add and reorder modules, and move any excess to the App Drawer.
- Organize remaining modules in the App Drawer, reorder categories, and add POS if tap to pay is needed.
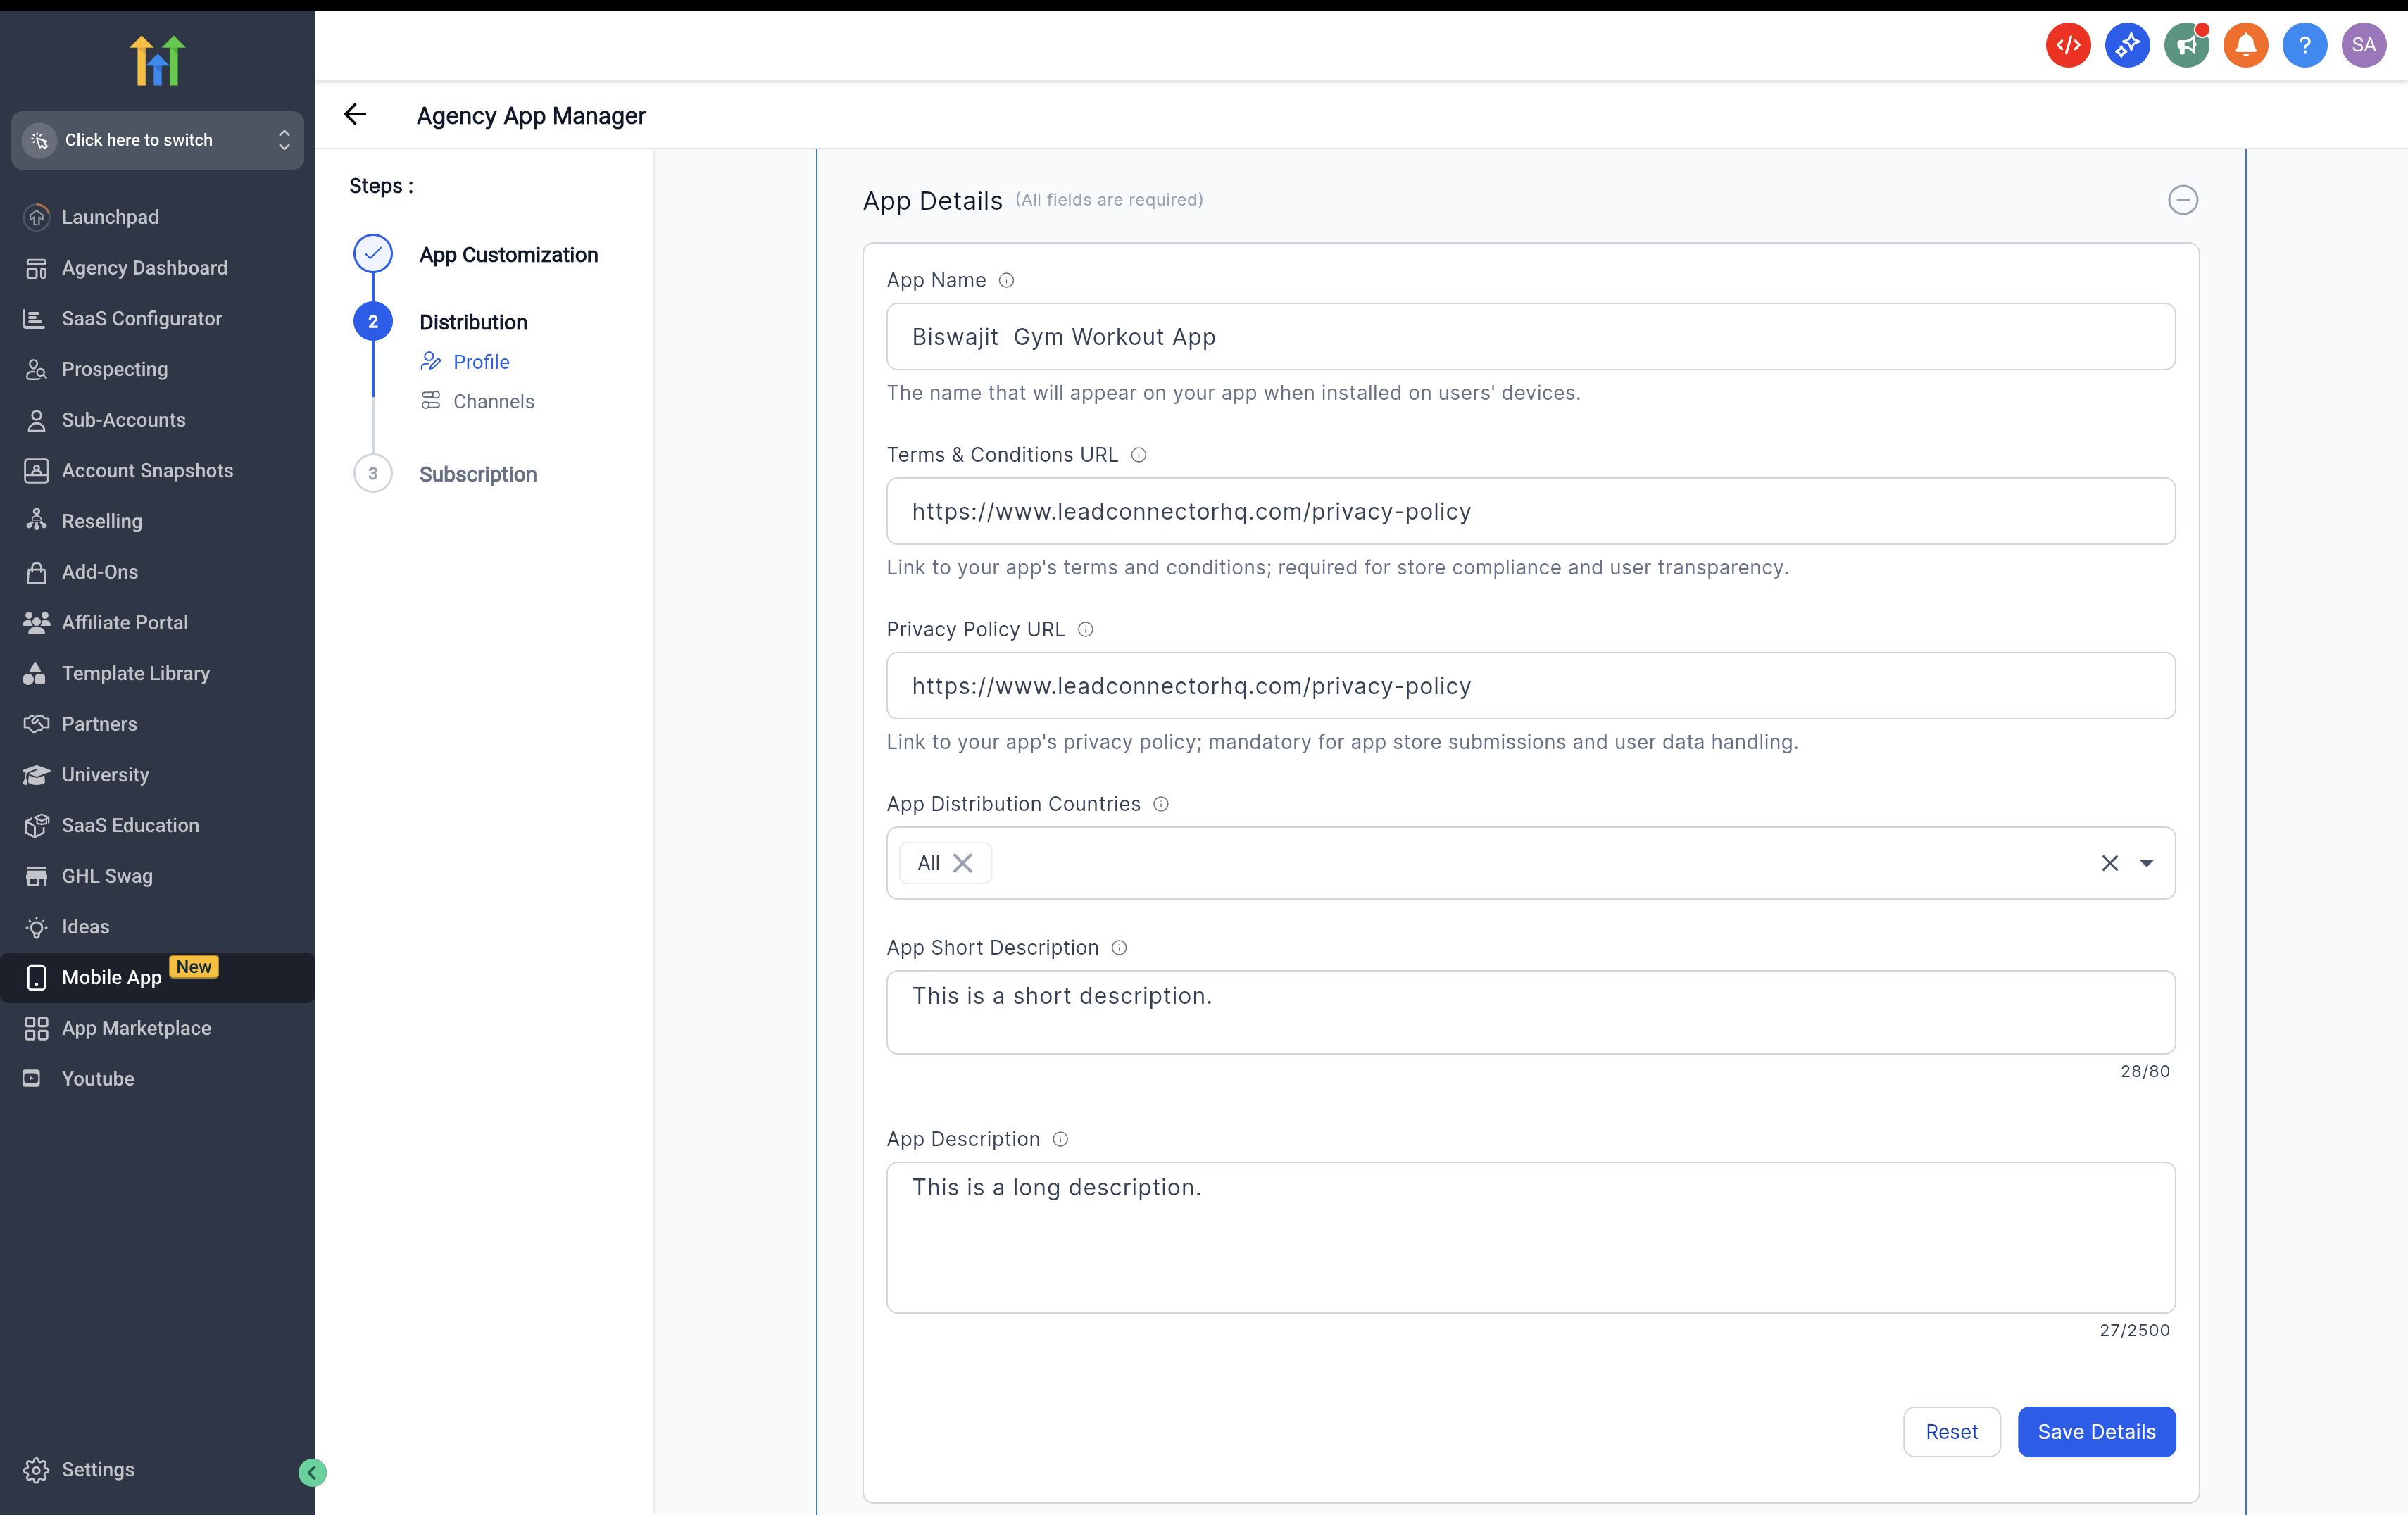
- Go to Distribution > Profile and fill the store listing fields, including app title, descriptions, support email, and policy URLs.
- Open Distribution > Channels and run the wizards to connect App Store Connect and Play Console; confirm both show Connected in green.
- Select a Monthly or Quarterly subscription to unlock building and publishing functions.
- Create the app for the first time only.
- Generate a build by choosing Internal or Production, entering a changelog, and starting the app build.
- Submit the build in App Store Connect or Play Console and monitor progress in Live Build Status.
- If the build fails, view progress, consult the knowledge base for error details, and retry the build.
06What it looks like in HighLevel
07Settings that matter
- Customisation > Branding. Controls the upload of app icons, splash and login logos, and the selection of primary colors and fonts.
- Distribution → Profile. Holds the store listing information such as app title, descriptions, support contact, and policy URLs.
- Distribution → Channels. Manages the connection of the app to Apple App Store Connect and Google Play Console.
- Subscription. Determines whether the user has a Monthly or Quarterly plan that enables app building and publishing.
08Things to know before you rely on it
- Do not change the package or bundle identifier after the first production release, as it creates a new app and stops update continuity.
- Apple Individual developer accounts cannot be used for whitelabel publishing; an organization account is required.
- Internal builds are for testing only; Production builds are the public releases in the app stores.
09If something goes wrong
- Build fails. Check the error in Live Build Status, verify that store connections are green, confirm asset sizes meet requirements, and retry the build.
10How it connects to the rest of HighLevel
- Guide to promoting and customizing a whitelabel app Promote and customize
- How to enroll an Apple Developer account for the whitelabel app Apple Developer setup
- Enable Tap to Pay in your HighLevel white label mobile app Tap to Pay
Michael's take

In my experience the most common stumbling block is not having the branding assets and policy URLs ready before opening the Customizer. Once everything is prepared, I follow the guided steps, set up the navigation, and launch an Internal build to make sure the app installs and updates correctly before moving to Production.