
01Who this is for
- Social media managers at agencies receive advance warnings when a connected account token is about to expire, preventing downtime.
- Marketing directors at retail brands get alerts when a post requires approval or is rejected, keeping campaigns on schedule.
- Content creators in startups are notified of publishing failures so they can quickly fix issues and re publish.
02Social Planner notifications, explained
Social Planner notifications are email messages that let the right people know about important events in the publishing workflow. The platform can send six types of alerts: account pre expiry, account expired, request for post approval, approved post, rejected post and post failed. Each type has its own set of options for enabling the alert, choosing an email template, selecting recipients and setting reminder frequency.
All notification settings live inside the Social Planner area under Settings > Notifications. From there you turn a notification on or off, edit its details with the pencil icon and save the changes. Some alerts, such as post approval, use predefined recipients based on the approval workflow, while others let you pick specific users and how often they are reminded.
03How businesses use Social Planner notifications
- Digital marketing agency. The agency enables account pre expiry alerts for each client’s social accounts and adds the account manager as a recipient. When a token is near expiration, the manager receives a reminder email according to the selected frequency.
- Ecommerce store. The store activates request for post approval notifications so the designated approver is emailed whenever a new promotion is queued. The approver can then review and approve the post within Social Planner.
- Local service provider. The provider turns on post failed notifications, selects the owner’s email address, and picks a custom template. If a scheduled post cannot publish, the owner receives an alert with the failure reason.
04Before you start
- Required social accounts must be connected before configuring notifications.
05How to set up and use Social Planner notifications in HighLevel
Set up Social Planner notifications
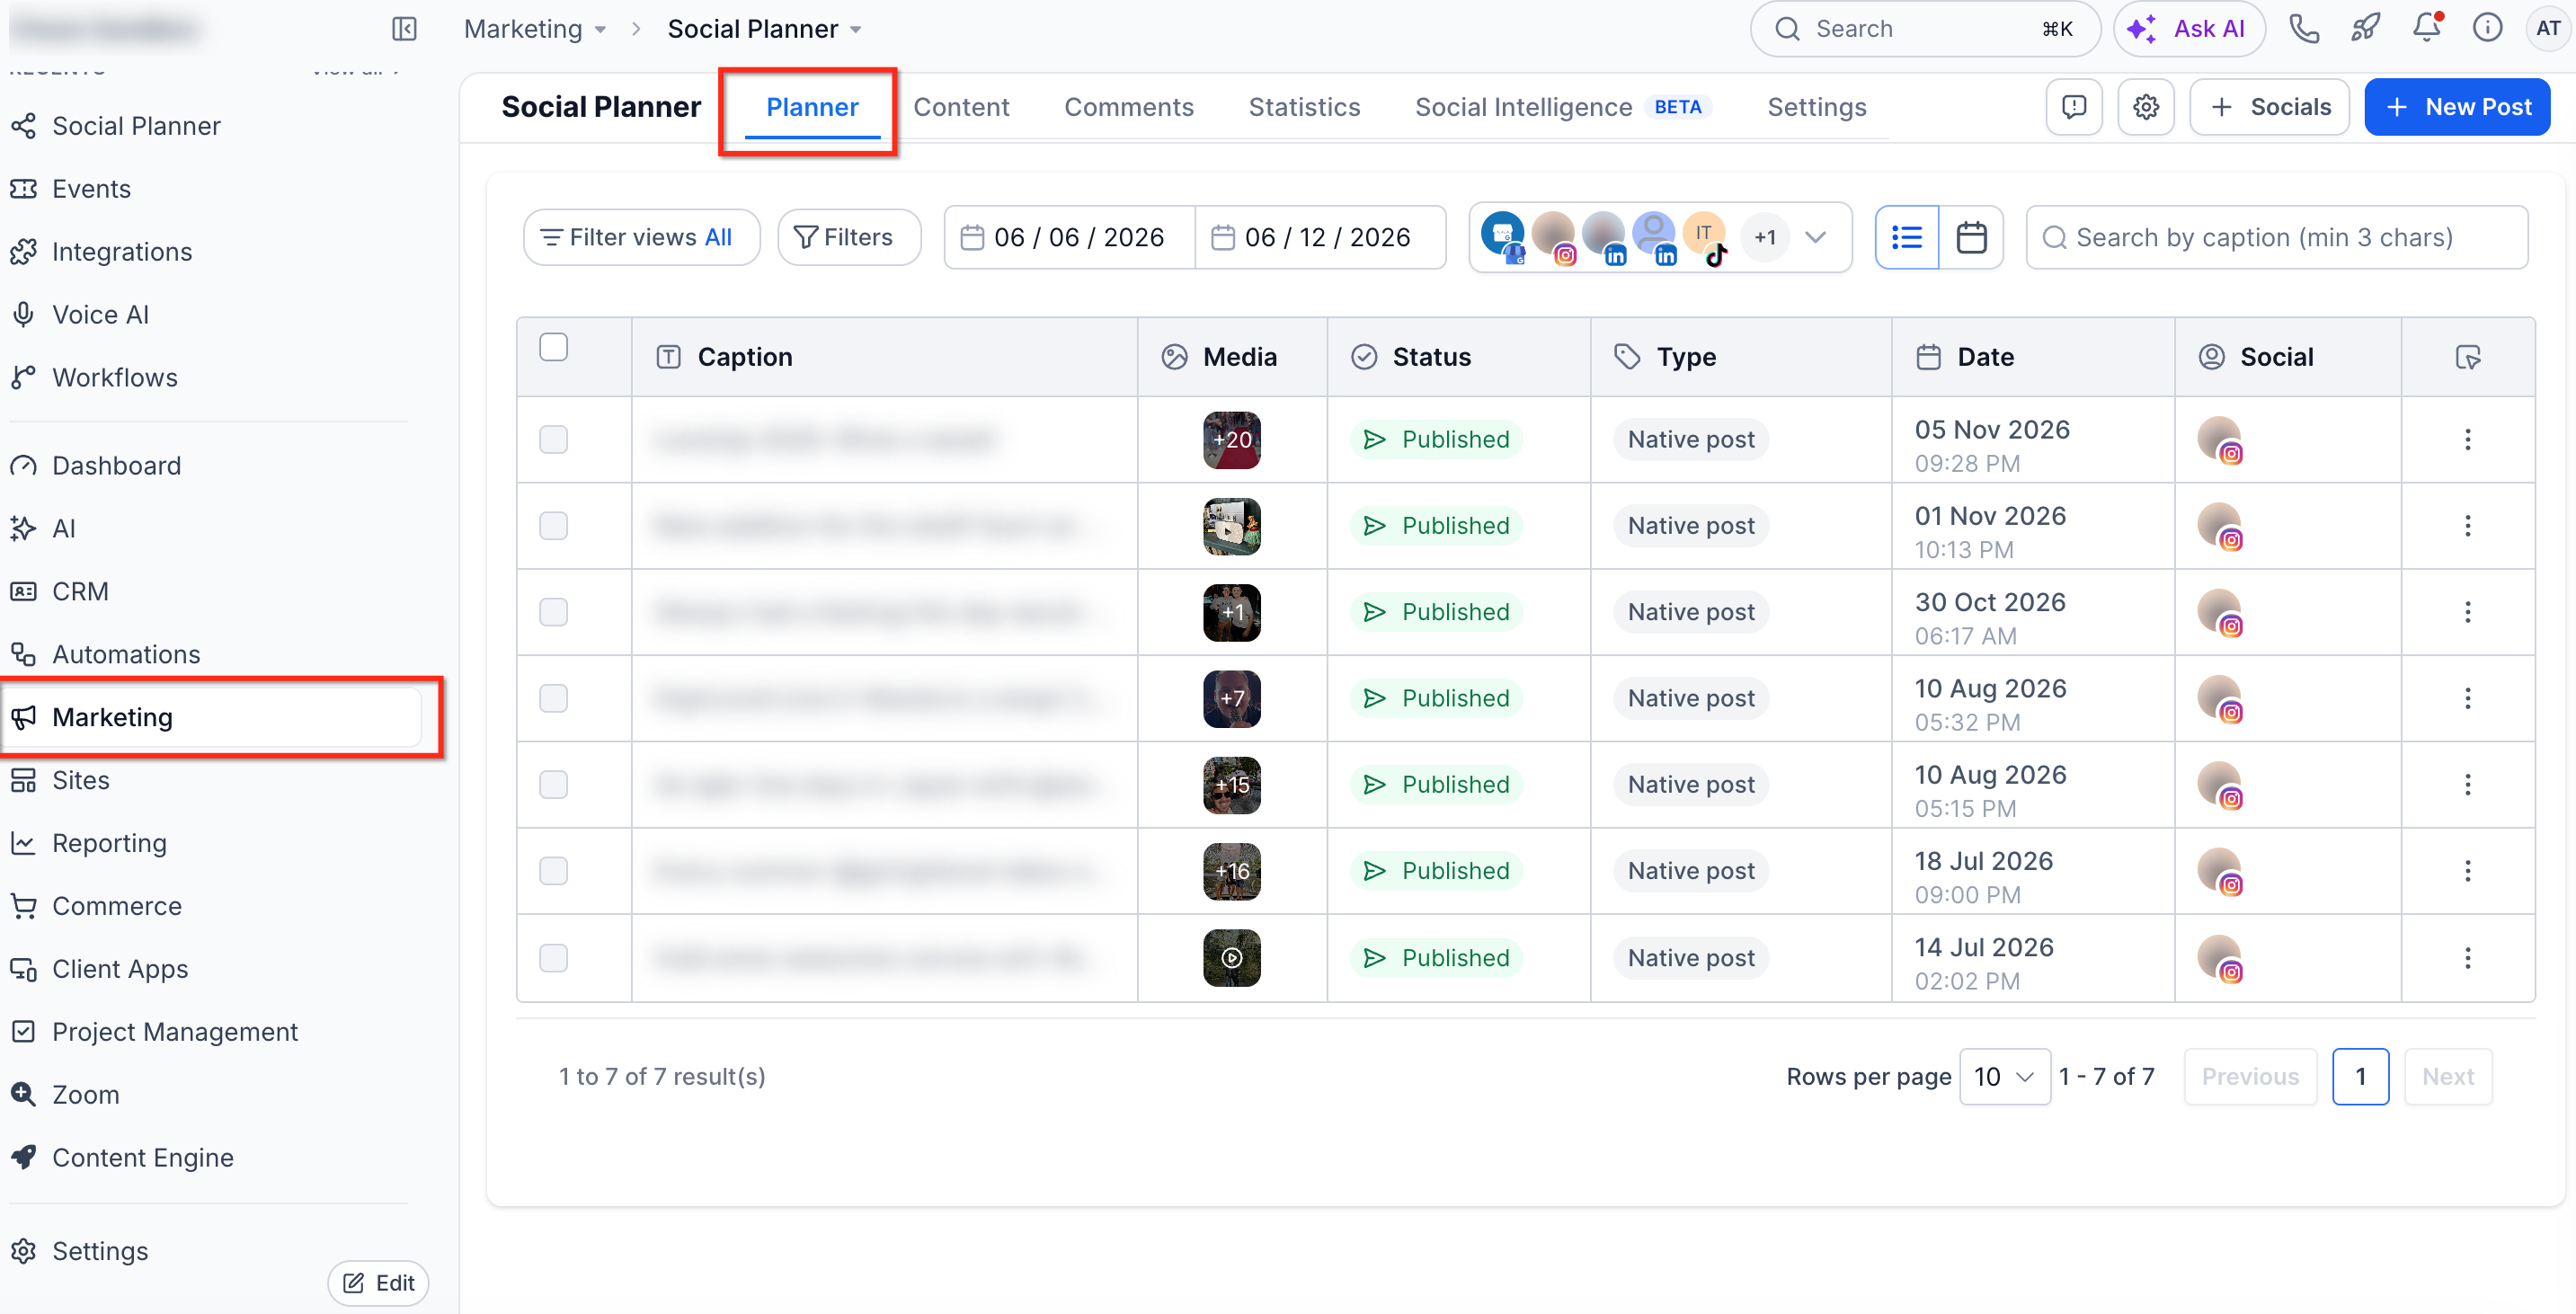
- Open Marketing and select Social Planner.
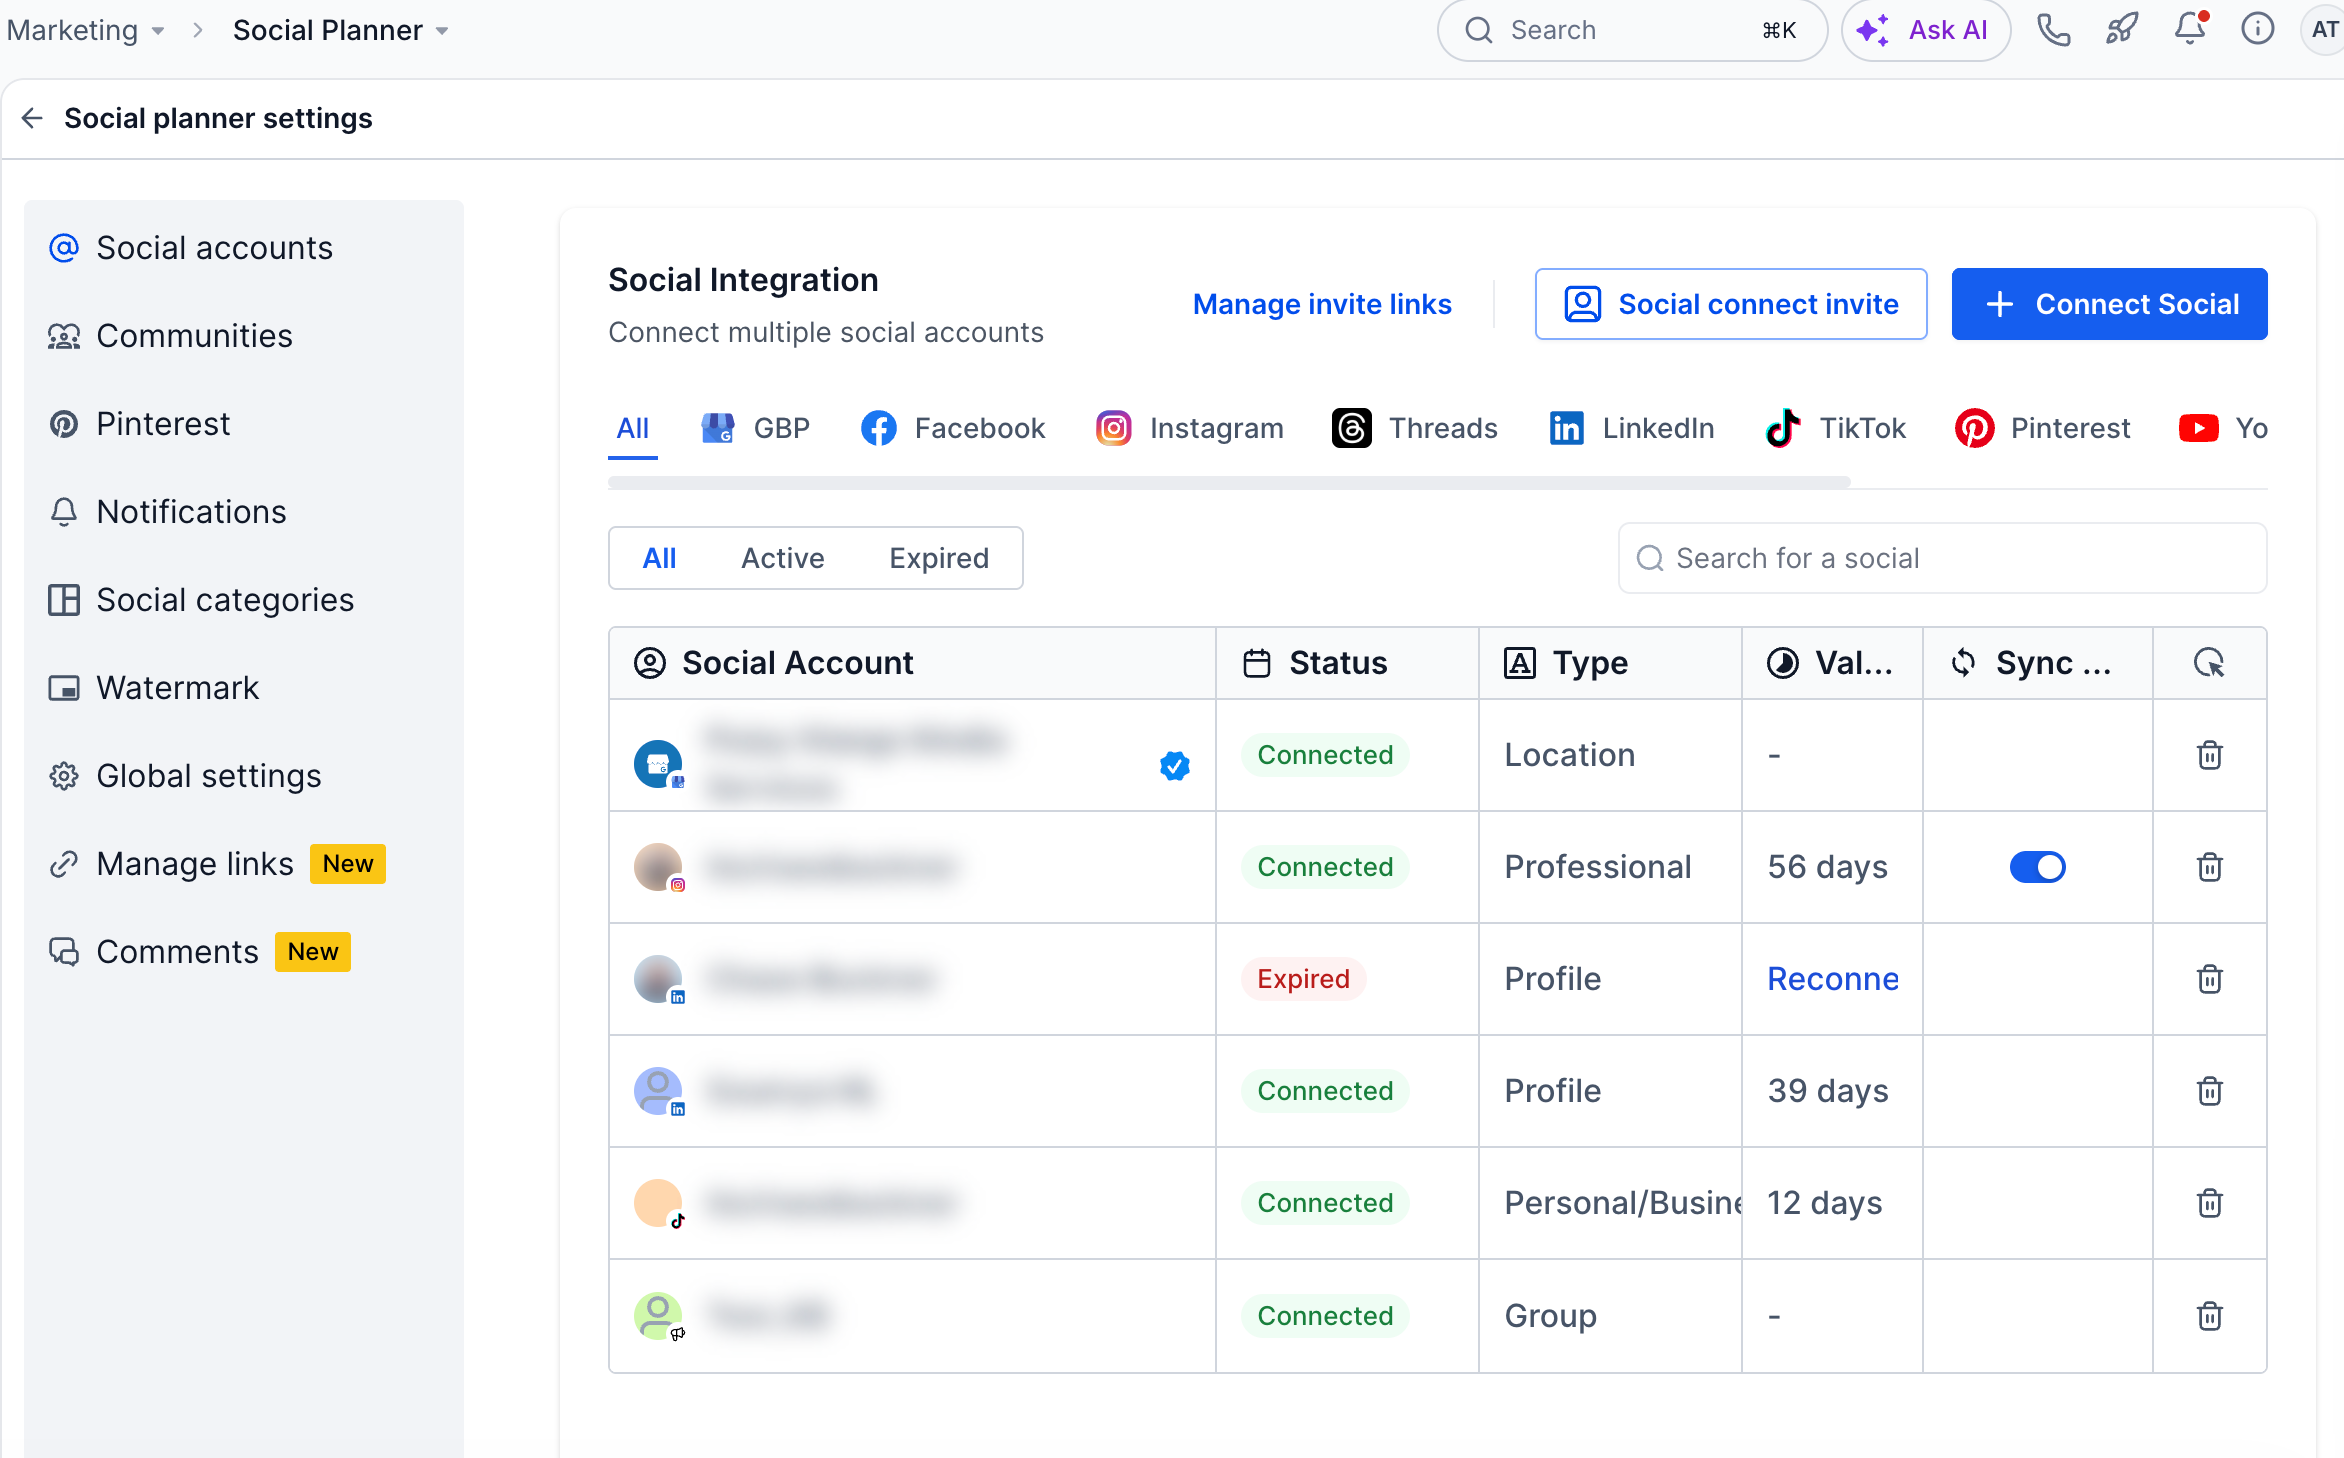
- Confirm that the needed social accounts are linked.
- Click Settings.
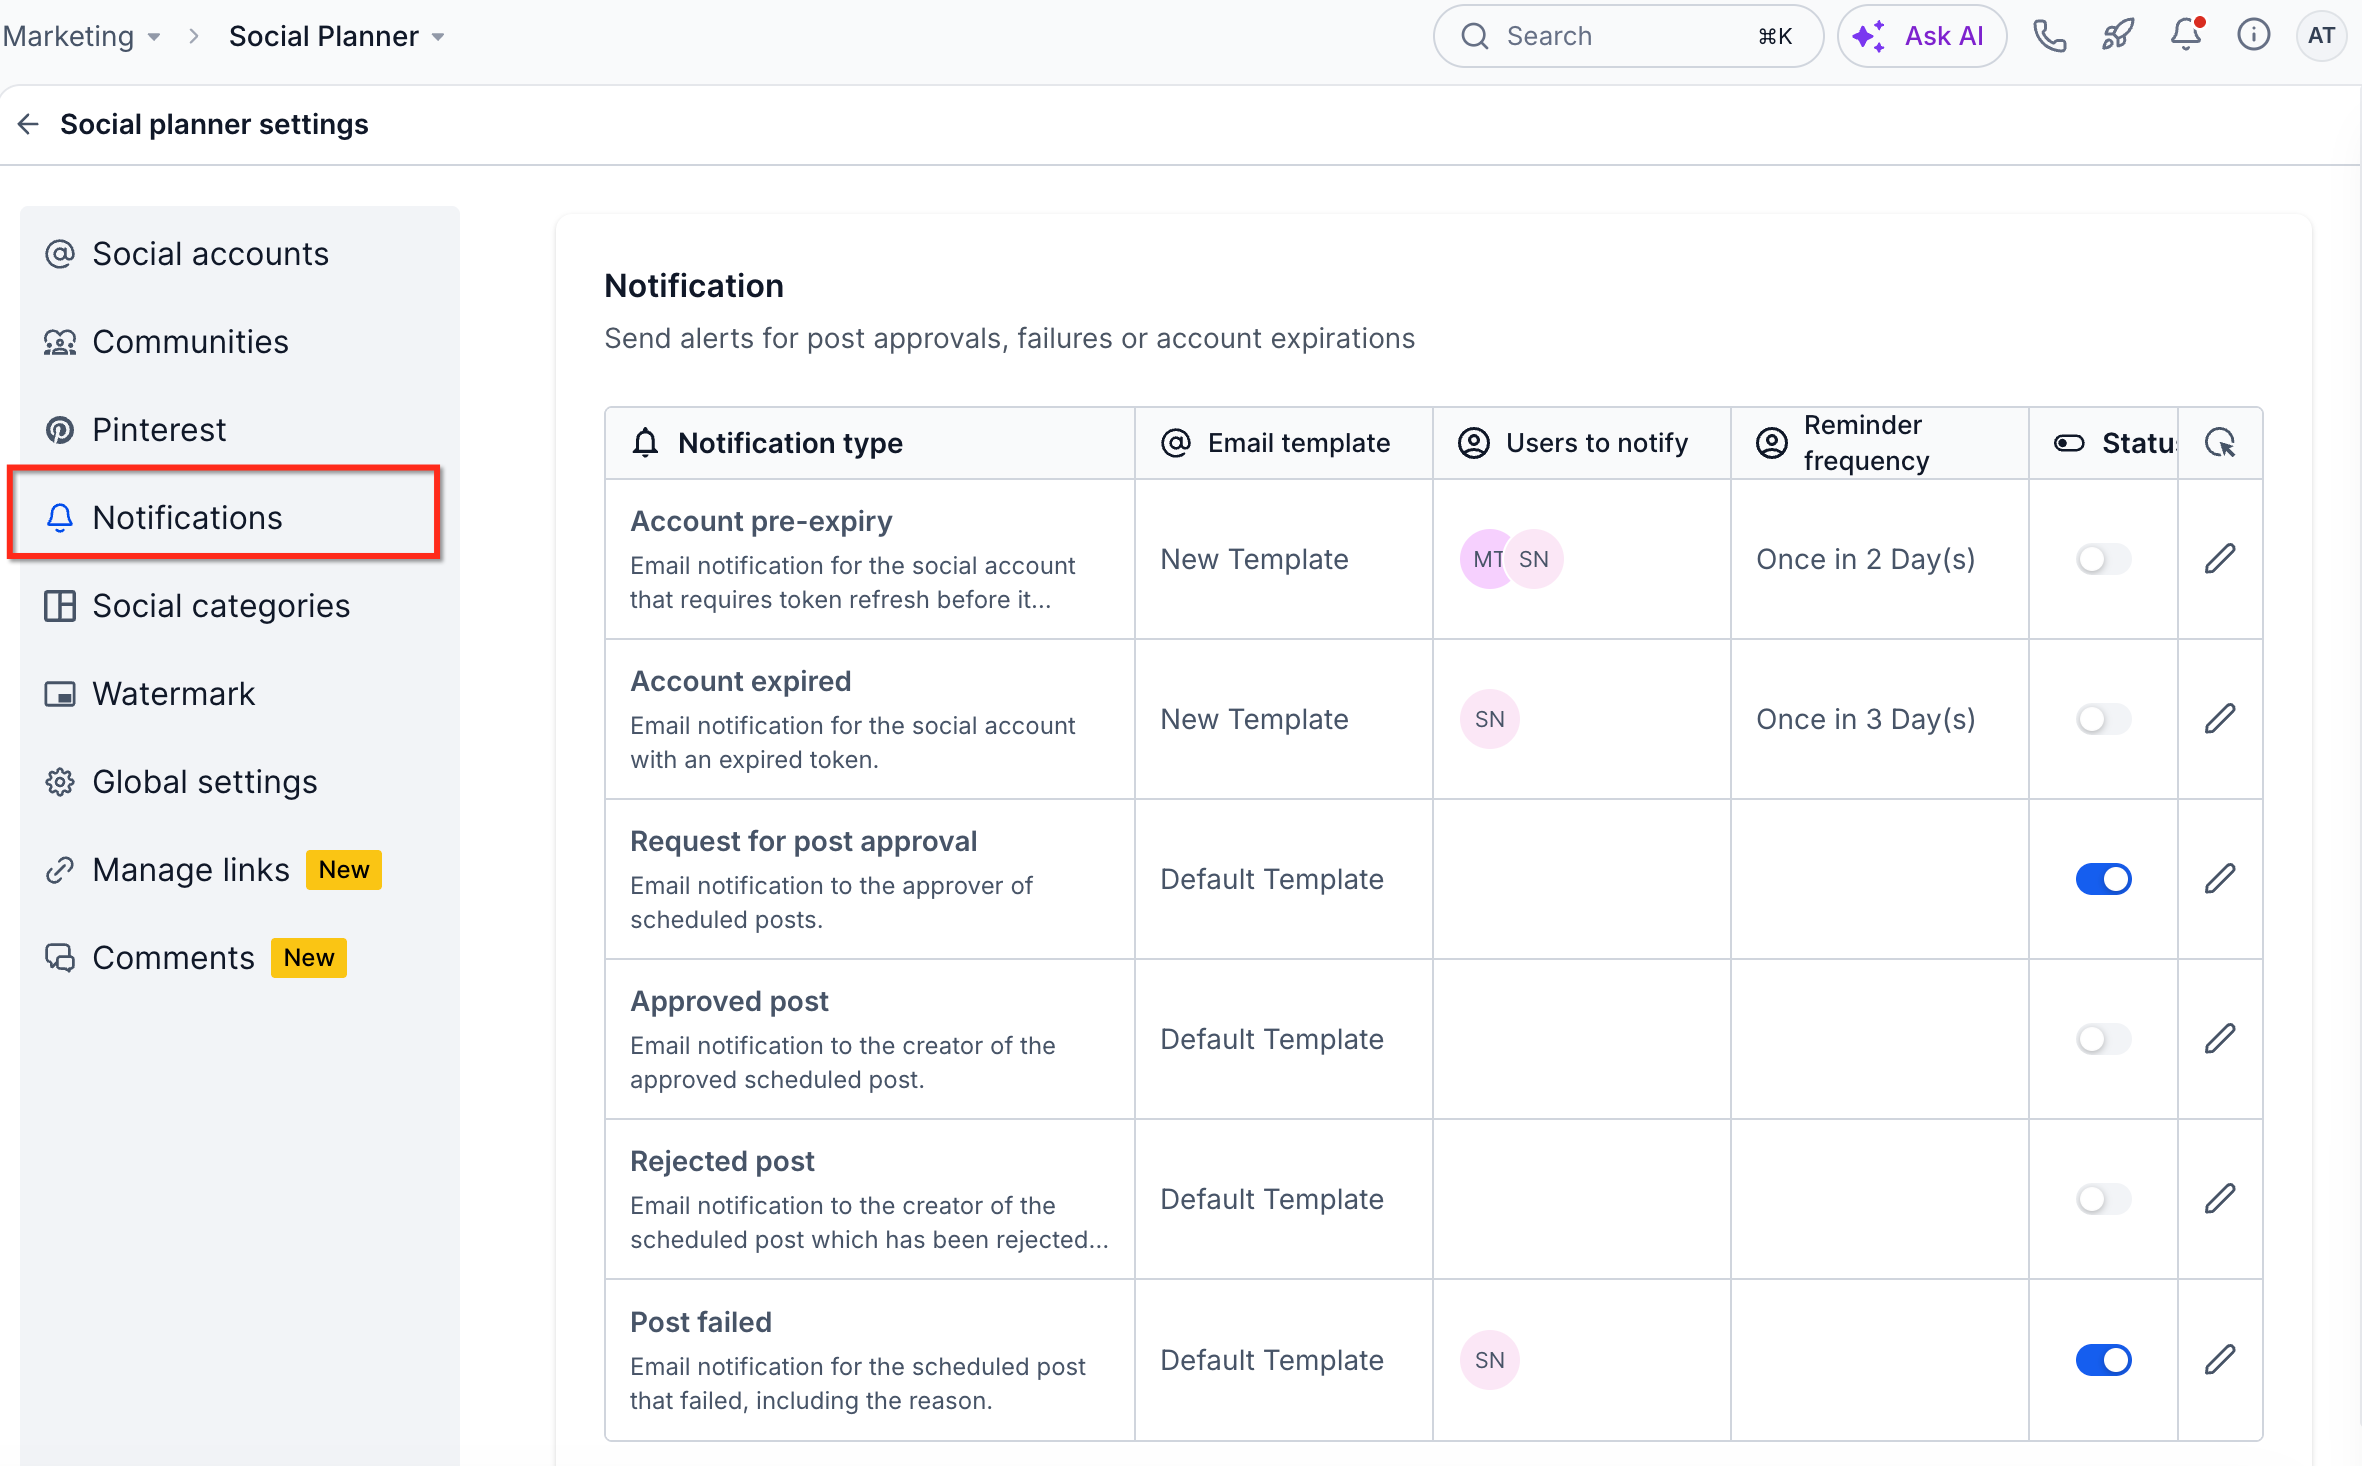
- Choose Notifications from the left menu.
- Find the notification you want to edit.
- Toggle the Status switch to enable the alert.
- Press the pencil icon in the Action column.
- Adjust the options available for that notification.
- Click Save Changes.
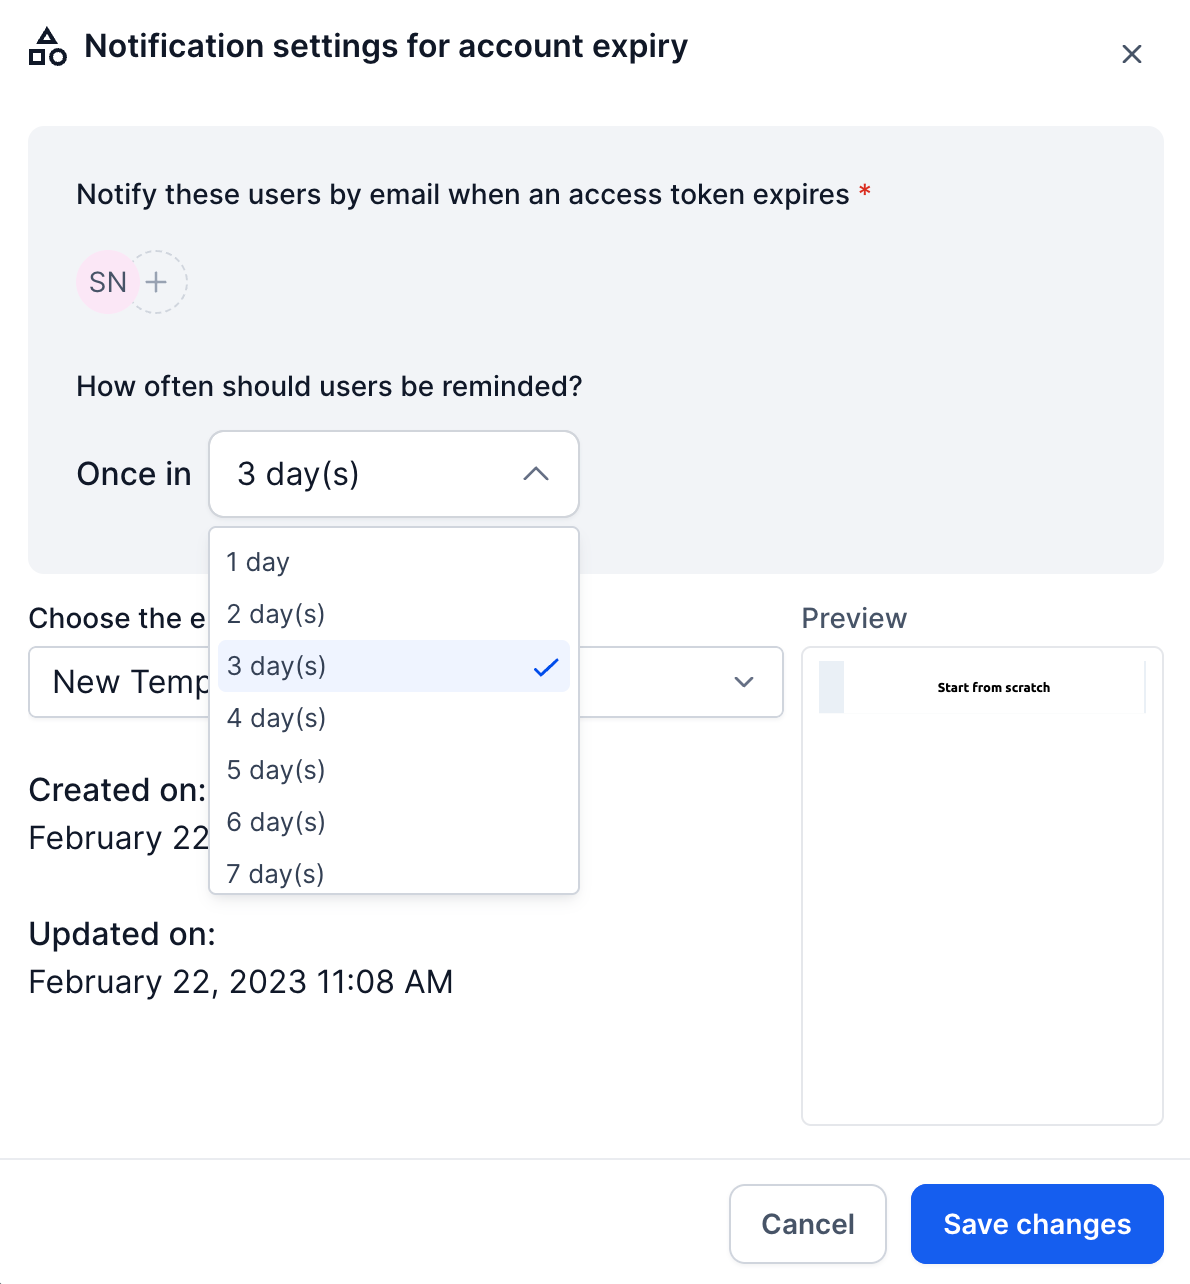
Configure Account Pre Expiry notifications
- Turn on Account Pre Expiry using its status toggle.
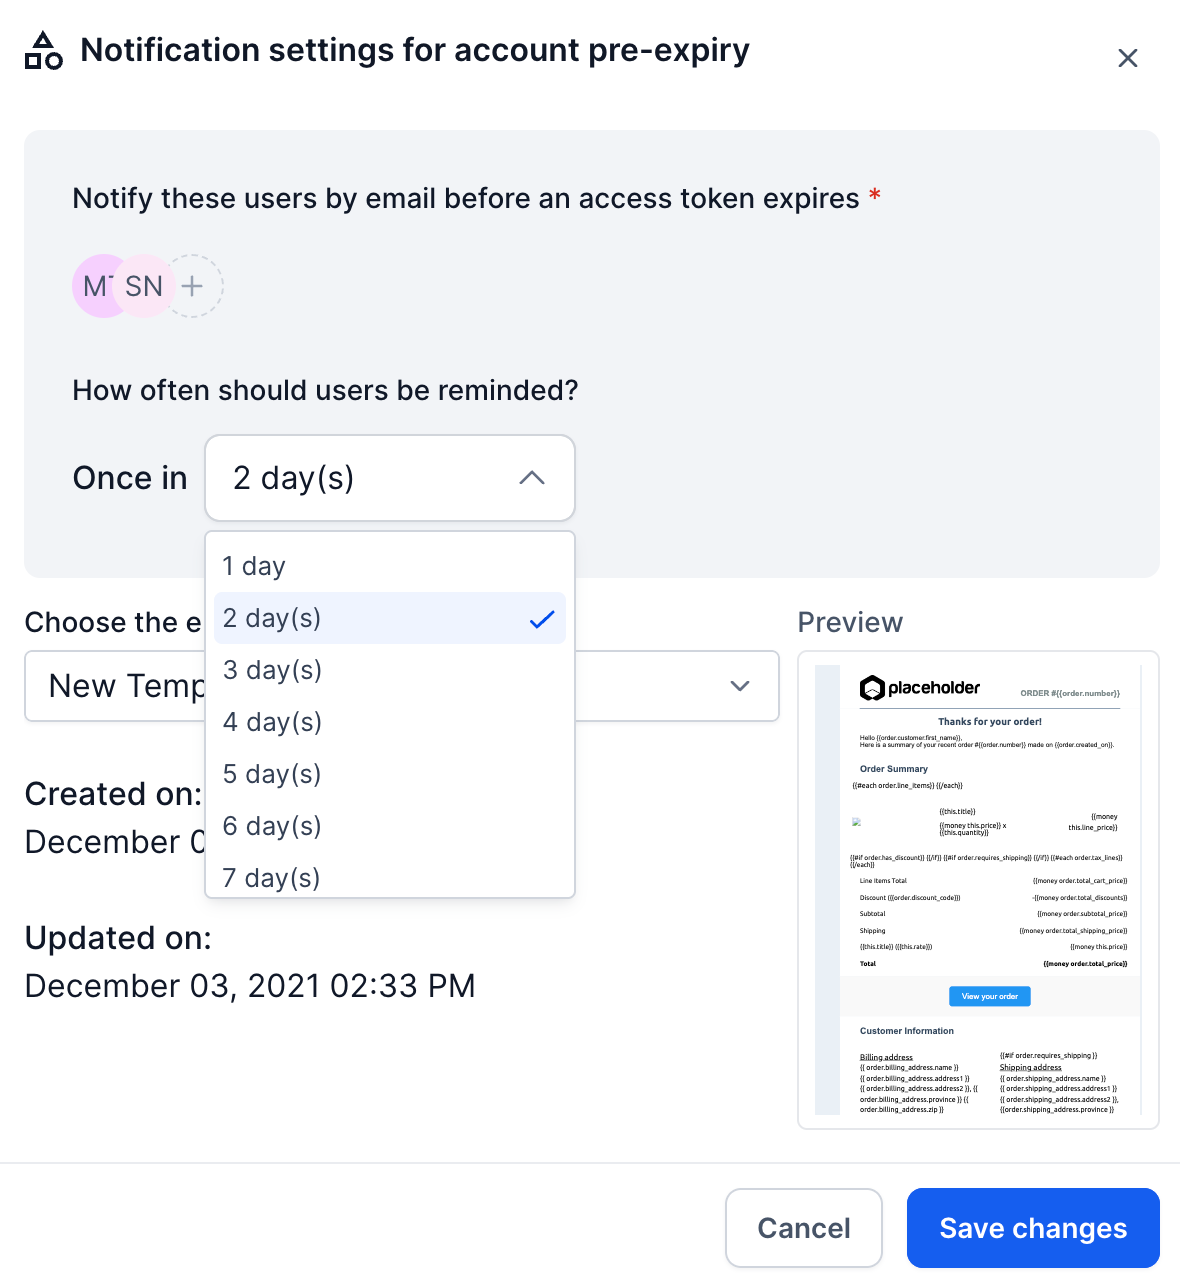
- Open its configuration by clicking the pencil icon.
- Click the plus button and select the users who should receive the email.
- Choose how often reminders are sent to those users.
- Pick the email template, either the default or a custom one.
- Click Save Changes.
Configure Account Expired notifications
- Turn on Account Expired using its status toggle.
- Open its configuration by clicking the pencil icon.
- Select the users who will receive the expired alert.
- Set the reminder frequency for those users.
- Choose the email template to be used.
- Click Save Changes.
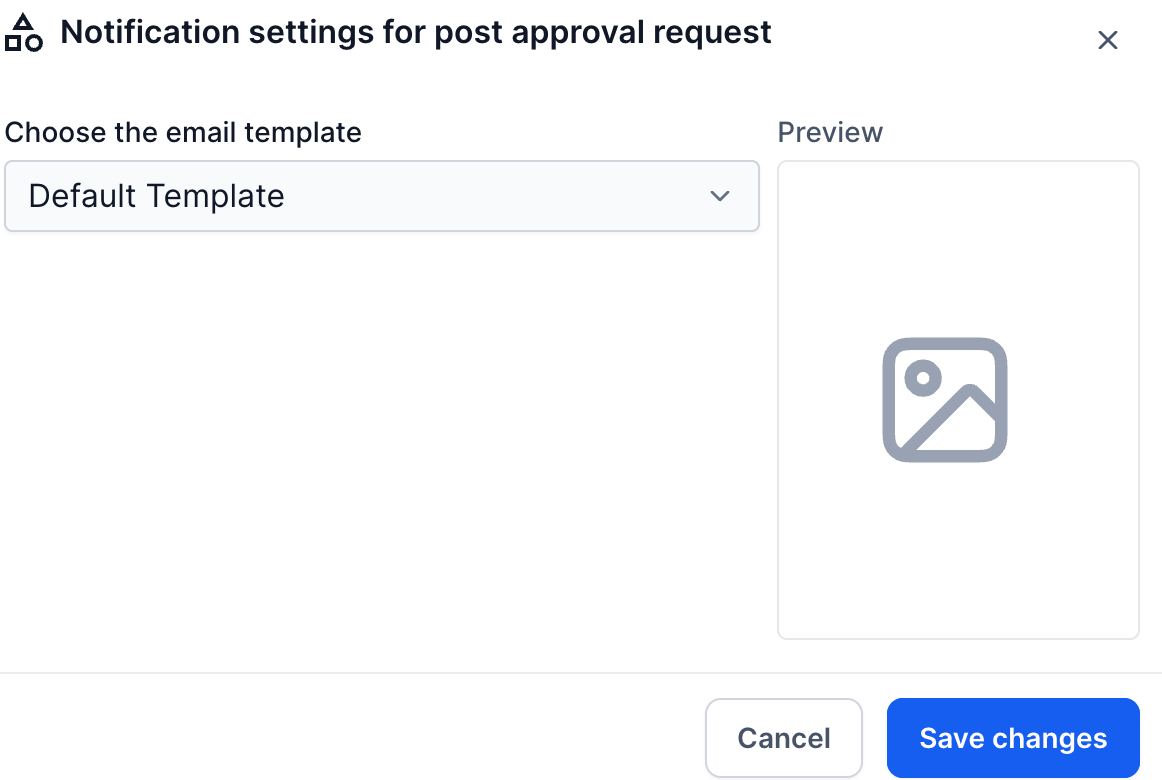
Configure Post Approval notifications
- Enable the notification with the Status toggle.
- Click the pencil icon to open its settings.
- Select the email template for the alert.
- Click Save Changes.
Configure Post Failed notifications
- Turn on Post Failed using the Status toggle.
- Click the pencil icon to edit the alert.
- Select the users who should be notified when a post fails.
- Choose the email template for the failure notice.
- Click Save Changes.
06What it looks like in HighLevel
07Settings that matter
- Enable/Disable. Controls whether a specific notification type is active.
- Email Template. Determines the content of the email that is sent for the alert.
- Users to Notify. Specifies which team members receive the email when the notification triggers.
- Reminder Frequency. Sets how often reminder emails are resent for pre expiry and expired alerts.
08Things to know before you rely on it
- Only Account Pre Expiry and Account Expired notifications allow you to set a reminder frequency.
- Post approval related notifications do not let you choose recipients; they are assigned automatically by the approval workflow.
- The default email template preview appears blank because the template is managed by HighLevel and not stored in the Email Templates library.
09If something goes wrong
- Cannot select recipients for post approval notifications. Recipients are assigned automatically based on the approval workflow; only the status and template can be changed.
- Default email template preview is blank. A blank preview is normal; the default template is managed by HighLevel and will still be sent.
- Approver did not receive a notification. Verify that Request for Post Approval is enabled in Social Planner Settings > Notifications and that the correct approver is assigned when the post is submitted.
- Unclear what to do after a Post Failed notification. Open Social Planner, locate the failed post, review the failure reason, and check the connected account, permissions and content before trying again.
10How it connects to the rest of HighLevel
- Connect Facebook pages to use Social Planner notifications Facebook connection
- Link LinkedIn profiles or business pages for Social Planner alerts LinkedIn connection
- Add a Google Business Profile to receive account expiration warnings Google Business connection
Michael's take

I find these notifications helpful for keeping an eye on token expirations and publishing issues.
If your workflow is very small, you might rely more on the in app banner than on setting up every email template.