
01Who this is for
- Founders who need reliable email delivery for marketing campaigns and want full control over DNS settings.
- Small agencies managing client domains who must separate Mailgun traffic from existing Google Workspace mail.
- Ecommerce owners who want to use a subdomain for transactional emails while keeping the main domain for storefront communication.
02Mailgun domain setup, explained
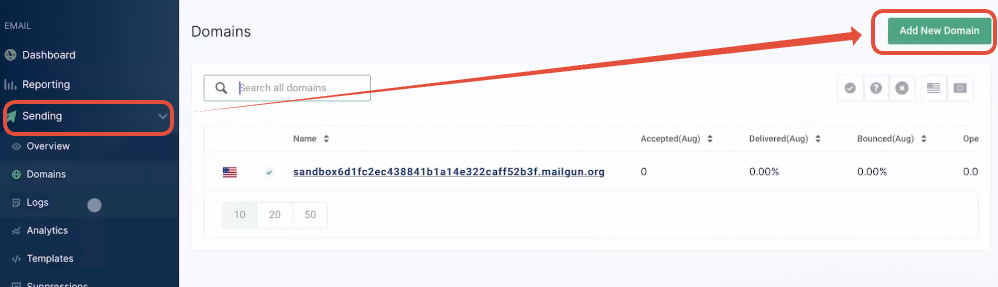
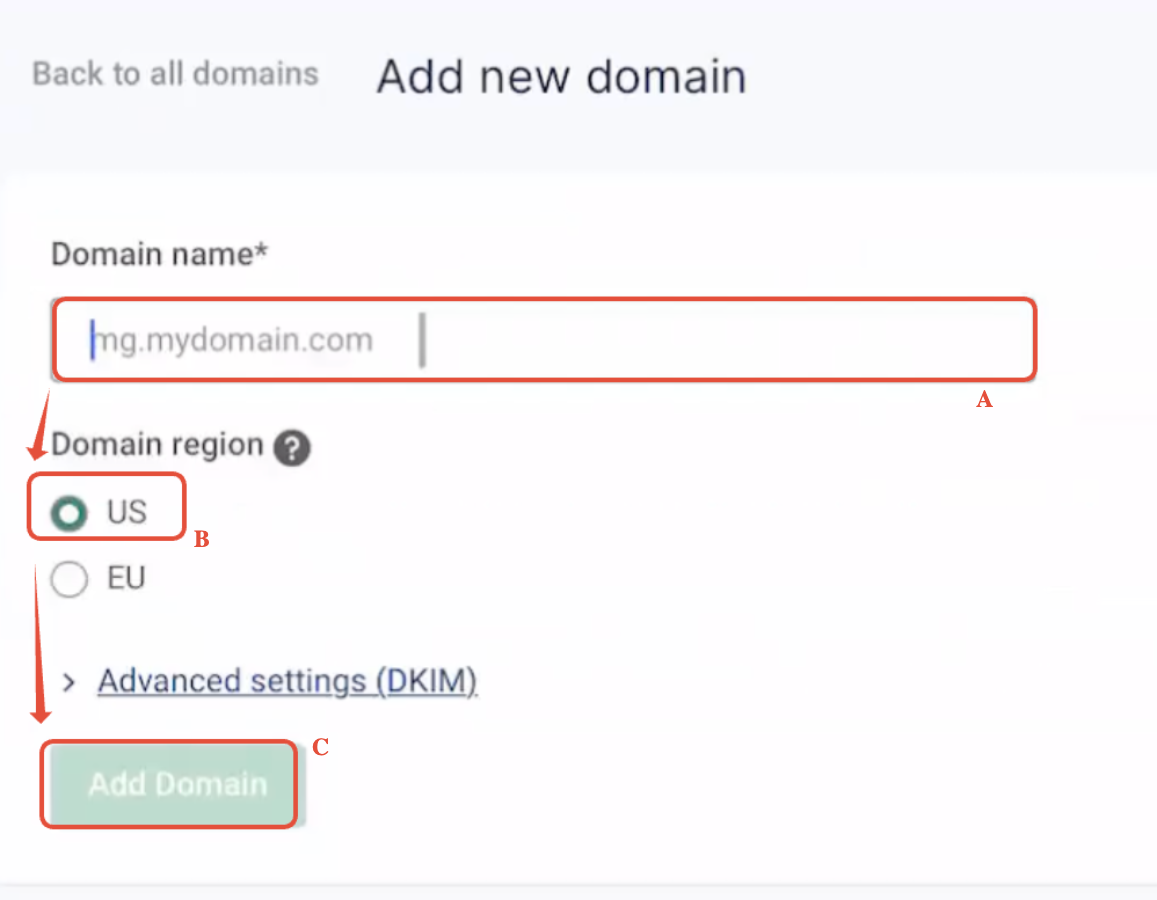
The feature guides you through adding Mailgun DNS records to a domain registered with Namecheap. HighLevel uses these records to verify ownership, authorize sending (SPF), sign messages (DKIM) and route clicks (CNAME). The process starts after creating a Mailgun account, adding a domain in Mailgun, and choosing either the main domain or a subdomain.
All five required records, two TXT, two MX and one CNAME, are entered in Namecheap’s Advanced DNS section. After saving each record, you return to Mailgun and click Verify DNS Settings. Once verification passes, you can retrieve the API key and send a test email from HighLevel.
The setup lives outside HighLevel in the external DNS provider, but HighLevel reads the verification status from Mailgun. The platform relies on the DNS entries to enable sending, tracking and inbound handling for the chosen domain.
03How businesses use Mailgun domain setup
- Digital marketing agency. The agency adds a subdomain like mg.agency.com in Mailgun, then creates the required TXT, MX and CNAME records in Namecheap. After verification, the agency can send client newsletters through HighLevel using that subdomain.
- SaaS startup. The startup selects its main domain (startup.com) in Mailgun, publishes the SPF and DKIM TXT records, sets custom MX records, and adds the CNAME for click tracking in Namecheap. HighLevel then uses the domain for automated onboarding emails.
- Online retailer. The retailer creates a subdomain such as replies.store.com for reply handling, adds the corresponding DNS entries in Namecheap, verifies them in Mailgun, and configures HighLevel to route inbound replies to its CRM.
04The numbers and rules that matter
- 5 required DNS records, 2 TXT, 2 MX, and 1 CNAME.
- TXT record 1 value: V=spf1 include: Mailgun.org ~all.
- MX record values: Mxa.mailgun.org and mxb.mailgun.org with priority 10.
- Google MX records: ASPMX.L.Google.COM, ALT1.ASPMX.L.Google.COM, ALT2.ASPMX.L.Google.COM, ALT3.ASPMX.L.Google.COM, ALT4.ASPMX.L.Google.COM each with TTL 3600.
05Before you start
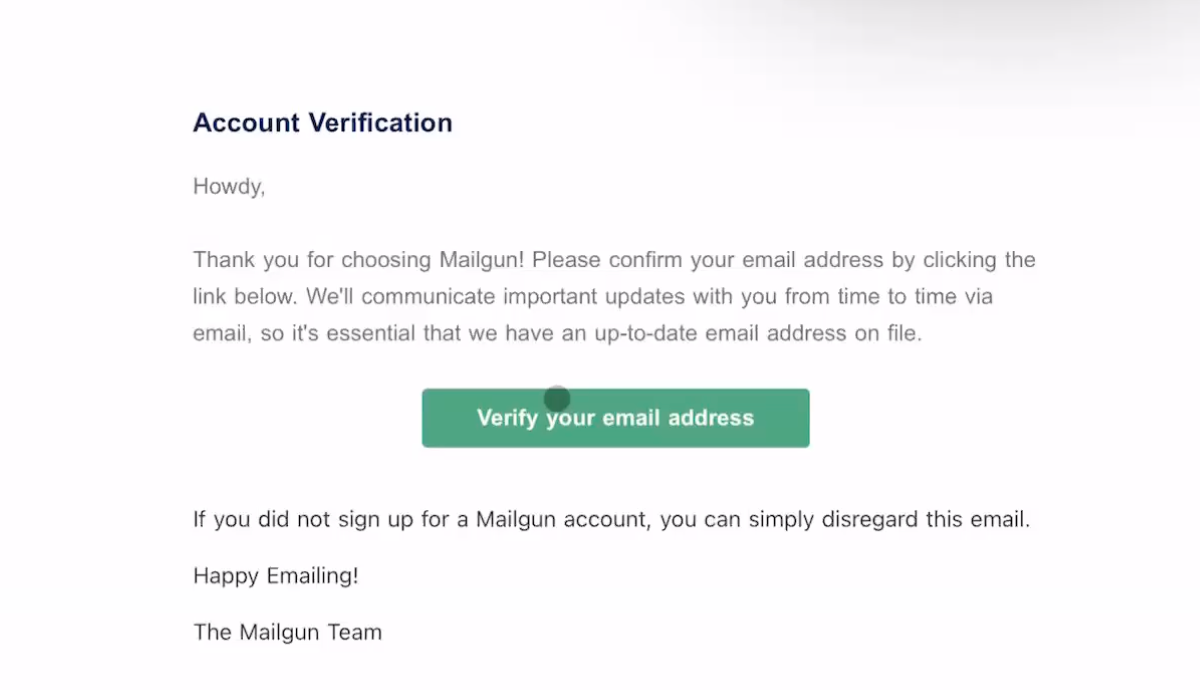
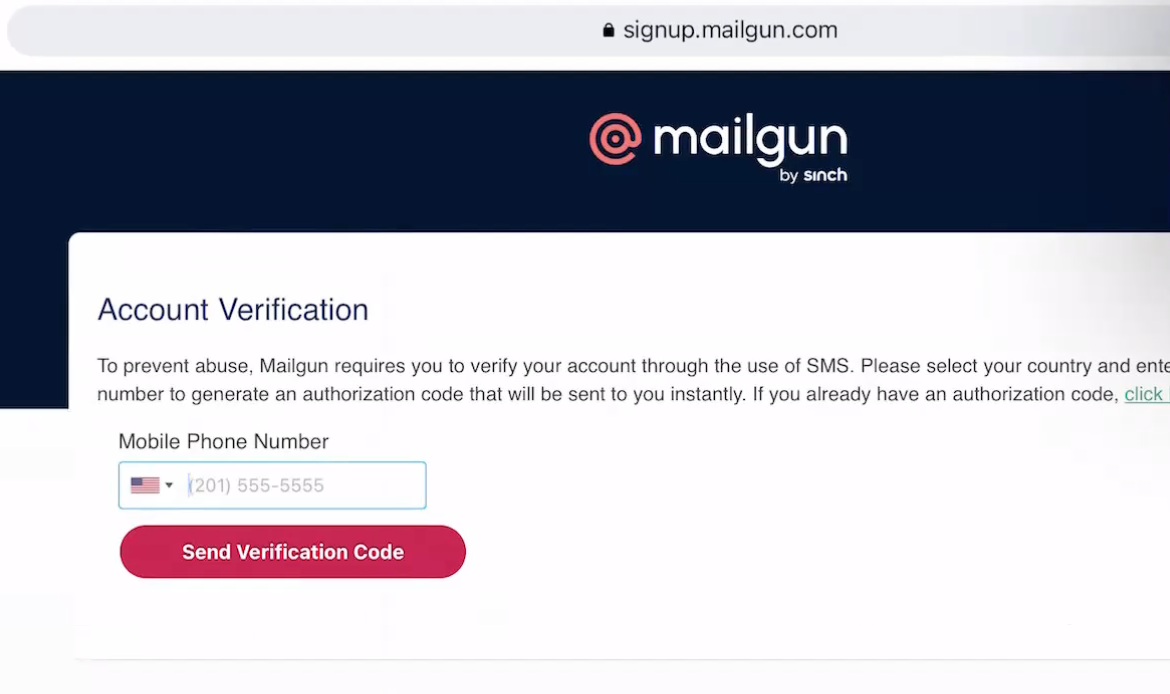
- Create a Mailgun account and verify the email address used for sign up.
- Decide whether to configure the main domain or a subdomain, and ensure the choice is set for the US region in Mailgun.
06How to set up and use Mailgun domain setup in HighLevel
Add DNS records in Namecheap
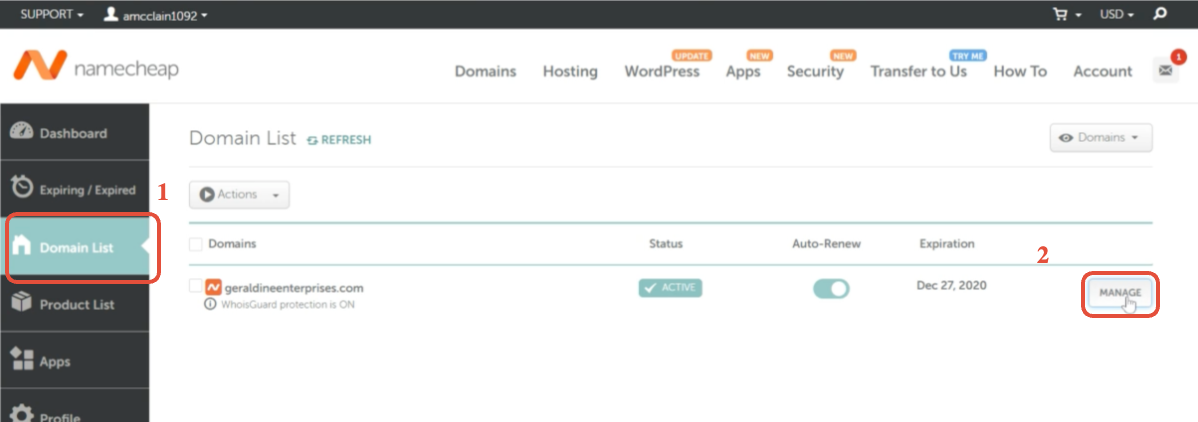
- Log in to Namecheap.com.
- Select Domain List then click Manage for the target domain.
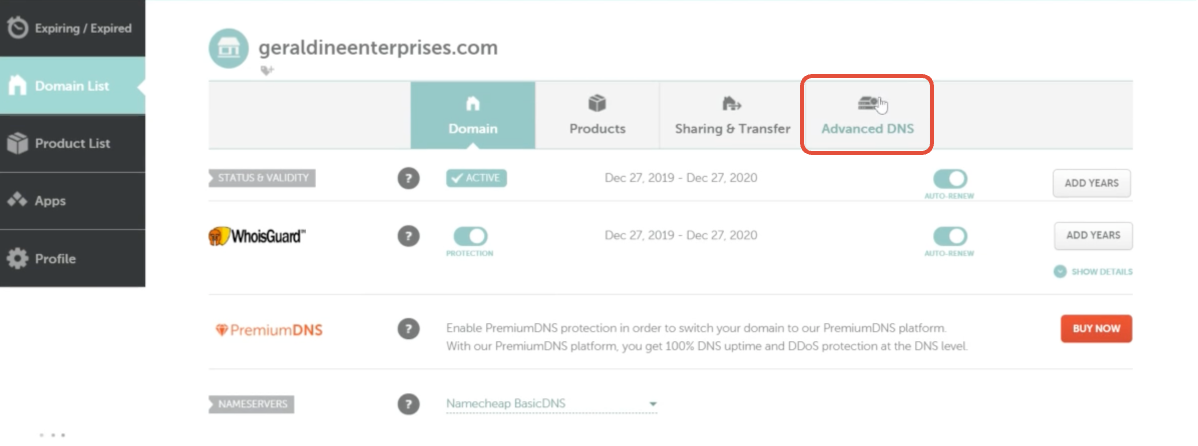
- Open the Advanced DNS tab.
- Click Add New Record.
- Choose TXT Record from the dropdown.
- Enter the host value (mg, replies, or @) for the first TXT record.
- Paste the first TXT record value copied from Mailgun.
- Click the green check to save the first TXT record.
- Click Add New Record again.
- Select TXT Record from the dropdown.
- Enter the host value that includes everything up to the subdomain part for the second TXT record.
- Paste the second TXT record value copied from Mailgun.
- Click the green check to save the second TXT record.
- Scroll down to the Mail Settings section and set the dropdown to Custom MX.
- Warning: Switching to Custom MX will affect any existing Google Workspace email on the main domain. Use a subdomain or be prepared to re add Google MX records.
- If the main domain is used with Google Workspace, first re add the five Google MX records (ASPMX.L.GOOGLE.COM, ALT1…, ALT2…, ALT3…, ALT4…) with priority values as shown in the article.
- Click Add New Record.
- Enter the host value (mg, replies, or @) for the first Mailgun MX record.
- Enter the value mxa.mailgun.org.
- Set the priority to 10.
- Click the green check to save the first MX record.
- Click Add New Record.
- Enter the host value (mg, replies, or @) for the second Mailgun MX record.
- Enter the value mxb.mailgun.org.
- Set the priority to 10.
- Click the green check to save the second MX record.
- Scroll back up to the Host Records area.
- Click Add New Record.
- Select CNAME Record from the dropdown.
- Enter the host value (email.mg, email.replies, or email) for the CNAME record.
- Enter the value mailgun.org.
- Click the green check to save the CNAME record.
- Return to the Mailgun dashboard.
- Click Verify DNS Settings.
- If any record still shows a pending status, wait a few minutes and click Verify DNS Settings again.
07What it looks like in HighLevel
08Settings that matter
- Host. Specifies the subdomain or root identifier for the DNS record (e.g., mg, replies, @, email.mg).
- Value. Contains the data required for the record type, such as SPF text, DKIM key, MX destination or CNAME target.
- Priority. Determines the order of MX records when multiple servers are listed; both Mailgun MX records use a priority of 10.
09Things to know before you rely on it
- The main domain cannot be shared with Google Workspace or another email provider when using Mailgun.
- If the main domain is used, you must re add the five Google MX records alongside Mailgun's MX records to keep Gmail functional.
- Domain selection must be under the US region; the EU region is not supported for this setup.
- DNS propagation may delay verification; records might not show a green checkmark immediately.
10If something goes wrong
- Switching to Custom MX can break existing Gmail or Google Workspace mail.. Re add the five Google MX records alongside the Mailgun MX records or use a subdomain for Mailgun to avoid conflict.
- Records are not showing a green checkmark after verification.. Confirm each host and value matches the entries shown in Mailgun, wait a few minutes for propagation, then click Verify DNS Settings again.
11How it connects to the rest of HighLevel
- Overview of Mailgun features and pricing in HighLevel Mailgun overview
- Step by step guide to configure Mailgun domain and DNS in HighLevel Mailgun configuration guide
- How to set up Mailgun with a GoDaddy domain in HighLevel GoDaddy domain setup
Michael's take

Mailgun domain setup is useful only if you actually need to send email from your own domain.
If you don’t plan to run email campaigns or transactional messages, you can skip this whole DNS configuration.