
01Who this is for
- Marketing agencies that send bulk campaigns and need a dedicated sending domain to protect client inboxes.
- SaaS Founders who want to route transactional emails through Mailgun while keeping their primary domain for Google Workspace.
- Ecommerce owners who require reliable delivery for order confirmations and prefer to use a subdomain for mail services.
02Mailgun DNS records, explained
The feature lets you point a domain or subdomain you own in Google Domains to Mailgun’s email infrastructure. When the DNS entries are correct, Mailgun handles SPF, DKIM and MX routing for the chosen domain. The platform shows a green check for each record once propagation is complete, allowing you to send and receive email through HighLevel’s conversation view. All configuration lives in the Mailgun dashboard (Sending > Add New Domain) and the DNS editor of Google Domains (domains.google.com > DNS). The records consist of two TXT entries, two MX values combined in one record, and a single CNAME entry.
03How businesses use Mailgun DNS records
- Digital marketing agency. The agency creates a subdomain like mg.agency.com in Mailgun, adds the required records in Google Domains, and then links the API key in HighLevel. This lets the agency send client newsletters without affecting their Google Workspace email.
- SaaS startup. The startup registers a subdomain such as email.app.com, follows the DNS steps, and verifies the domain in Mailgun. After adding the API key to HighLevel, the app can deliver welcome and password reset emails while keeping its main domain for employee Gmail accounts.
- Online retailer. The retailer adds a subdomain like orders.store.com, configures the SPF, DKIM, MX and CNAME records in Google Domains, and verifies the setup in Mailgun. HighLevel then routes order confirmation emails through Mailgun, preserving the store's primary domain for customer support email.
04The numbers and rules that matter
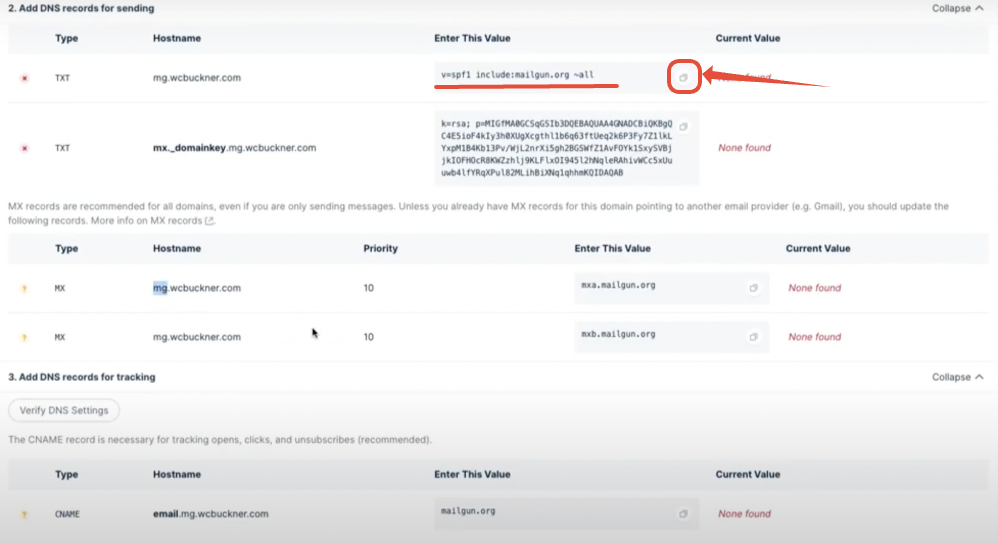
- Two TXT records: SPF (v=spf1 include: Mailgun.org ~all) and DKIM (longer TXT value).
- Both MX values: 10 mxa.mailgun.org and 10 mxb.mailgun.org.
05Before you start
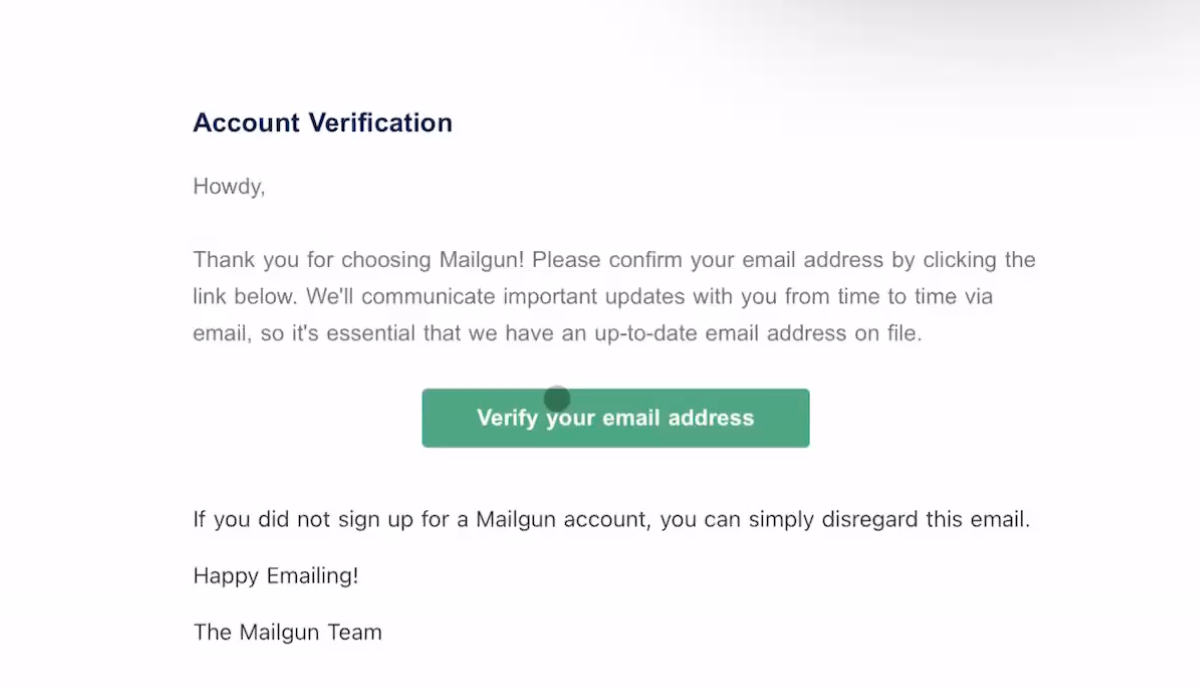
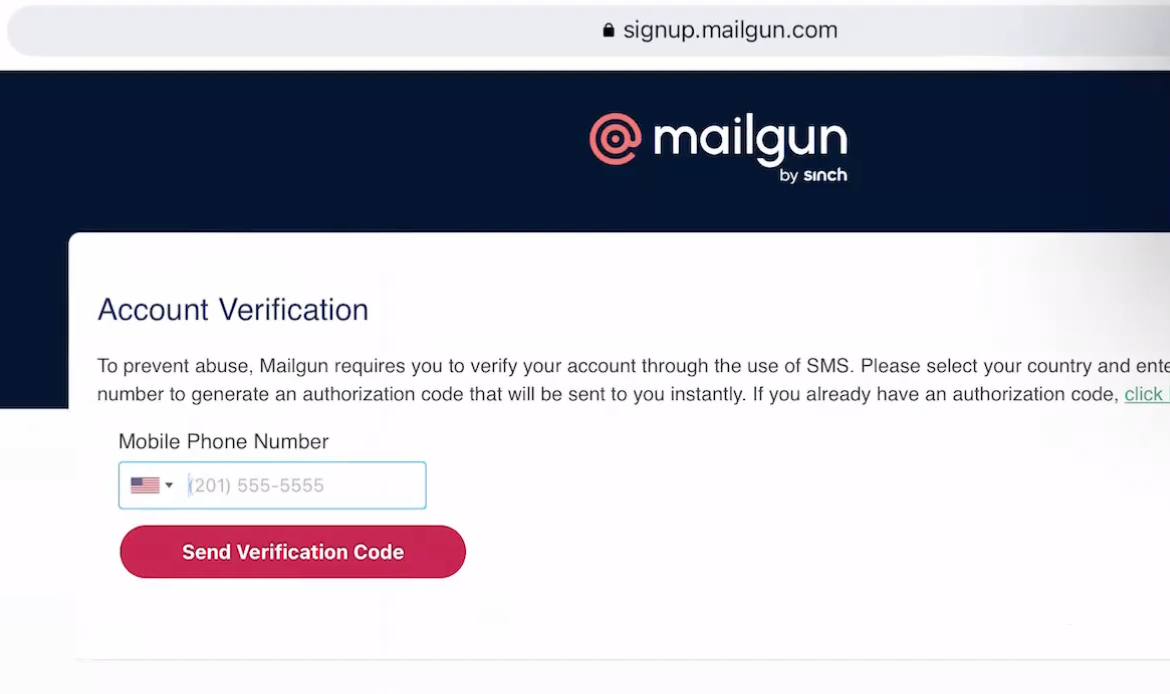
- A Mailgun account must be created and the email address verified.
- The domain to be used must be managed in Google Domains and you must have edit access to its DNS settings.
- Decide whether to use the root domain or a subdomain and ensure the choice is set in the US region.
06How to set up and use Mailgun DNS records in HighLevel
Sign up for Mailgun and add your domain
- Register at Mailgun.com and confirm the account via the verification email.
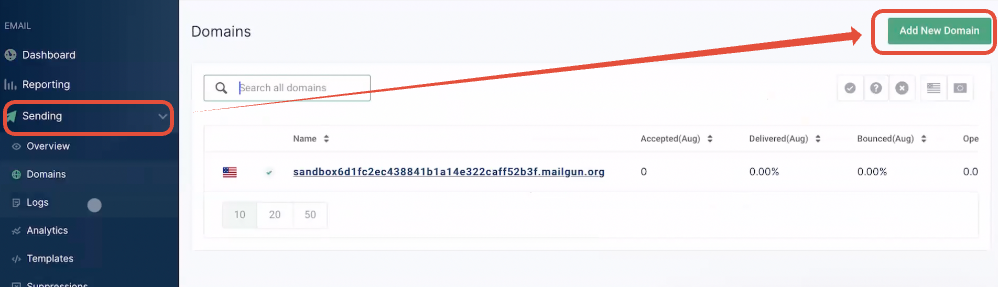
- Log in to Mailgun and open Sending > Add New Domain.
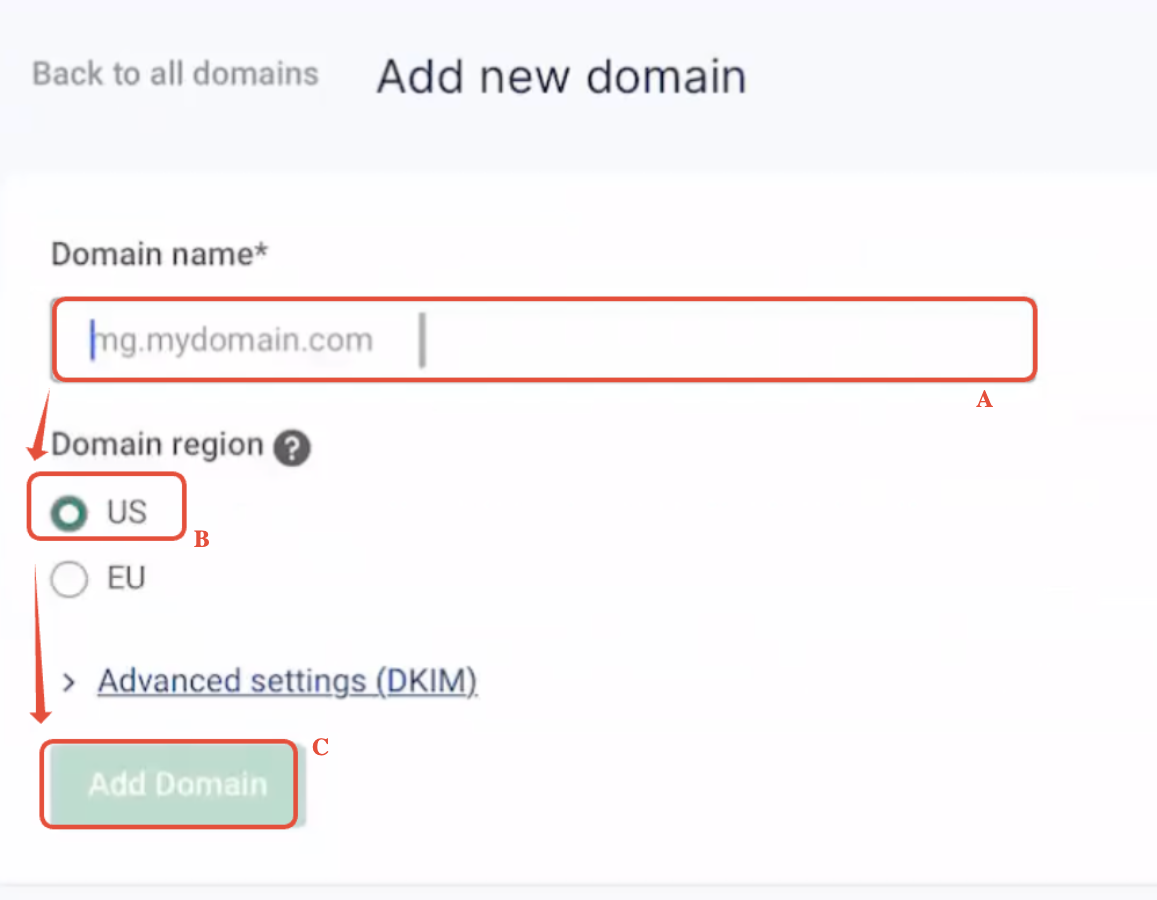
- Select either the root domain or create a subdomain such as mg.example.com, following guidance about sharing a domain.
- Make sure the domain is created under the US region, then click Add domain.
Access DNS records in Google Domains
- Sign in at domains.google.com.
- Click the domain you intend to configure.
- Select DNS from the left navigation panel.
Add the 1st TXT record (SPF)
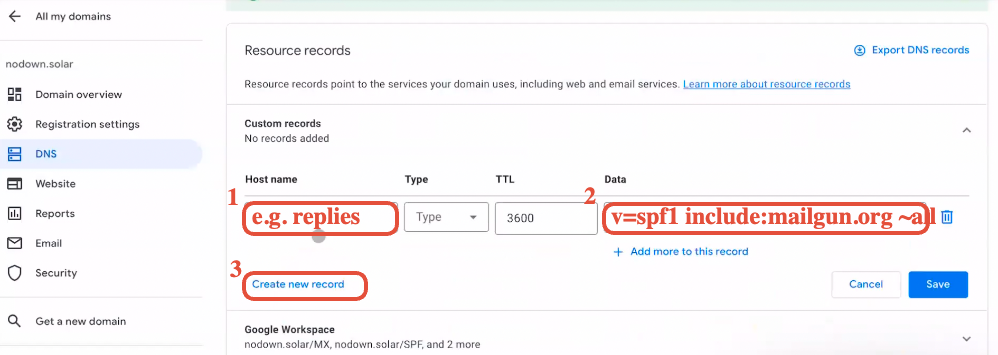
- Press Create new record.
- Enter the host name: use mg, replies, or @ for the root domain.
- Choose TXT from the Type dropdown.
- Paste v=spf1 include:mailgun.org ~all into the Data field; do not save yet.
Add the 2nd TXT record (DKIM)
- Press Create new record.
- Set the host name to the portion before the subdomain in the DKIM value.
- Select TXT as the record type.
- Paste the longer DKIM TXT string into the Data field.
Add the MX records
- Press Create new record.
- Enter the appropriate host name (mg, replies, or @).
- Choose MX from the Type options.
- Add the value 10 mxa.mailgun.org.
- Click +Add more and add the value 10 mxb.mailgun.org to the same record.
Add the CNAME record
- Press Create new record.
- Enter the host name as email.<prefix> (email.mg, email.replies, or email for the root).
- Select CNAME as the record type.
- Paste mailgun.org into the Data field.
Verify DNS and finish setup
- After all five records are entered, click Save.
- Return to the Mailgun dashboard and click Verify DNS Settings.
- If any record does not show a green check, wait for propagation and click Verify again.
- When all checks are green, copy the Mailgun API key, add it to HighLevel email service settings, and send a test email.
07What it looks like in HighLevel
08Settings that matter
- Host name. Specifies the prefix that identifies the subdomain or root for each DNS entry.
- Type. Determines the DNS record category such as TXT, MX or CNAME.
- Data. Contains the value that Mailgun requires for SPF, DKIM, MX routing or CNAME target.
09Things to know before you rely on it
- Domain creation must be performed in the US region; the EU region is not supported for this setup.
- If you keep Gmail on the root domain, use a subdomain for Mailgun to avoid disrupting existing Google Workspace MX records.
- Google Domains stores both MX values in a single record using the +Add more option.
- Propagation can take a few hours; records may not immediately display a green check in Mailgun.
10If something goes wrong
- DNS records do not show a green check in Mailgun. Wait for propagation, then click Verify DNS Settings again.
- Saving after the first record slows the process. Add all five records before clicking Save to avoid repeated page reloads.
11How it connects to the rest of HighLevel
- Mailgun overview, pricing and domain options Mailgun overview
- Step by step guide to set up Mailgun domains and DNS Mailgun DNS guide
- How to enable Mailgun email verification in HighLevel Email verification
- HighLevel pricing and plans Pricing
- Start a 30 day HighLevel trial Free trial
Michael's take

Michael ReimerFounder of CRM Pros, HighLevel Commander and Certified Admin
Mailgun DNS setup is useful but not essential for everyone. If you already have a reliable email provider, skip it.
Get More InformationOpens on HighLevelPublished November 2, 2026 · Updated November 16, 2026