
01Mailgun DNS records, explained
Mailgun DNS records are the set of DNS entries required for Mailgun to send email on behalf of a domain. The records include two TXT records for SPF and DKIM, two MX records for inbound routing, and one CNAME record for click and open tracking.
When you add these records in Cloudflare’s DNS panel, Mailgun can verify the domain and you can then obtain the API key and send a test email to confirm delivery.
02How businesses use Mailgun DNS records
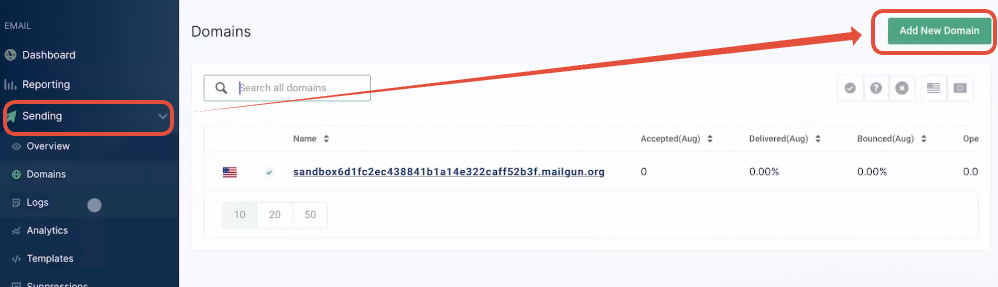
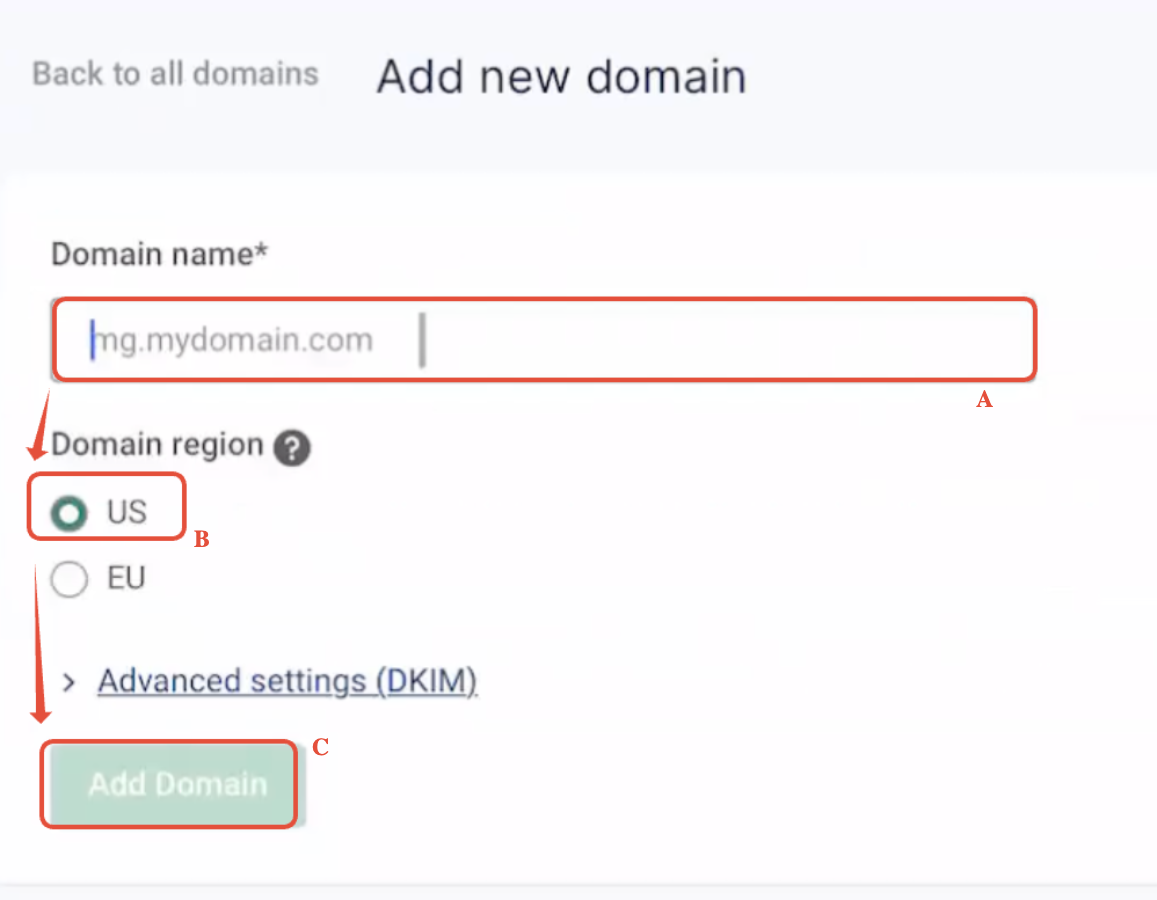
- Verify domain for sending email. Create a Mailgun account, add your domain or subdomain, then add the five required DNS records in Cloudflare. Once Mailgun shows green checkmarks, you can obtain the API key and begin sending email.
- Separate mail streams with subdomains. If you have Google Workspace handling email for your main domain, set up a subdomain such as mg.companyname.com. Add the same five records for that subdomain so Mailgun handles only that portion of your email traffic, leaving your main MX records for Google Workspace untouched.
03The numbers and rules that matter
- 5 DNS records are required: 2 TXT, 2 MX, 1 CNAME.
- SPF TXT content: V=spf1 include: Mailgun.org ~all.
- DKIM TXT record name varies per domain.
- MX priority: 10.
04Before you start
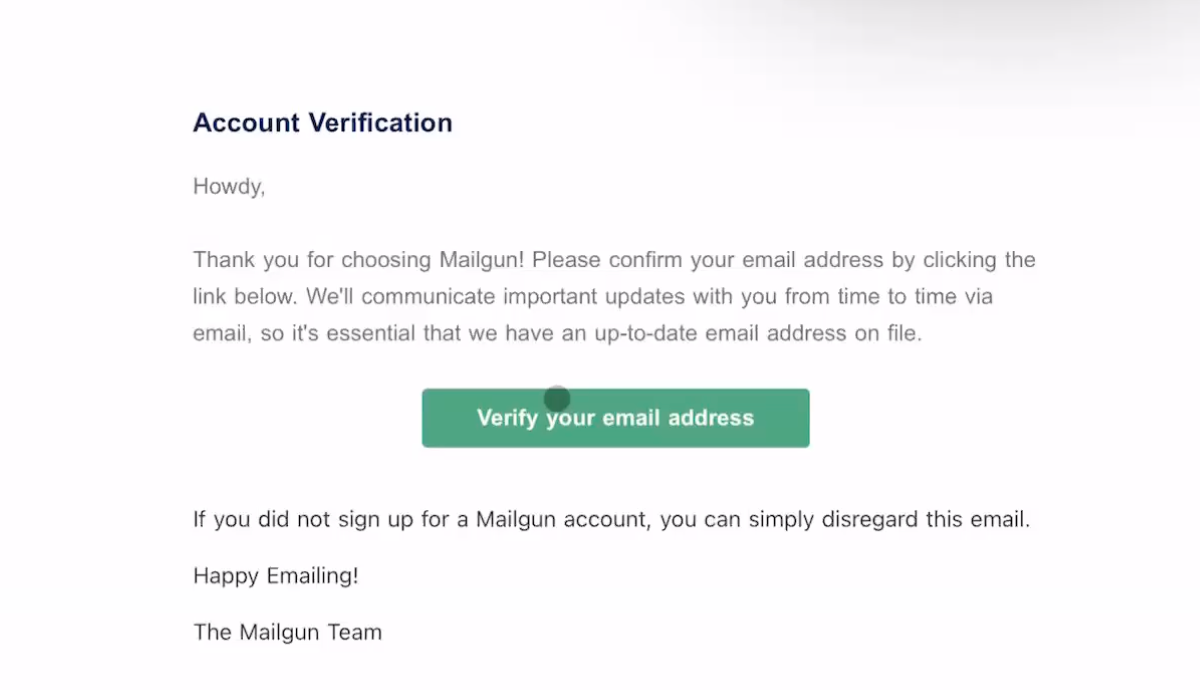
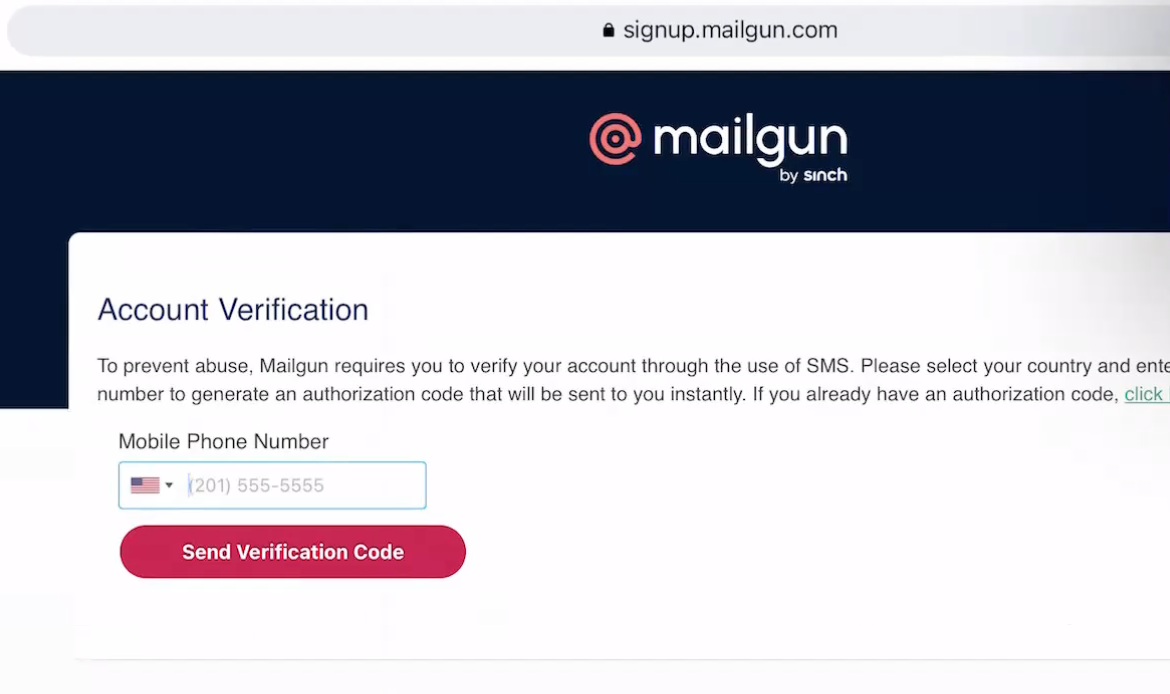
- Mailgun account created and email address verified.
- Cloudflare account with the domain added.
05How to set up and use Mailgun DNS records in HighLevel
Add DNS records in cloudflare
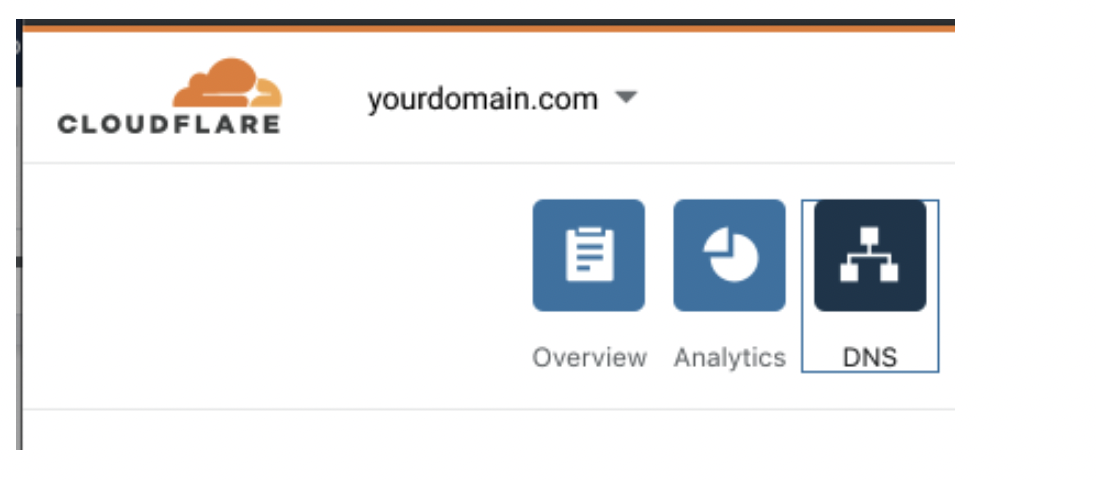
- Log in to the Cloudflare dashboard and select your account and domain.
- Click DNS > Records.
- Click + Add Record.
- Add the first TXT record: Type TXT, name as the host (mg, replies, or @ for the main domain), content v=spf1 include: Mailgun.org ~all, then Save.
- Add the second TXT record: Type TXT, name as the DKIM prefix provided by Mailgun (copy everything up to the subdomain part), content the long DKIM value from Mailgun, then Save.
- Add the first MX record: Type MX, name as the host (mg, replies, or @), mail server mxa.mailgun.org, priority 10, then Save.
- Add the second MX record: Type MX, name as the host (mg, replies, or @), mail server mxb.mailgun.org, priority 10, then Save.
- Add the CNAME record: Type CNAME, name as email.<subdomain> (email.mg, email.replies, or email for the main domain), target mailgun.org, click the orange cloud icon to switch it to DNS only (gray cloud), then Save.
- Return to Mailgun and click Verify DNS Settings. If some records are not green, wait for propagation and click Verify DNS Settings again.
06What it looks like in HighLevel
07Settings that matter
- CNAME proxy toggle. Switch the orange cloud icon to DNS only (gray cloud) so Mailgun can verify the CNAME record directly.
08Things to know before you rely on it
- DNS propagation can take a little time; Cloudflare updates are typically fast but can occasionally take a few hours.
09If something goes wrong
- CNAME record stays proxied and verification fails. Click the orange cloud icon in Cloudflare and change it to DNS only (gray cloud).
- Records do not show a green checkmark in Mailgun. Wait for DNS propagation, then click Verify DNS Settings again.
Michael's take

Michael ReimerFounder of CRM Pros, HighLevel Commander and Certified Admin
I was initially unsure whether Cloudflare was required, but the five DNS entries are necessary for Mailgun to verify domain ownership and route mail. Once the records are verified, you pull the API key from Mailgun, add it to your HighLevel email service settings, and send a test email to make sure everything works.
Get More InformationOpens on HighLevelPublished November 2, 2026 · Updated November 3, 2026