
01Who this is for
- Developers who need direct file access to upload custom plugins or edit configuration files.
- Agency owners managing multiple client WordPress sites and requiring a fast way to move large files.
- Site administrators who need to retrieve backups or replace corrupted core files.
02FTP access, explained
The FTP feature provides a standard file transfer connection to the server where a HighLevel WordPress site lives. After you obtain the host address, port, username and password from the WordPress Hosting dashboard, any FTP client can open a session and display the remote directory structure. Once connected, the client shows two panes: the left pane for your local computer files and the right pane for the site’s files on the server, allowing drag and drop transfers.
03How businesses use FTP access
- Digital marketing agency. The agency pulls the FTP host and login details from the dashboard, opens FileZilla, and uploads a custom theme for a client’s site. The theme files are dragged from the local pane to the server pane, making the design live right away.
- Ecommerce store. Store operators use FTP to download the wp config.php file, edit database connection settings locally, then re upload the edited file through FileZilla to resolve configuration problems without entering the WordPress admin.
- SaaS startup. The startup’s developer accesses the server via FTP to retrieve a specific plugin folder for backup. They select the folder on the right pane, download it to the left pane, and store it safely before testing updates.
04The numbers and rules that matter
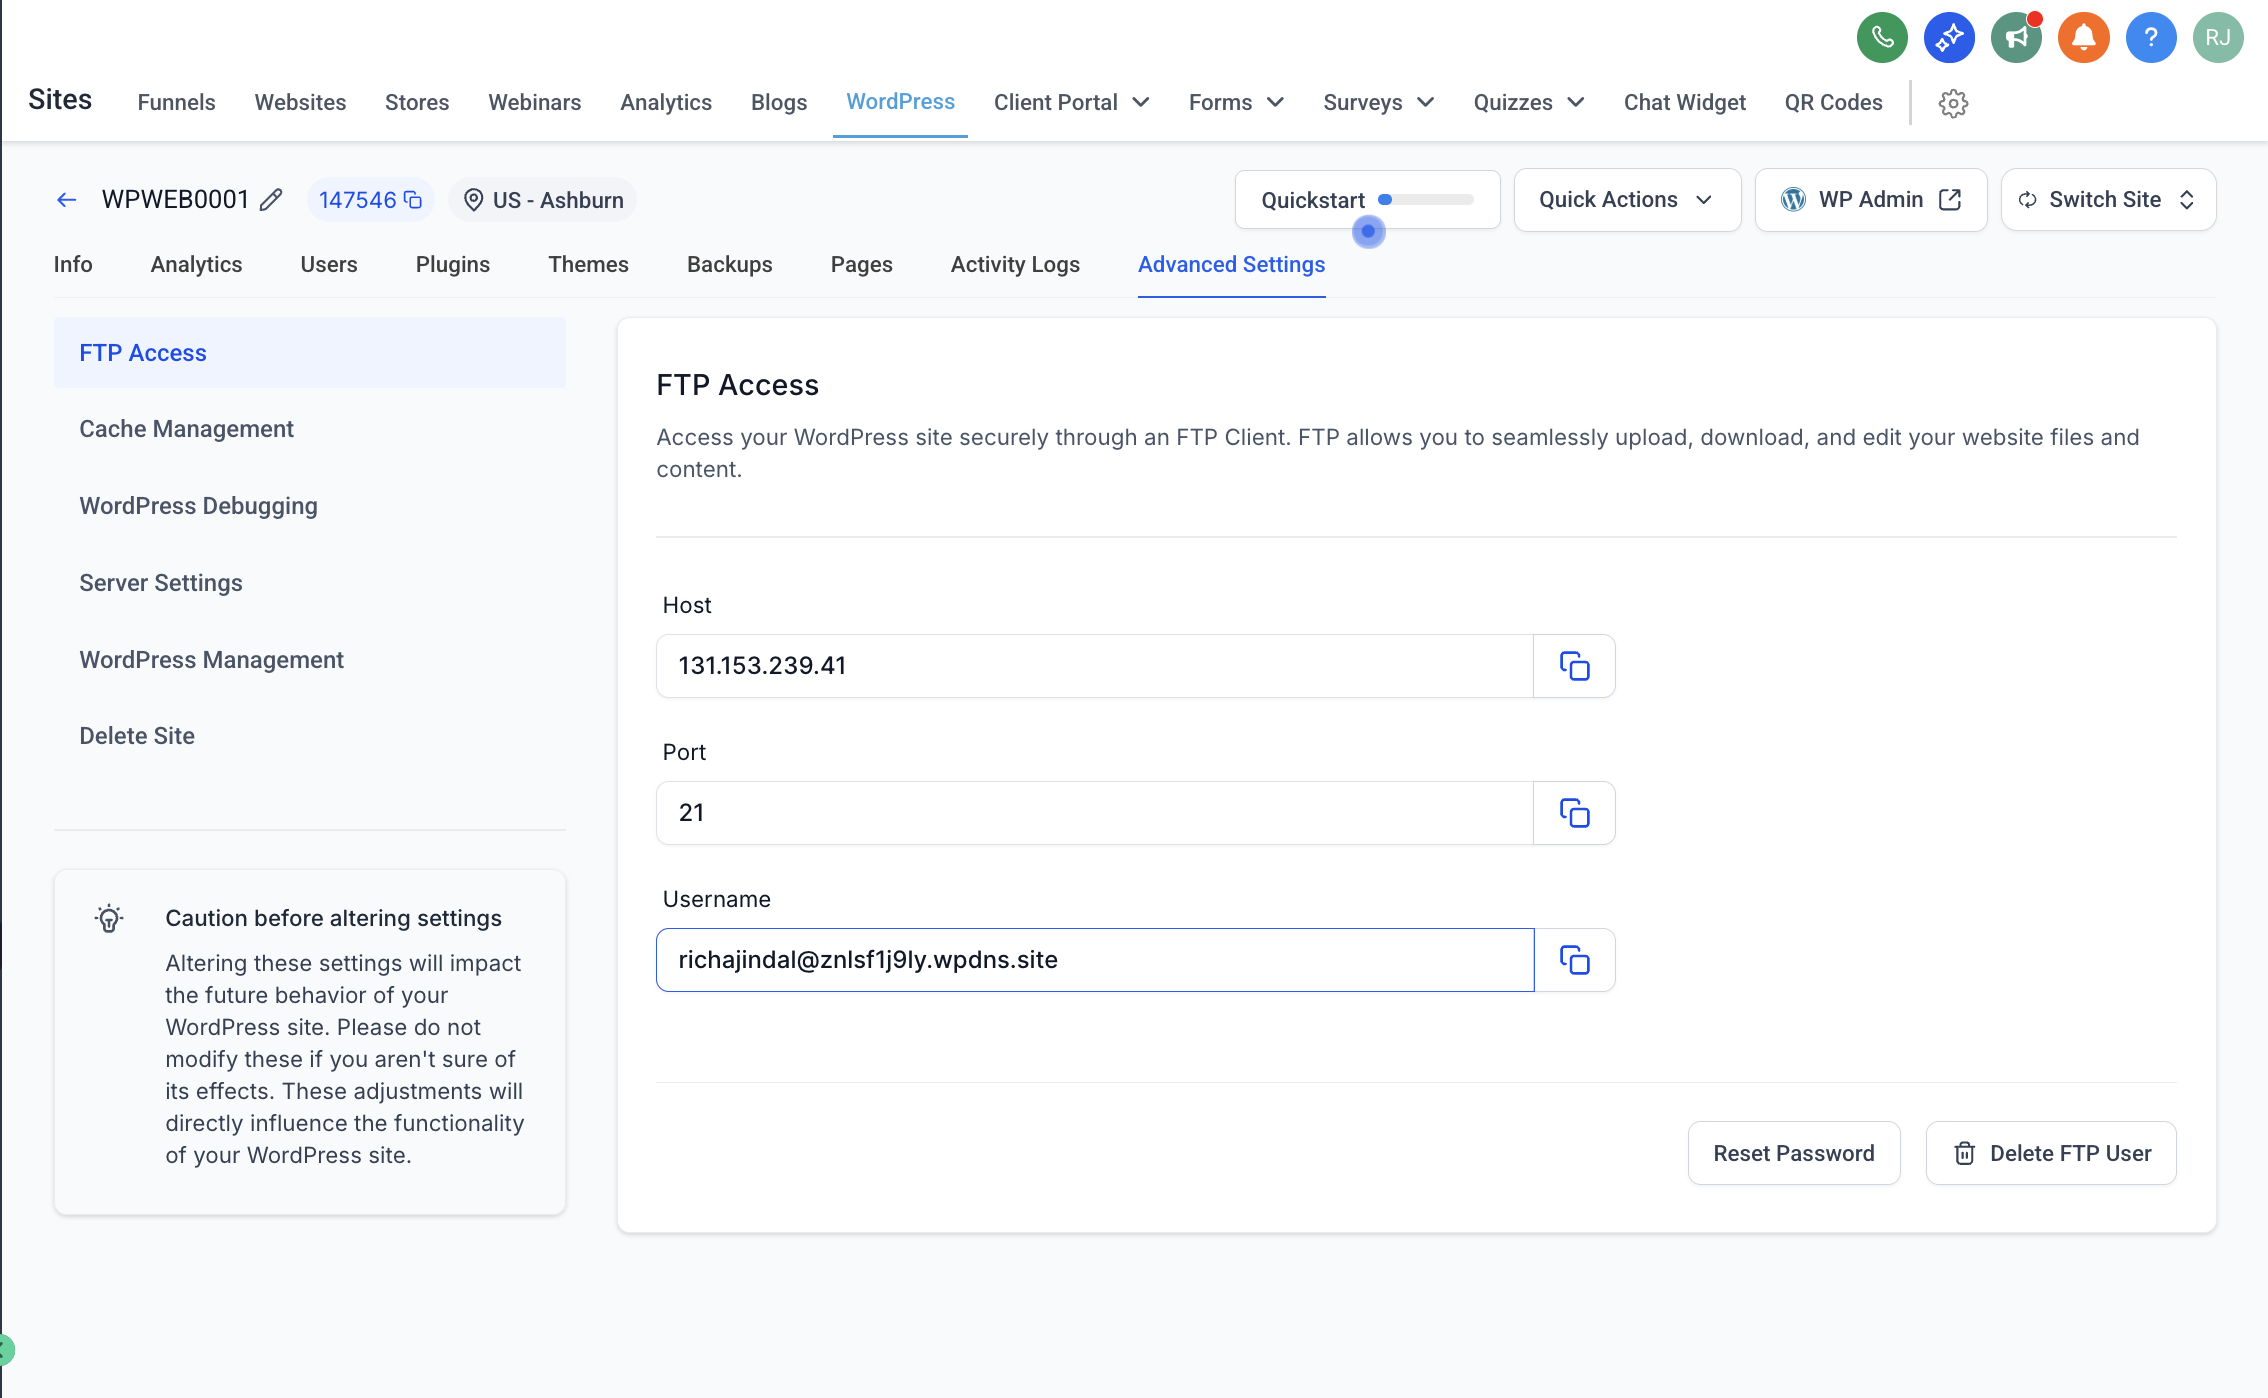
- Host is listed in the WordPress Hosting dashboard, e.g., 103.67.202.37.
- Port is usually 21.
- FileZilla client downloads are available for Windows (64 bit), macOS (Apple Silicon), macOS (Intel), and Linux (64 bit).
05Before you start
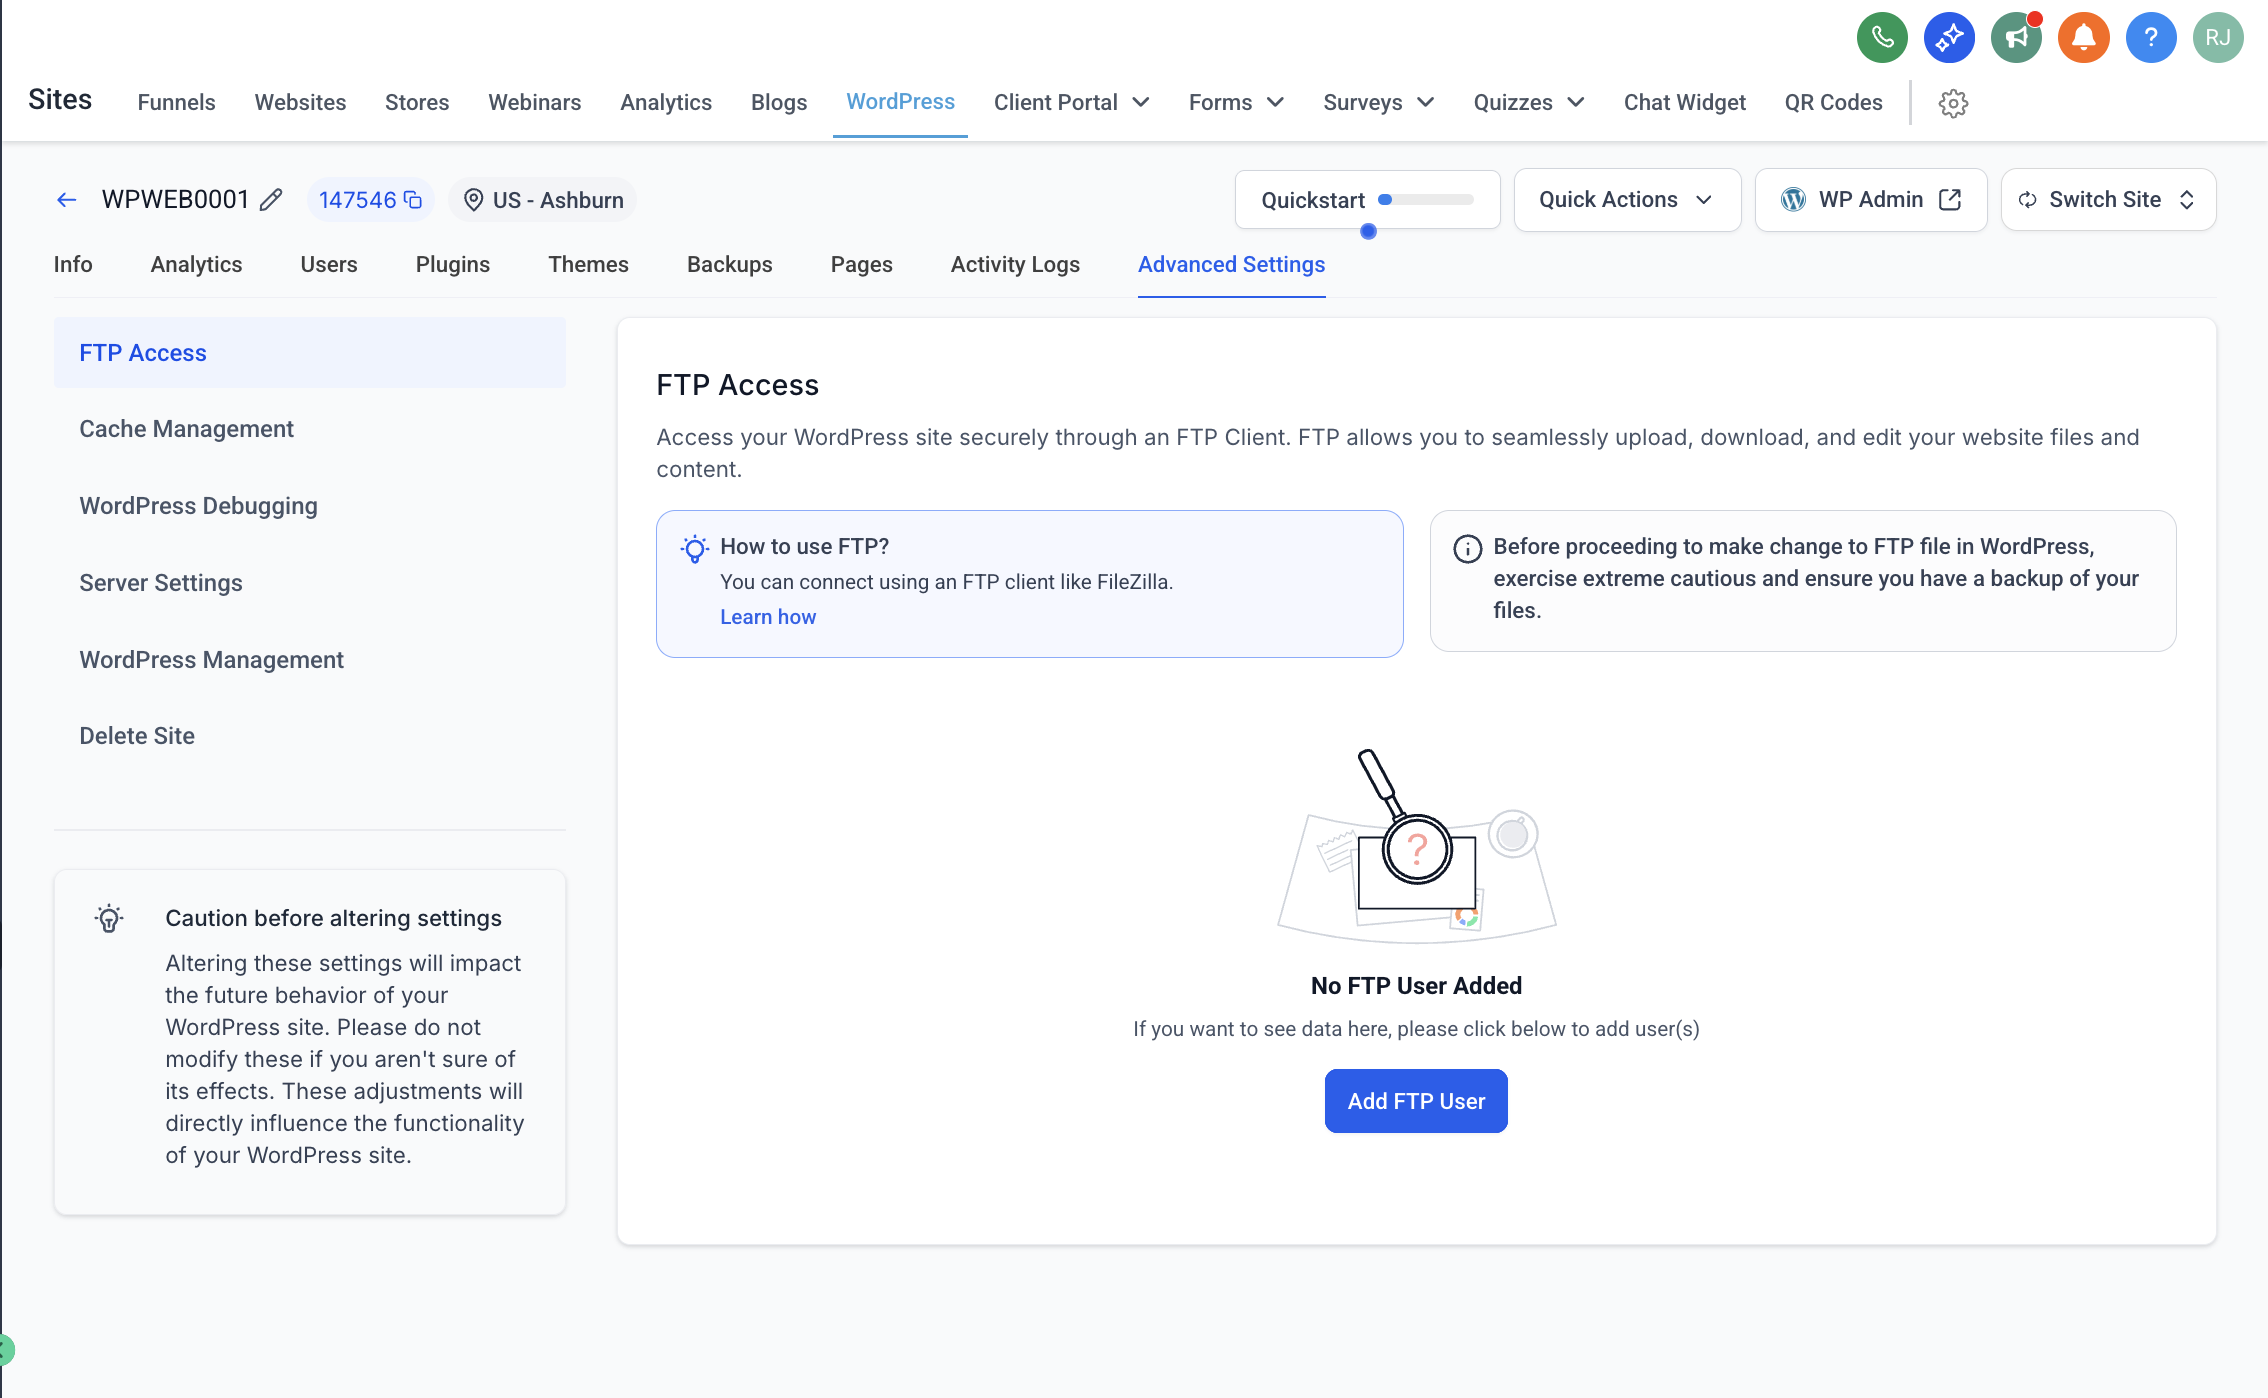
- FTP host, port, username and password must be retrieved from Sites > WordPress > Advanced Settings > FTP Access.
- FileZilla client must be downloaded and installed on the computer that will connect.
06How to set up and use FTP access in HighLevel
Connect to a WordPress site on HighLevel via FTP using FileZilla
- Download the FileZilla client that matches your operating system from the official website.
- Run the installer and follow the prompts to install FileZilla on your computer.
- Launch FileZilla, fill in the Host, Username, Password and Port fields with the values from the dashboard, then click Quickconnect.
- Use the right hand pane to view server files and the left hand pane for local files; drag and drop items to transfer them.
- Do not delete files unless you know what they do.
- Download a backup before making any changes.
07What it looks like in HighLevel
08Settings that matter
- Host. Specifies the server address for the FTP connection, typically an IP such as 103.67.202.37.
- Port. Defines the network port used for FTP; the default is 21.
- Username. The FTP login name supplied in the HighLevel dashboard.
- Password. The secret key for FTP authentication; you can reset it from the dashboard if needed.
09Things to know before you rely on it
- FTP credentials are generated per WordPress site and are only available in the Advanced Settings section.
- Port 21 is the usual value; if a different port is required it must be shown in the dashboard.
- Downloading or editing files should be done cautiously; deleting unknown files may break the site.
10If something goes wrong
- Can't connect. Verify that the host IP, port number and password are entered exactly as shown in the dashboard.
- Timeout error. Enable passive mode in FileZilla under Settings to improve connection stability.
- Permission denied. Reset the FTP password in the dashboard or contact your admin for proper access.
11How it connects to the rest of HighLevel
- Create and manage WordPress sites in HighLevel WordPress site setup
- Activate a WordPress hosting plan Hosting activation
- Manage plugins and themes on HighLevel WordPress sites Plugin and theme management
Michael's take

Michael ReimerFounder of CRM Pros, HighLevel Commander and Certified Admin
Using FTP gives you direct control over your WordPress files, but be sure to back up files before making any changes.
Get More InformationOpens on HighLevelPublished November 2, 2026 · Updated November 17, 2026