
01Who this is for
- Agency owners who manage client websites need a quick way to move sites to HighLevel without manual backups.
- Freelance developers can shift WordPress projects to HighLevel hosting while keeping client sites online during the move.
02LC Migrator, explained
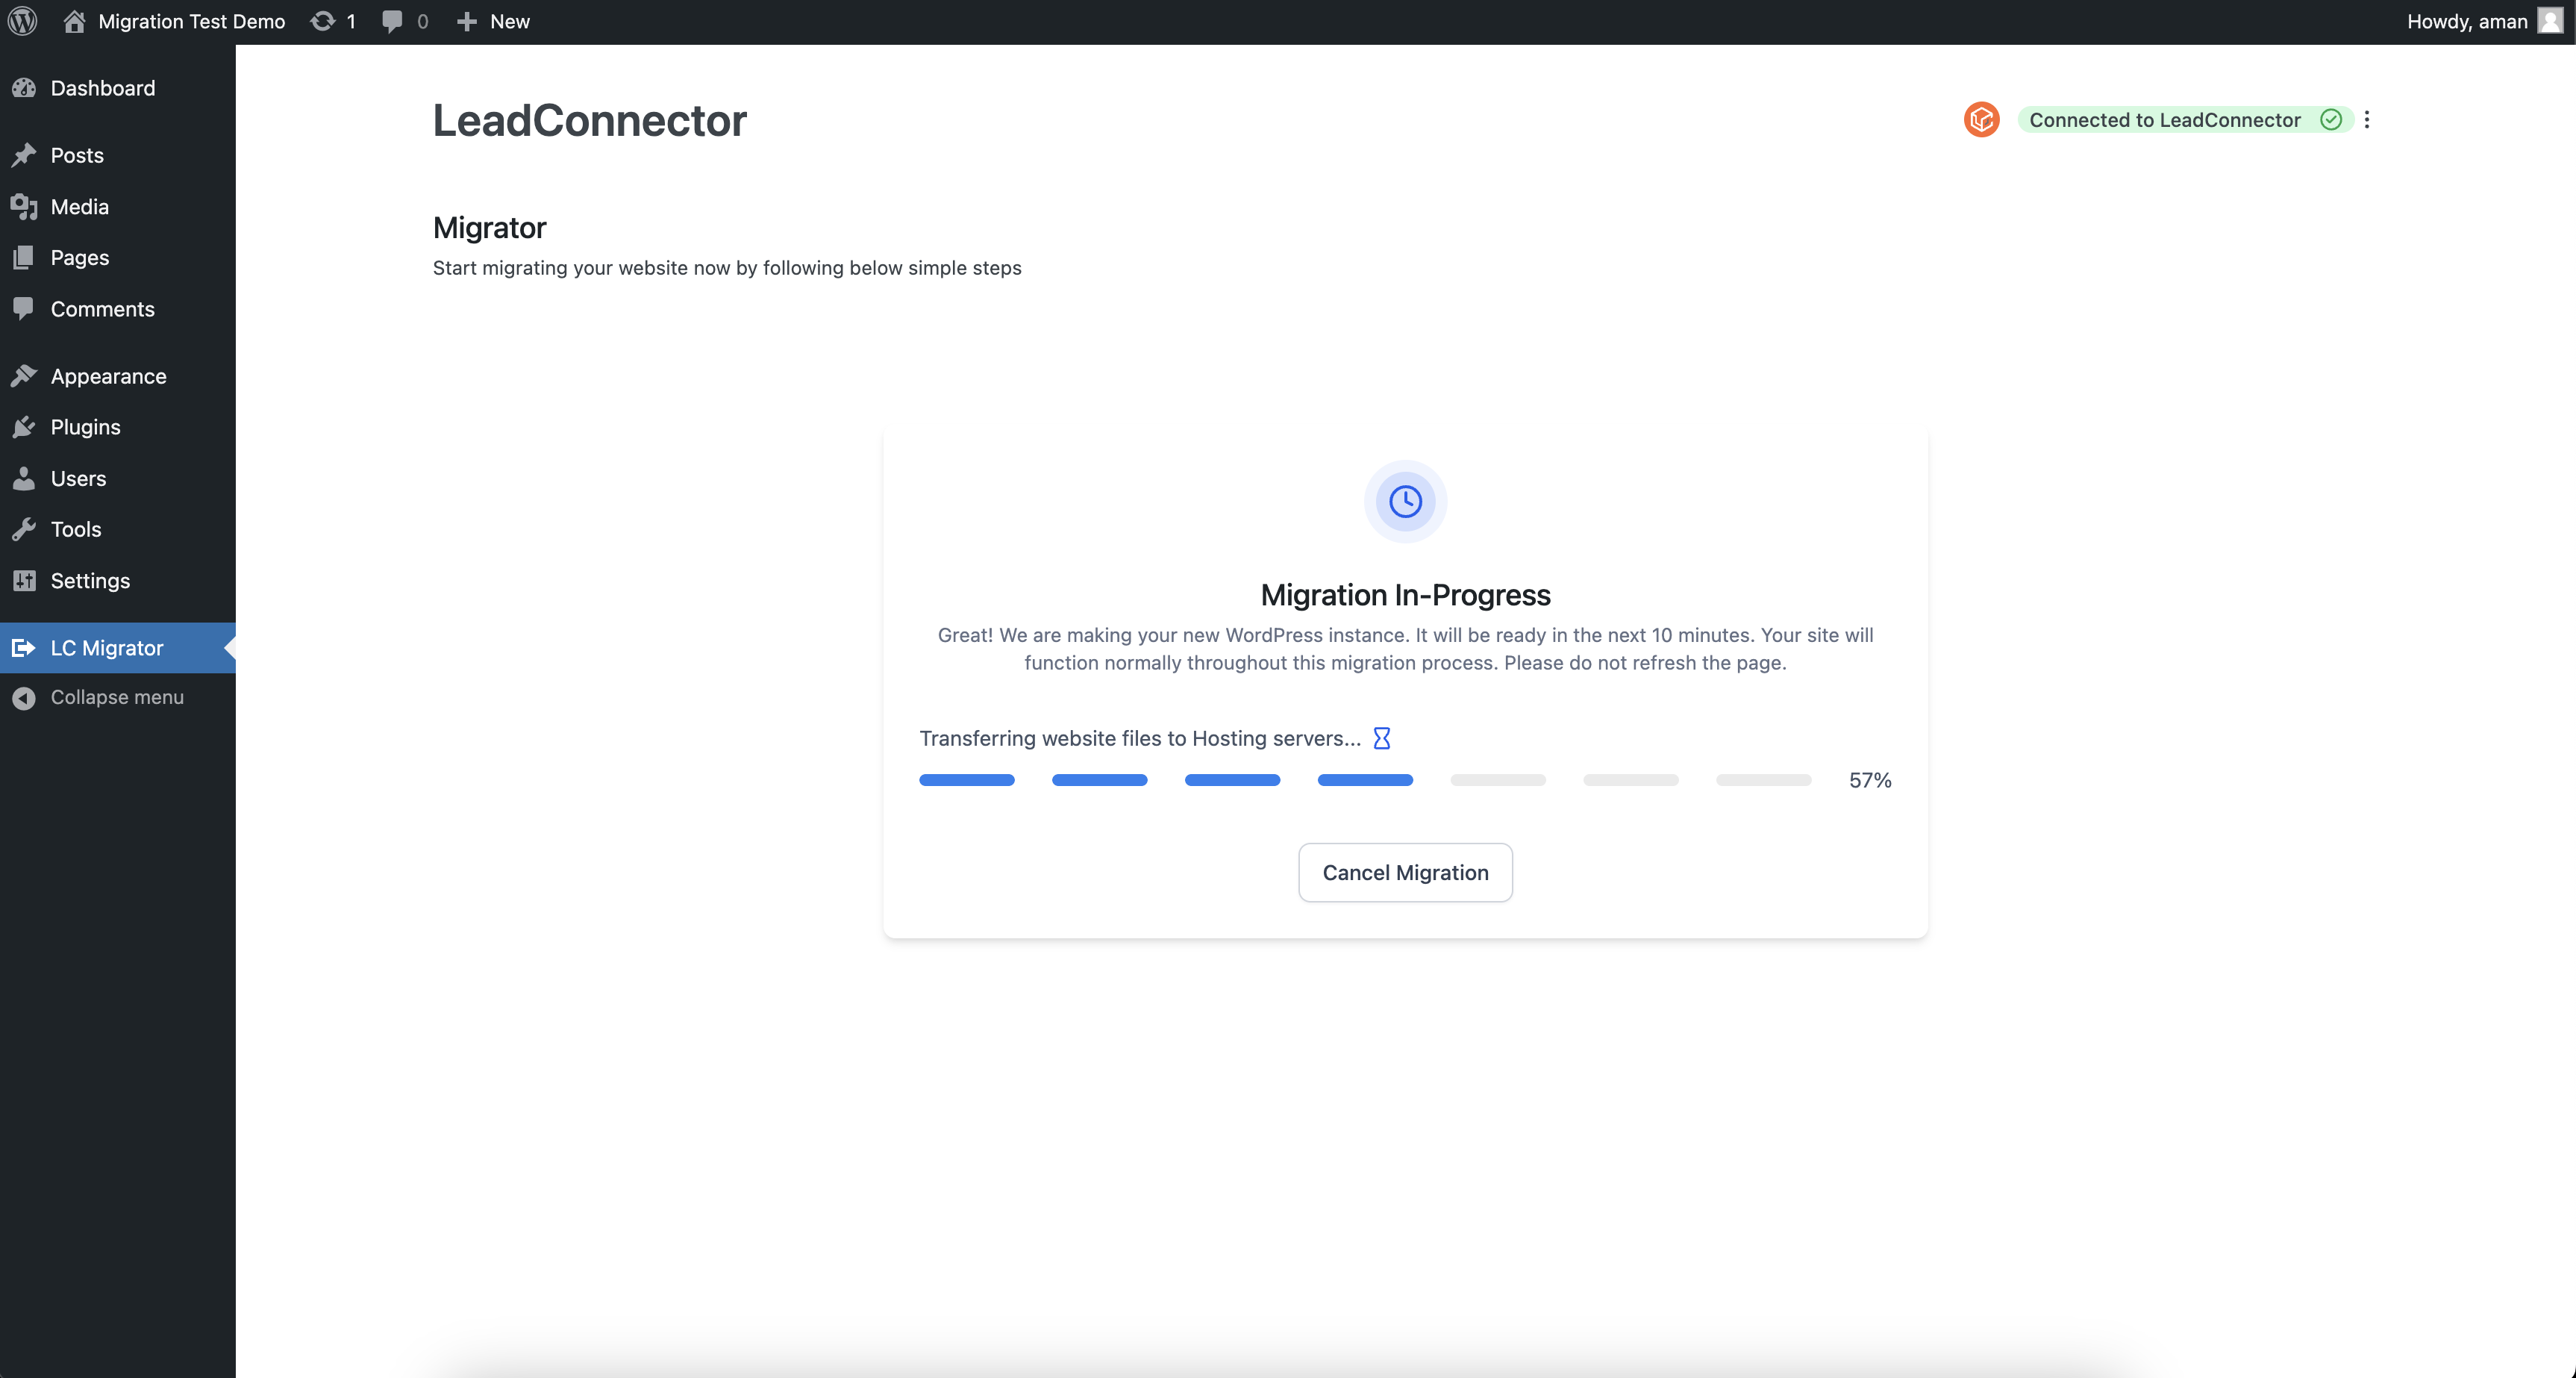
The LC Migrator plugin automates the transfer of a WordPress site into the HighLevel WordPress hosting environment. It moves the site files, database and configuration settings, then lets the user open the new site from within the HighLevel dashboard. The plugin displays a progress bar and alerts if the migration fails.
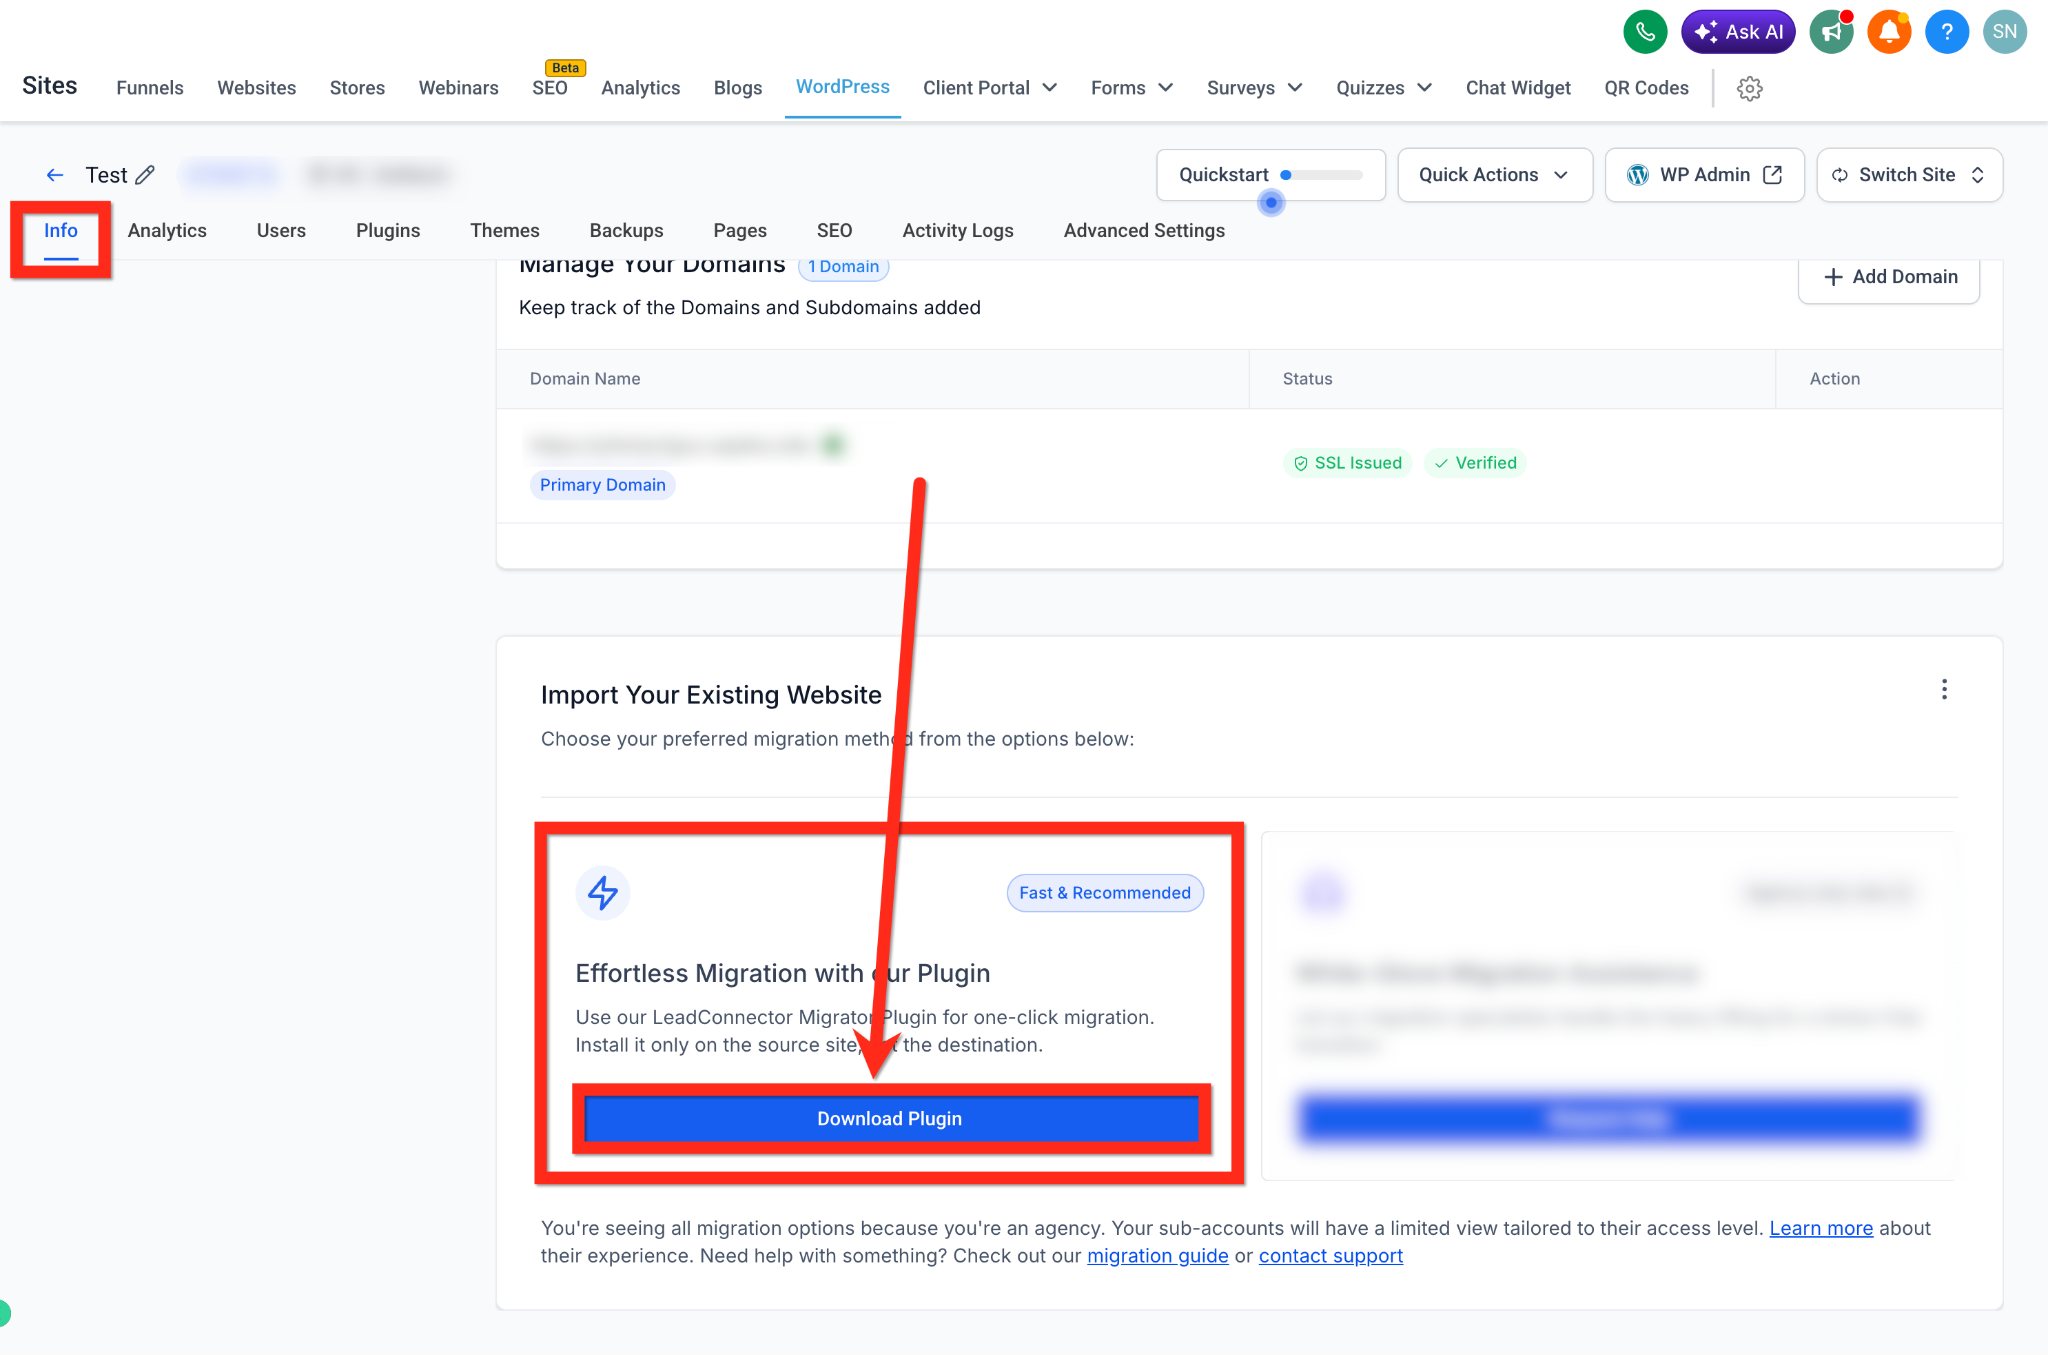
The tool lives inside the HighLevel agency interface under Sites > WordPress. From there the user starts a migration, chooses the self service LC Migrator option, downloads the plugin and installs it on the source WordPress site. After activation, HighLevel controls the transfer.
If agencies prefer assistance, they can request a white glove migration. In that flow the plugin creates a temporary secure link that gives HighLevel’s migration team temporary access to the source site, removing the need to share admin passwords.
03How businesses use LC Migrator
- Marketing agency. The agency installs LC Migrator on a client’s WordPress site, starts the migration from the HighLevel dashboard, and watches the progress bar until the new site is ready for review.
- Web design studio. The studio generates a secure access link with LC Migrator, submits a white glove request in HighLevel, and lets the migration team move the site while the studio prepares design updates.
- Consulting firm. The firm uses the self service option to move internal WordPress resources to HighLevel, then checks pages, images and forms on the new site before pointing DNS to the new hosting.
04The numbers and rules that matter
- No file size limit in the plugin; hosting plan storage limits still apply.
- Secure links are valid for 24 hours to 7 days, default 3 days.
- Links generated Friday through Sunday have a minimum duration of 4 days.
- Most migrations are completed within 1 to 3 business days, depending on website size and complexity.
05Before you start
- Agency account access in HighLevel
- Administrator access to the source WordPress site
- A HighLevel WordPress hosting plan that will receive the site
06How to set up and use LC Migrator in HighLevel
Set up and use LC Migrator
- Log in to the HighLevel agency account.
- Open Sites > WordPress and start a new migration, selecting LC Migrator.
- Download the LC Migrator plugin file.
- Log in to the original WordPress site.
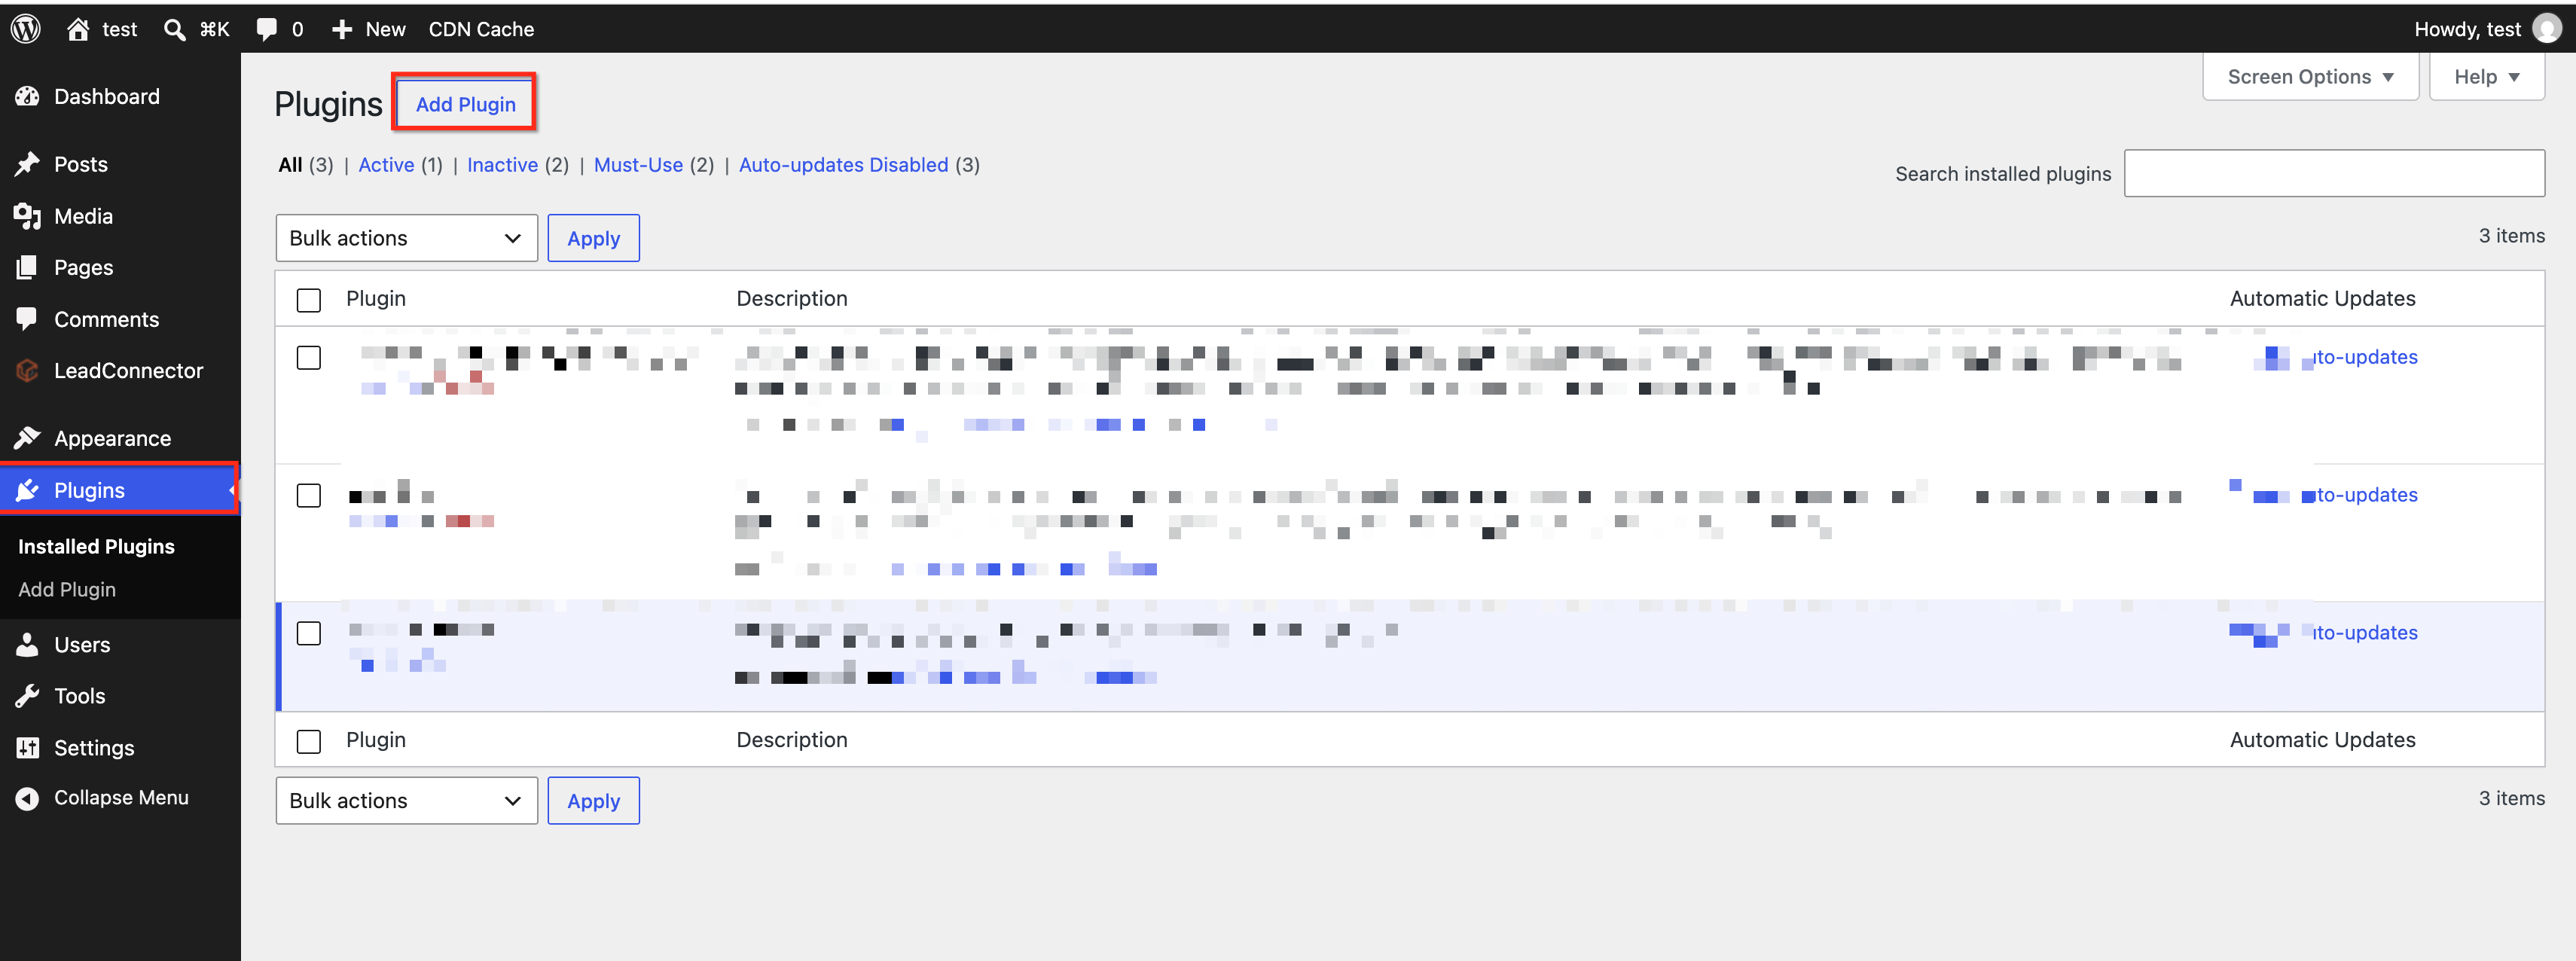
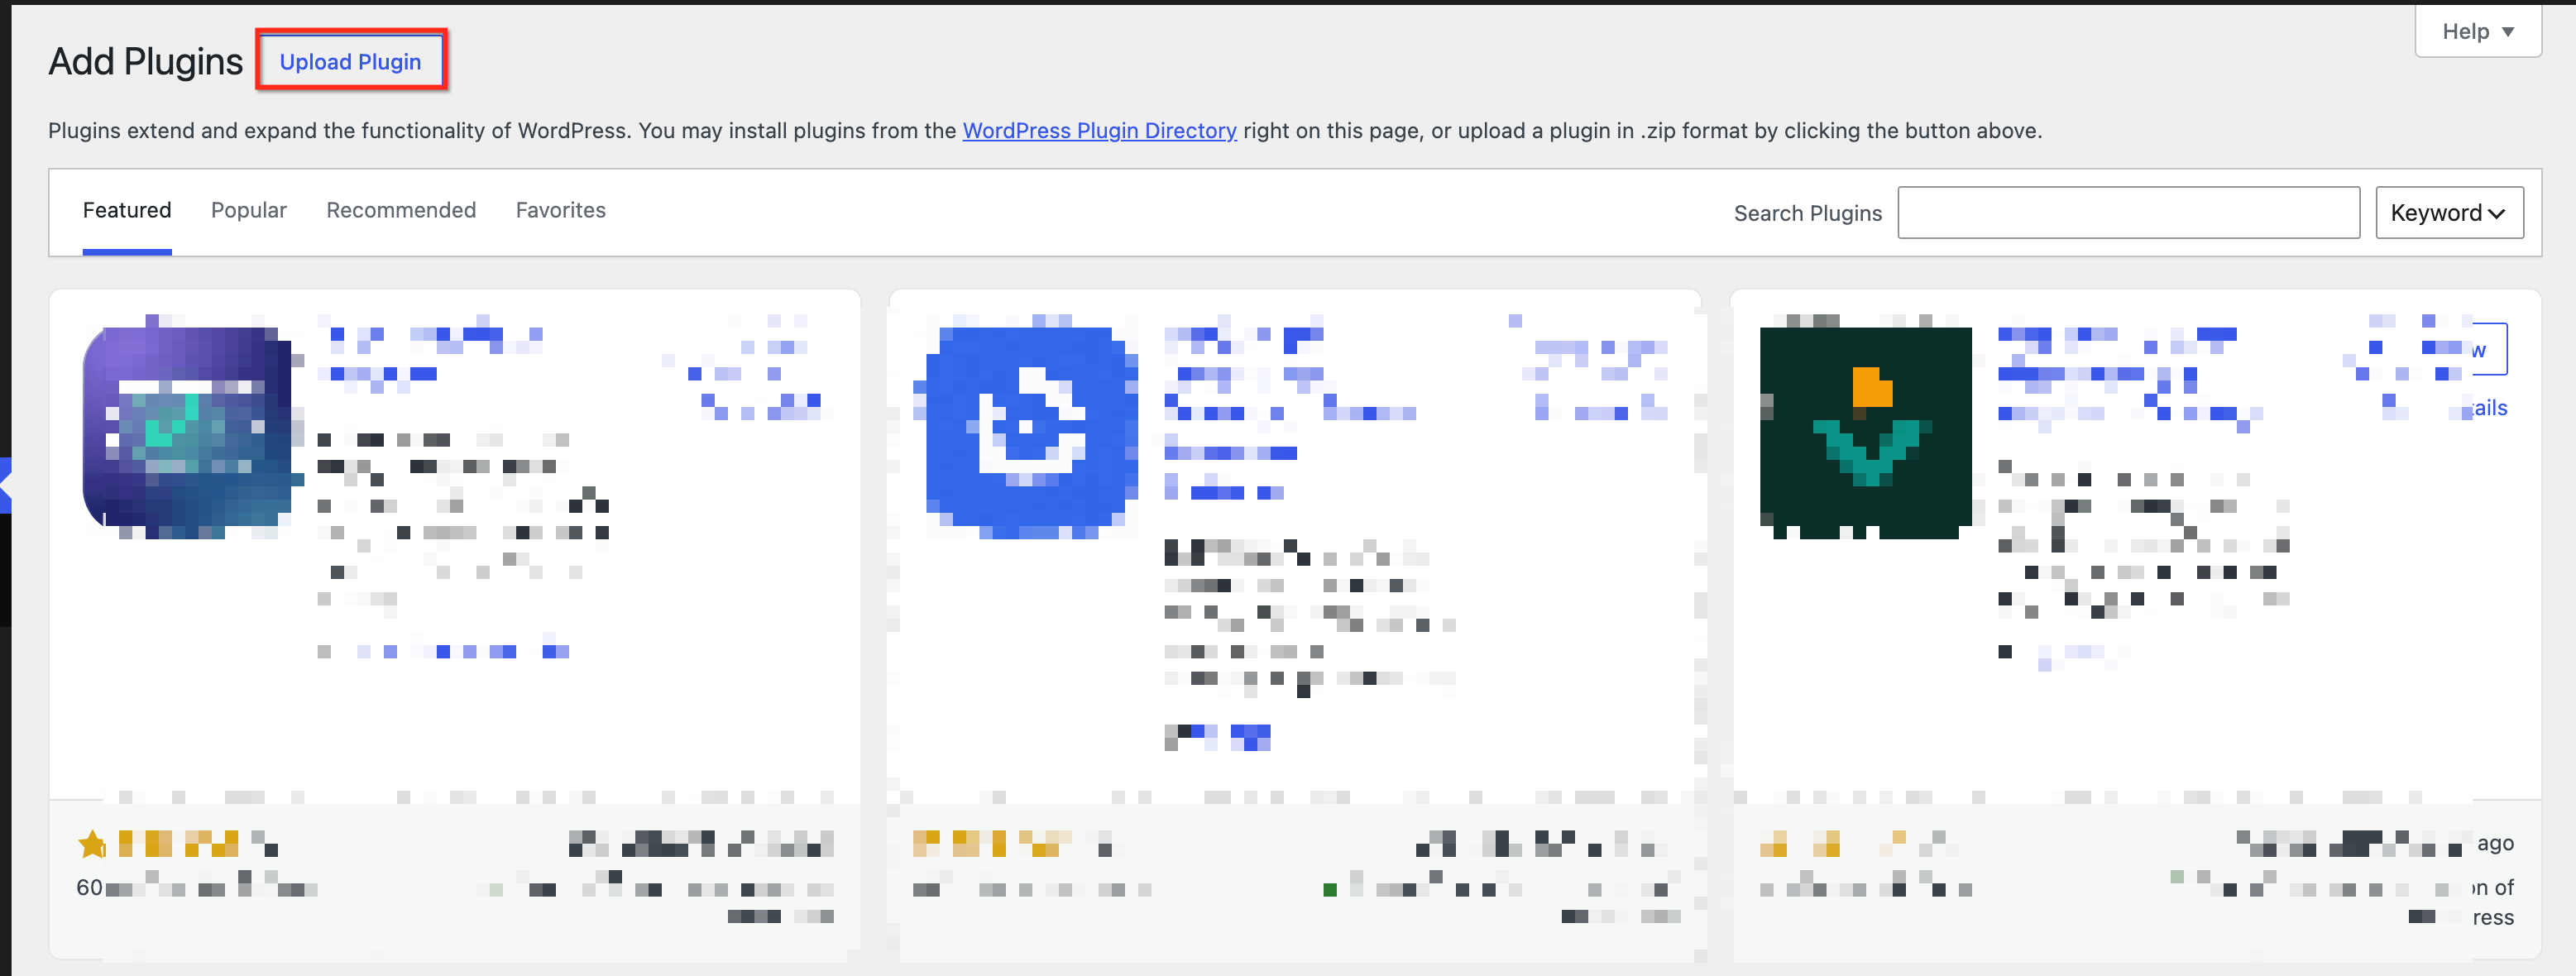
- Upload the plugin zip under Plugins > Add Plugin > Upload Plugin and activate it.
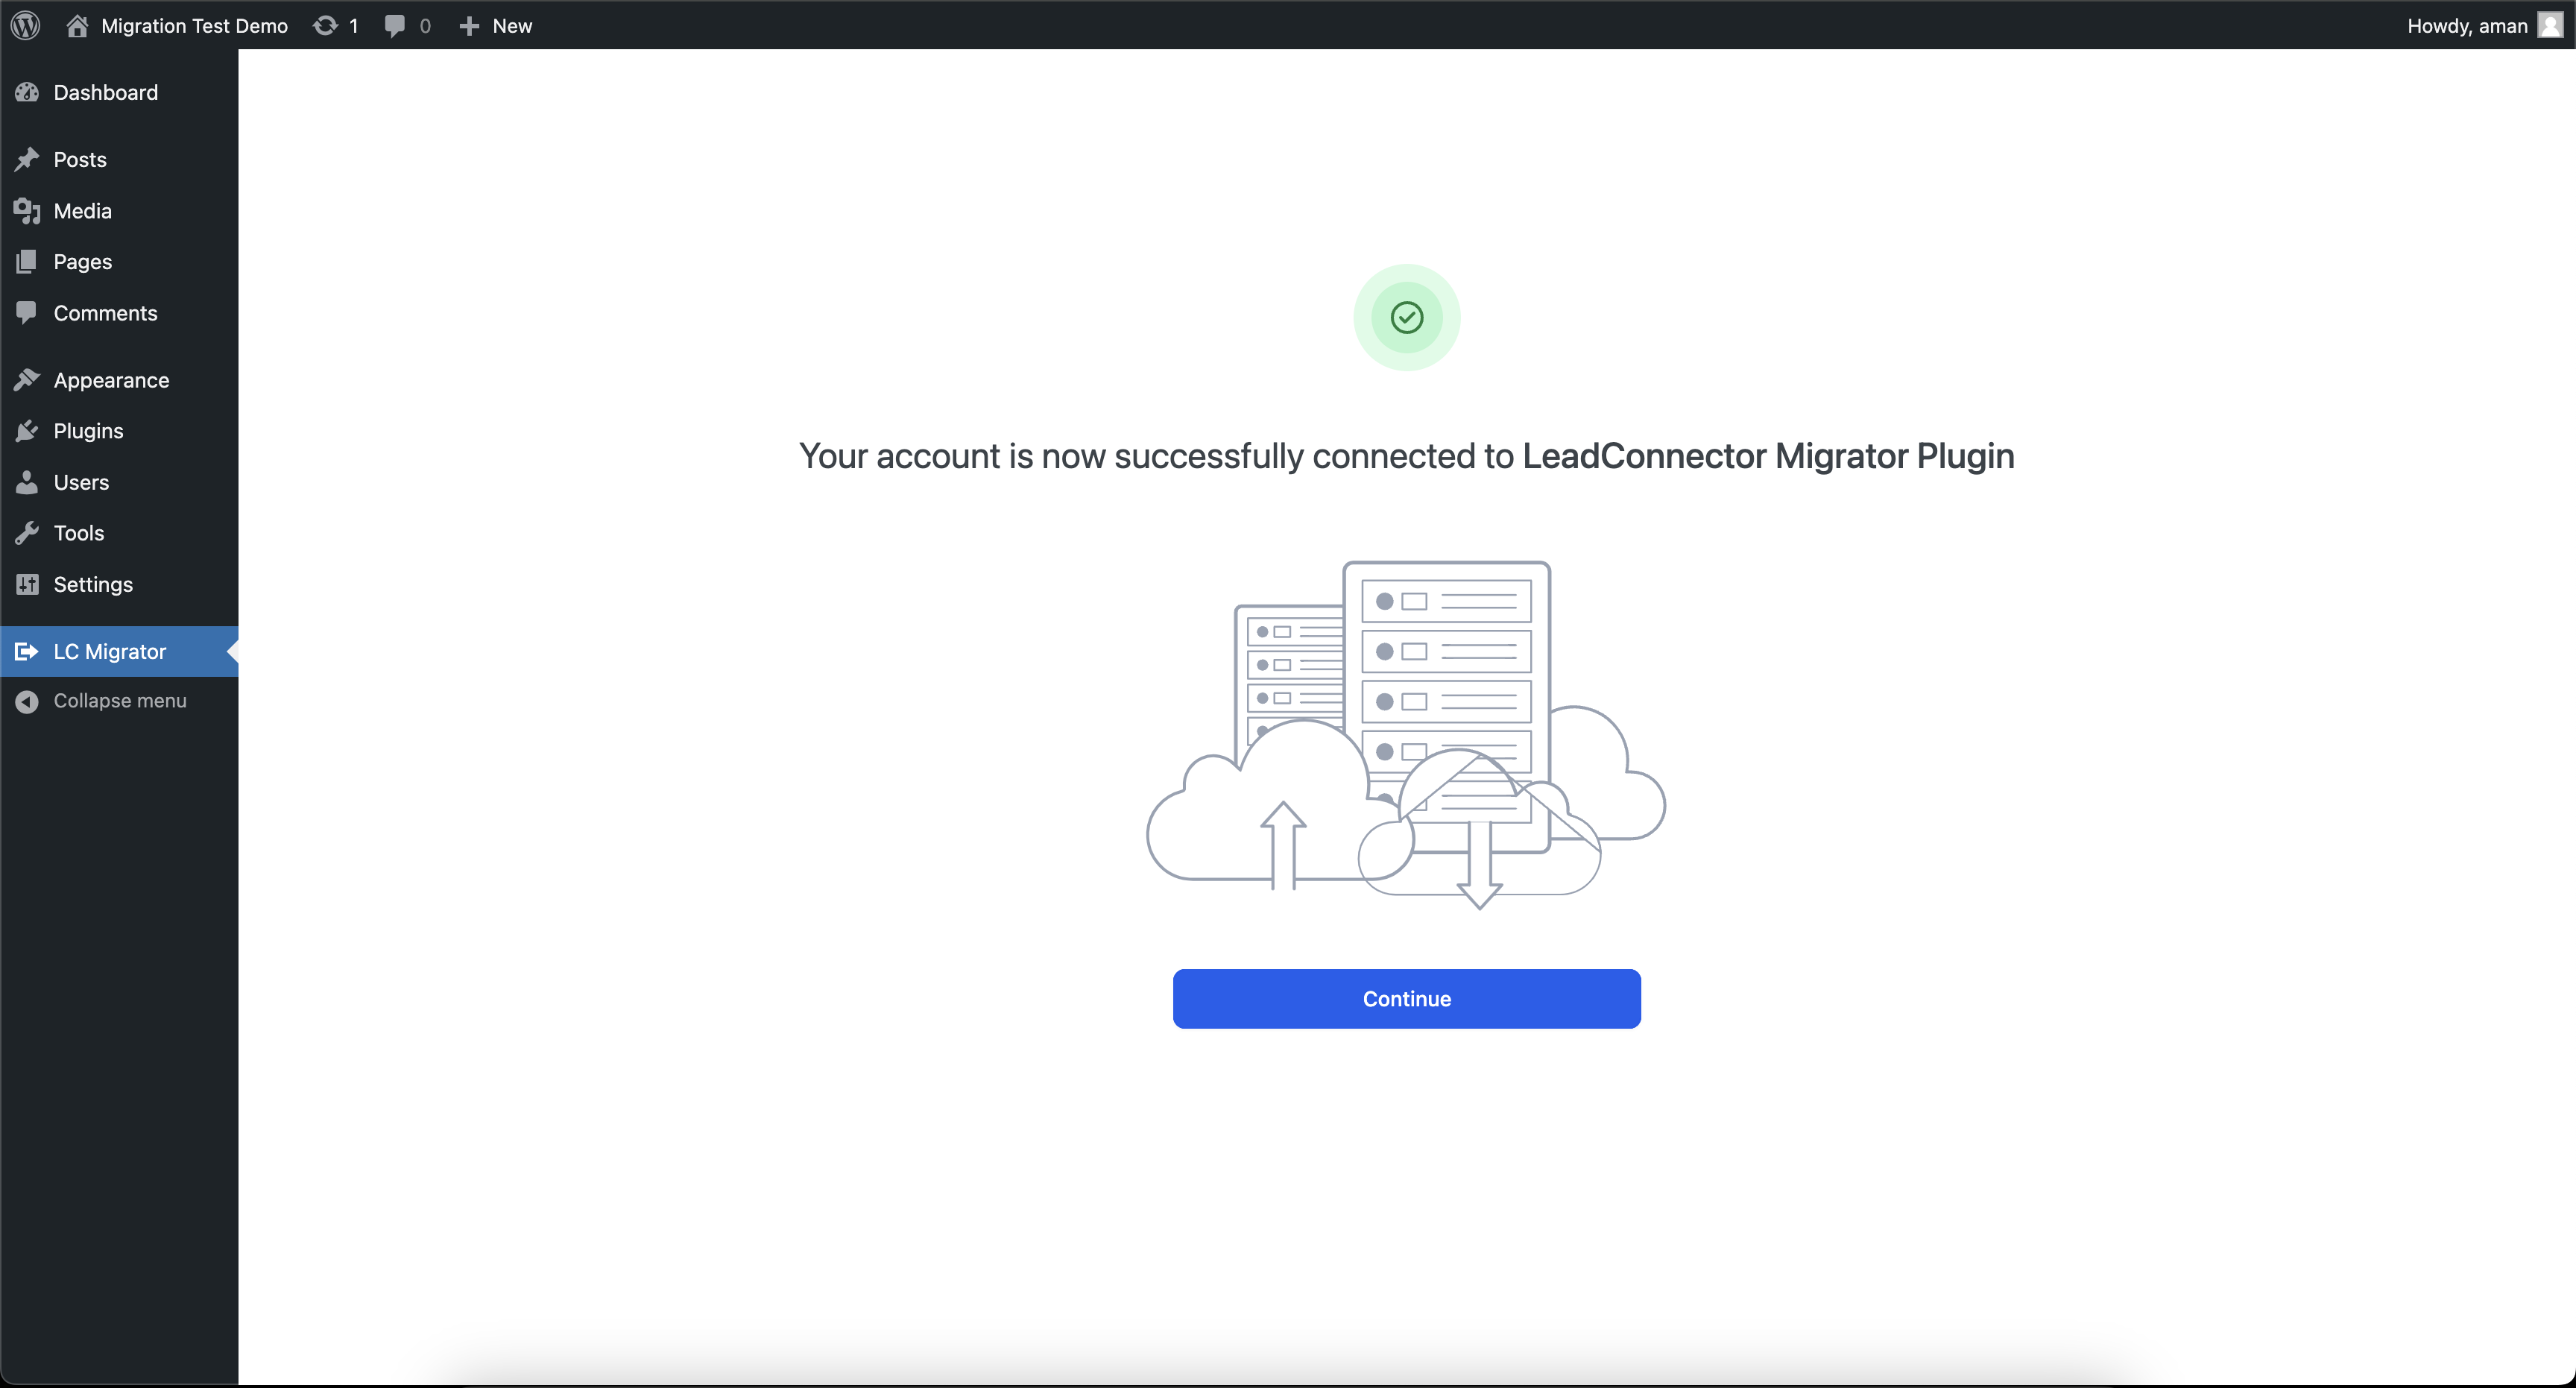
- Return to the HighLevel migration workflow and log in when prompted.
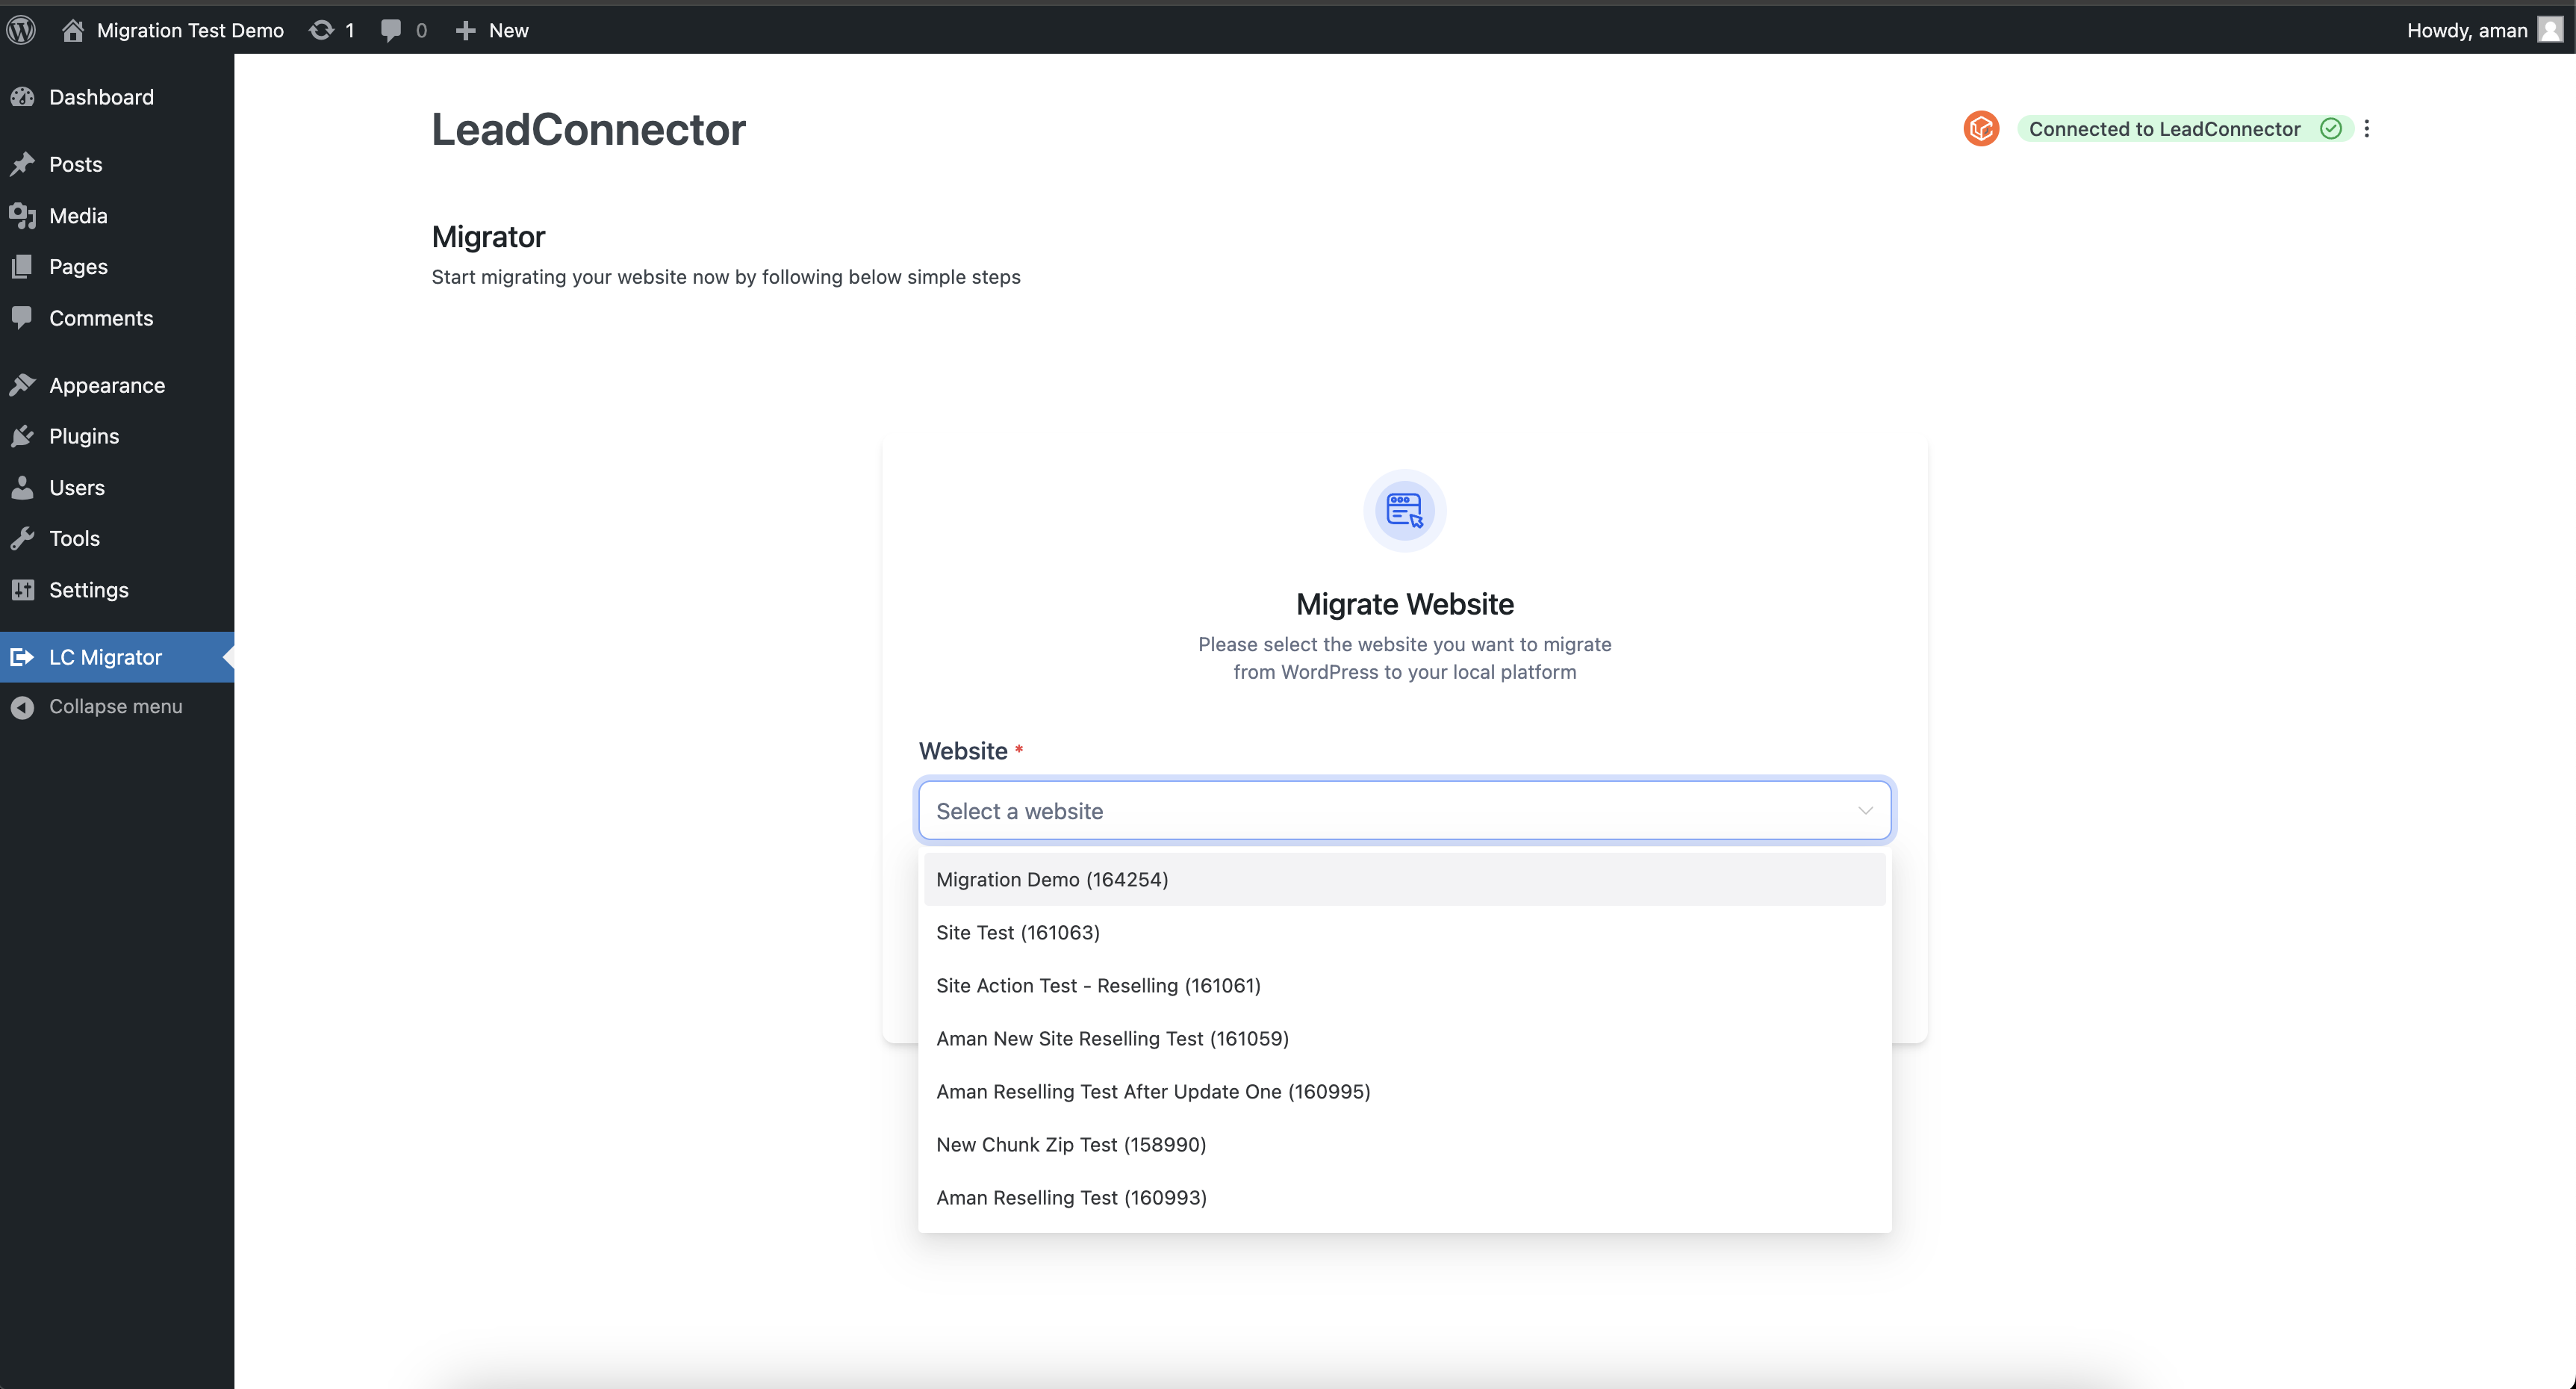
- Choose the destination WordPress site within HighLevel.
- Click the button to start the migration.
- Watch the progress bar until it signals completion.
- Open the View Your New Website link.
- Check pages, images, navigation and links on the migrated site.
- Test forms, plugins and any other important functionality.
- Keep the original site accessible until you have verified the migrated website; DNS changes are separate.
- Set up domain and SSL settings if required.
Request white glove migration
- Install and activate LC Migrator on the source WordPress site.
- Open the LC Migrator interface inside WordPress.
- Click the option to generate a secure access link.
- Select how long the link should stay active and confirm.
- In HighLevel go to Sites > WordPress and start a new migration, choosing White Glove Migration.
- Fill out the request form and paste the secure access link.
- Submit the migration request to HighLevel.
- Watch the migration status in the WordPress Hosting dashboard.
- When the migration finishes, review the new site for accuracy.
- Revoke the secure access link once the migration is complete.
07What it looks like in HighLevel
08Settings that matter
- Generate secure access link. Creates a temporary, revocable URL that lets HighLevel migration specialists access the source WordPress site without needing the admin password.
09Things to know before you rely on it
- The plugin does not impose its own file size limit; the storage limits of the chosen HighLevel hosting plan still apply.
- A secure access link can be valid for a minimum of 24 hours up to a maximum of 7 days, with a default of 3 days. Links created on Friday through Sunday must be at least 4 days long.
- Only one secure access link can be active at a time; creating a new link automatically disables the previous one.
10If something goes wrong
- Migration fails. View the failure alerts and logs in the WordPress Hosting dashboard; contact HighLevel Support for additional help.
11How it connects to the rest of HighLevel
- Guide to creating and managing WordPress sites in HighLevel WordPress site setup
- How to activate a WordPress hosting plan Activate hosting
- HighLevel pricing and plans overview Pricing
Michael's take

Moving a client’s WordPress site without downtime can feel like juggling plates. LC Migrator lets you drop the manual backup steps and keep the live site running while the copy lands on HighLevel.
The first setting I would get right is the secure access link duration. Setting a comfortable window helps ensure the migration team can reach the source site without having to regenerate links.
I’d also double check the destination hosting plan’s storage limits before kicking off a big site.