

In this video Michael Reimer walks through GoHighLevel Restaurants screen by screen: a menu built from a photo, online orders for pickup and delivery, table QR codes and reservations seated on a real floor plan. It is for agencies setting up a restaurant client and for owners who juggle separate tools today.
Michael starts with how a restaurant owner runs things now. There is one tool for reservations and another for online orders. The menu lives in a PDF nobody has updated since spring. The marketing sits somewhere else again. Restaurants pulls all of that into one subaccount, and he goes through it slowly enough to follow along.
How do you turn a HighLevel subaccount into a restaurant account?
It starts before you open the account. When you create a new subaccount, HighLevel asks whether to start from an industry or from a snapshot. Choose restaurant and the workspace is built around how a restaurant runs. The industry gets picked when the account is created, so make that call up front for every restaurant client.
Restaurants then sits in the left menu with six areas: overview, menu, restaurant orders, reservations, the restaurant website and restaurant settings. The overview opens on a setup checklist with six steps. Business comes first, with details and payments. Ordering is next, with the menu plus pickup and delivery. Reservations come last, with the floor layout and reservation settings. Follow it top to bottom, because every step unlocks the one after it.
What goes into restaurant details, hours and payments?
Restaurant details opens on the brand: business name, logo and a brand color that shows up on every button and link guests see. A phone on the right is a live preview of the website guests will order from, and it changes as you change the color.
Under the brand you set the location, the phone number and the store hours. Get the hours right the first time, because pickup, delivery and reservations can all follow them. Payments is the second step, and Michael always does it early. Online orders need it, reservation deposits need it, and the website cannot go live until a provider is connected. The guide to connecting Stripe covers one common provider.
How do you build the menu from a photo?
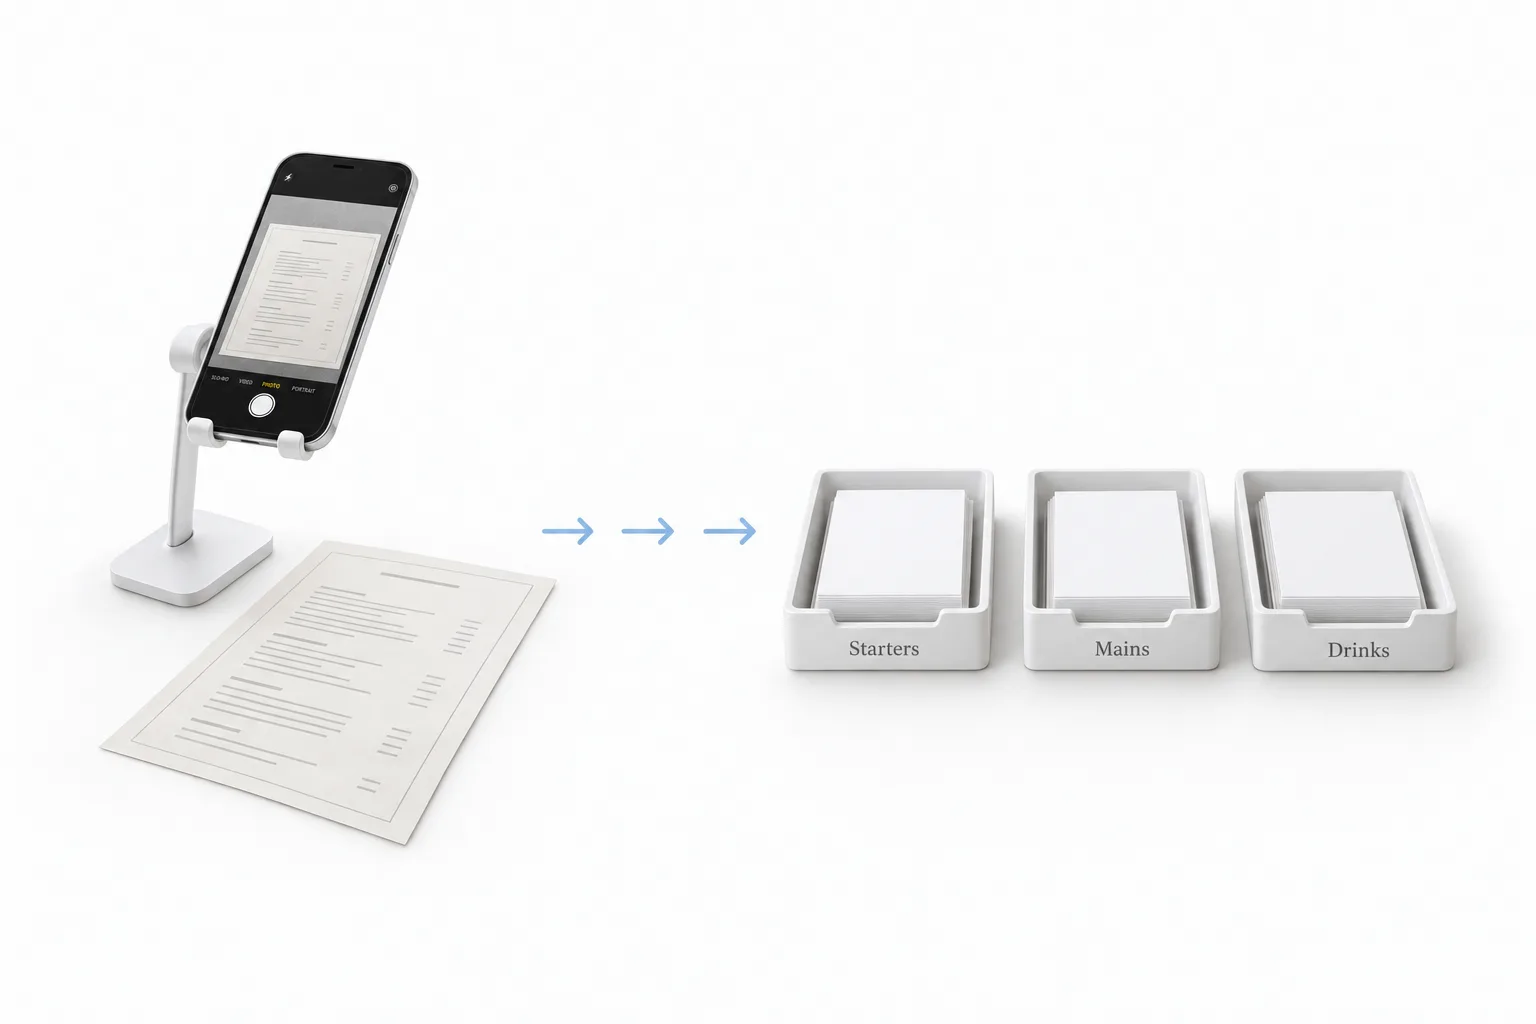
There are three ways to build the menu. Upload it as a photo, a PDF or a spreadsheet. Paste the link to the menu page on their website. Or add items one at a time. Michael uploads every time. Snap a photo of the printed menu right off the table, and HighLevel turns it into categories and items for you to check. Check is the important word. The AI does the typing, but you still own every price, so read the whole thing before you save.
Every category has a setting called Sold on, where you choose dine in, pickup or delivery. An item that is not sold on a channel does not show up there, so a family tray can be pickup only and the cocktails can stay dine in only. Modifier groups are the choices that hang off an item, such as picking a side. He says not to skip them.
How do pickup, delivery and dine in work?
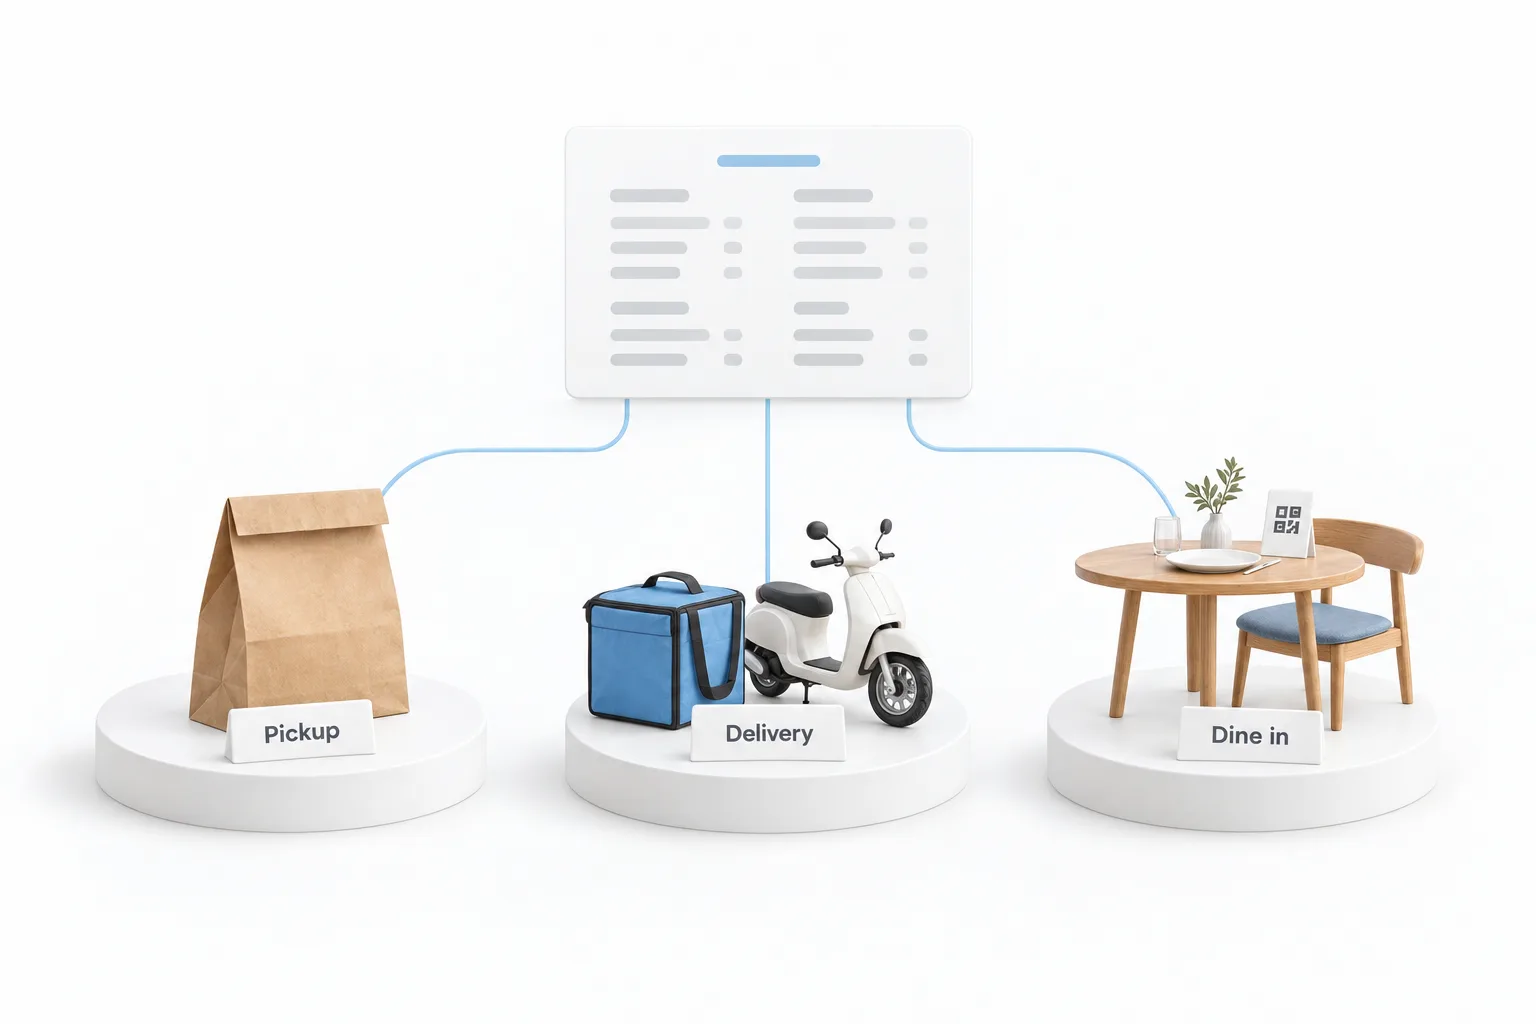
Pickup and delivery starts with prep time, which is how long the kitchen usually needs. Guests get a ready time based on it, and the team can change it on any order. Pickup can use the store hours, take scheduled orders for later the same day and carry a pickup markup in percent.
Delivery here means the restaurant's own staff take the order to the guest. You charge by distance bands, a set fee for each range, or per mile, measured from the restaurant's address. Guests cannot order delivery until there is at least one delivery area. There is a delivery markup too, and Michael says to have that conversation with the owner before going live.
For dine in, guests scan the code on their table to see the menu, and the team takes the order. The code can open your menu, a menu PDF or a link to another site. He picks the built menu every time, because a PDF goes stale the day prices change. The website is where it all comes together for the guest: the menu, ordering and booking a table. Before it can publish it checks three things, the restaurant details, payments and the menu.
How do reservations avoid double booking?
Reservations are built on a real floor plan. In Floor layout you start with an area, add tables with a name, seats and shape, then click Edit with canvas to draw the room with walls, dividers and labels. Every reservation and every walk in gets seated at one of those tables, so a booking can never land on a table that does not exist. The floor plan video goes table by table.
In the reservation settings, online booking lets guests book from the website. A deposit is an amount the guest pays up front to hold a table, and it comes off the final bill. Michael would turn deposits on for Friday and Saturday nights. Table times are his favorite setting: bigger parties stay longer, so each party size keeps its table for its own length of time. In the video, one or two guests get an hour and a half and five or six get two and a half hours. Add the time between reservations for resetting a table, and the calendar only offers a time when a table that fits the party is free.
What do the host and the kitchen see during service?
Front of house shows the live floor with every table colored by status, who is arriving today and who is already seated.
Restaurant orders is the kitchen side, where pickup, delivery and dine in orders land. The setting that matters most is the order alert, in the restaurant settings under internal notifications. Every new order plays a sound and pops up on the screen until someone accepts it. The overview is the owner's screen, with net sales before tax and tips, orders, tips, reservations and every item ranked by how many were sold.
How do you set up HighLevel Restaurants for a client?
Michael's advice from the video, as a setup order.
- Choose the industry. Pick restaurant when you create the subaccount, because the industry is chosen at creation.
- Follow the checklist. Work from top to bottom, since each step unlocks the next one.
- Connect payments early. Online orders, reservation deposits and the website depend on a payment provider.
- Upload the menu. Use a photo of the printed menu, then check every category, item and price before saving.
- Set channels and modifiers. Choose where each category is sold and add modifier groups, so items only appear where they are offered.
- Draw the room. Build the dining room on the floor layout canvas and set table times by party size.
- Turn on the order alert. New orders keep ringing until someone accepts them.
What changes when the restaurant runs inside GoHighLevel?
Until now, an agency ran a restaurant's marketing while the real business lived somewhere else. With Restaurants, the menu, the orders and the tables sit in the same account as the contacts. Review requests and automations run on real guests. In Michael's words, you stop being the marketing vendor and become the system the restaurant runs on.
For the owner, the overview shows what sold best and least, which tells them what to promote next. The HighLevel for restaurants guide covers the marketing that sits on top.
To follow the setup checklist in your own account, start a GoHighLevel 30 day trial through Michael's link. If you are comparing restaurant platforms, see the best HighLevel alternatives first.