
01Who this is for
- Founders who serve multilingual customers, because a unified default language improves the first impression for all portal visitors.
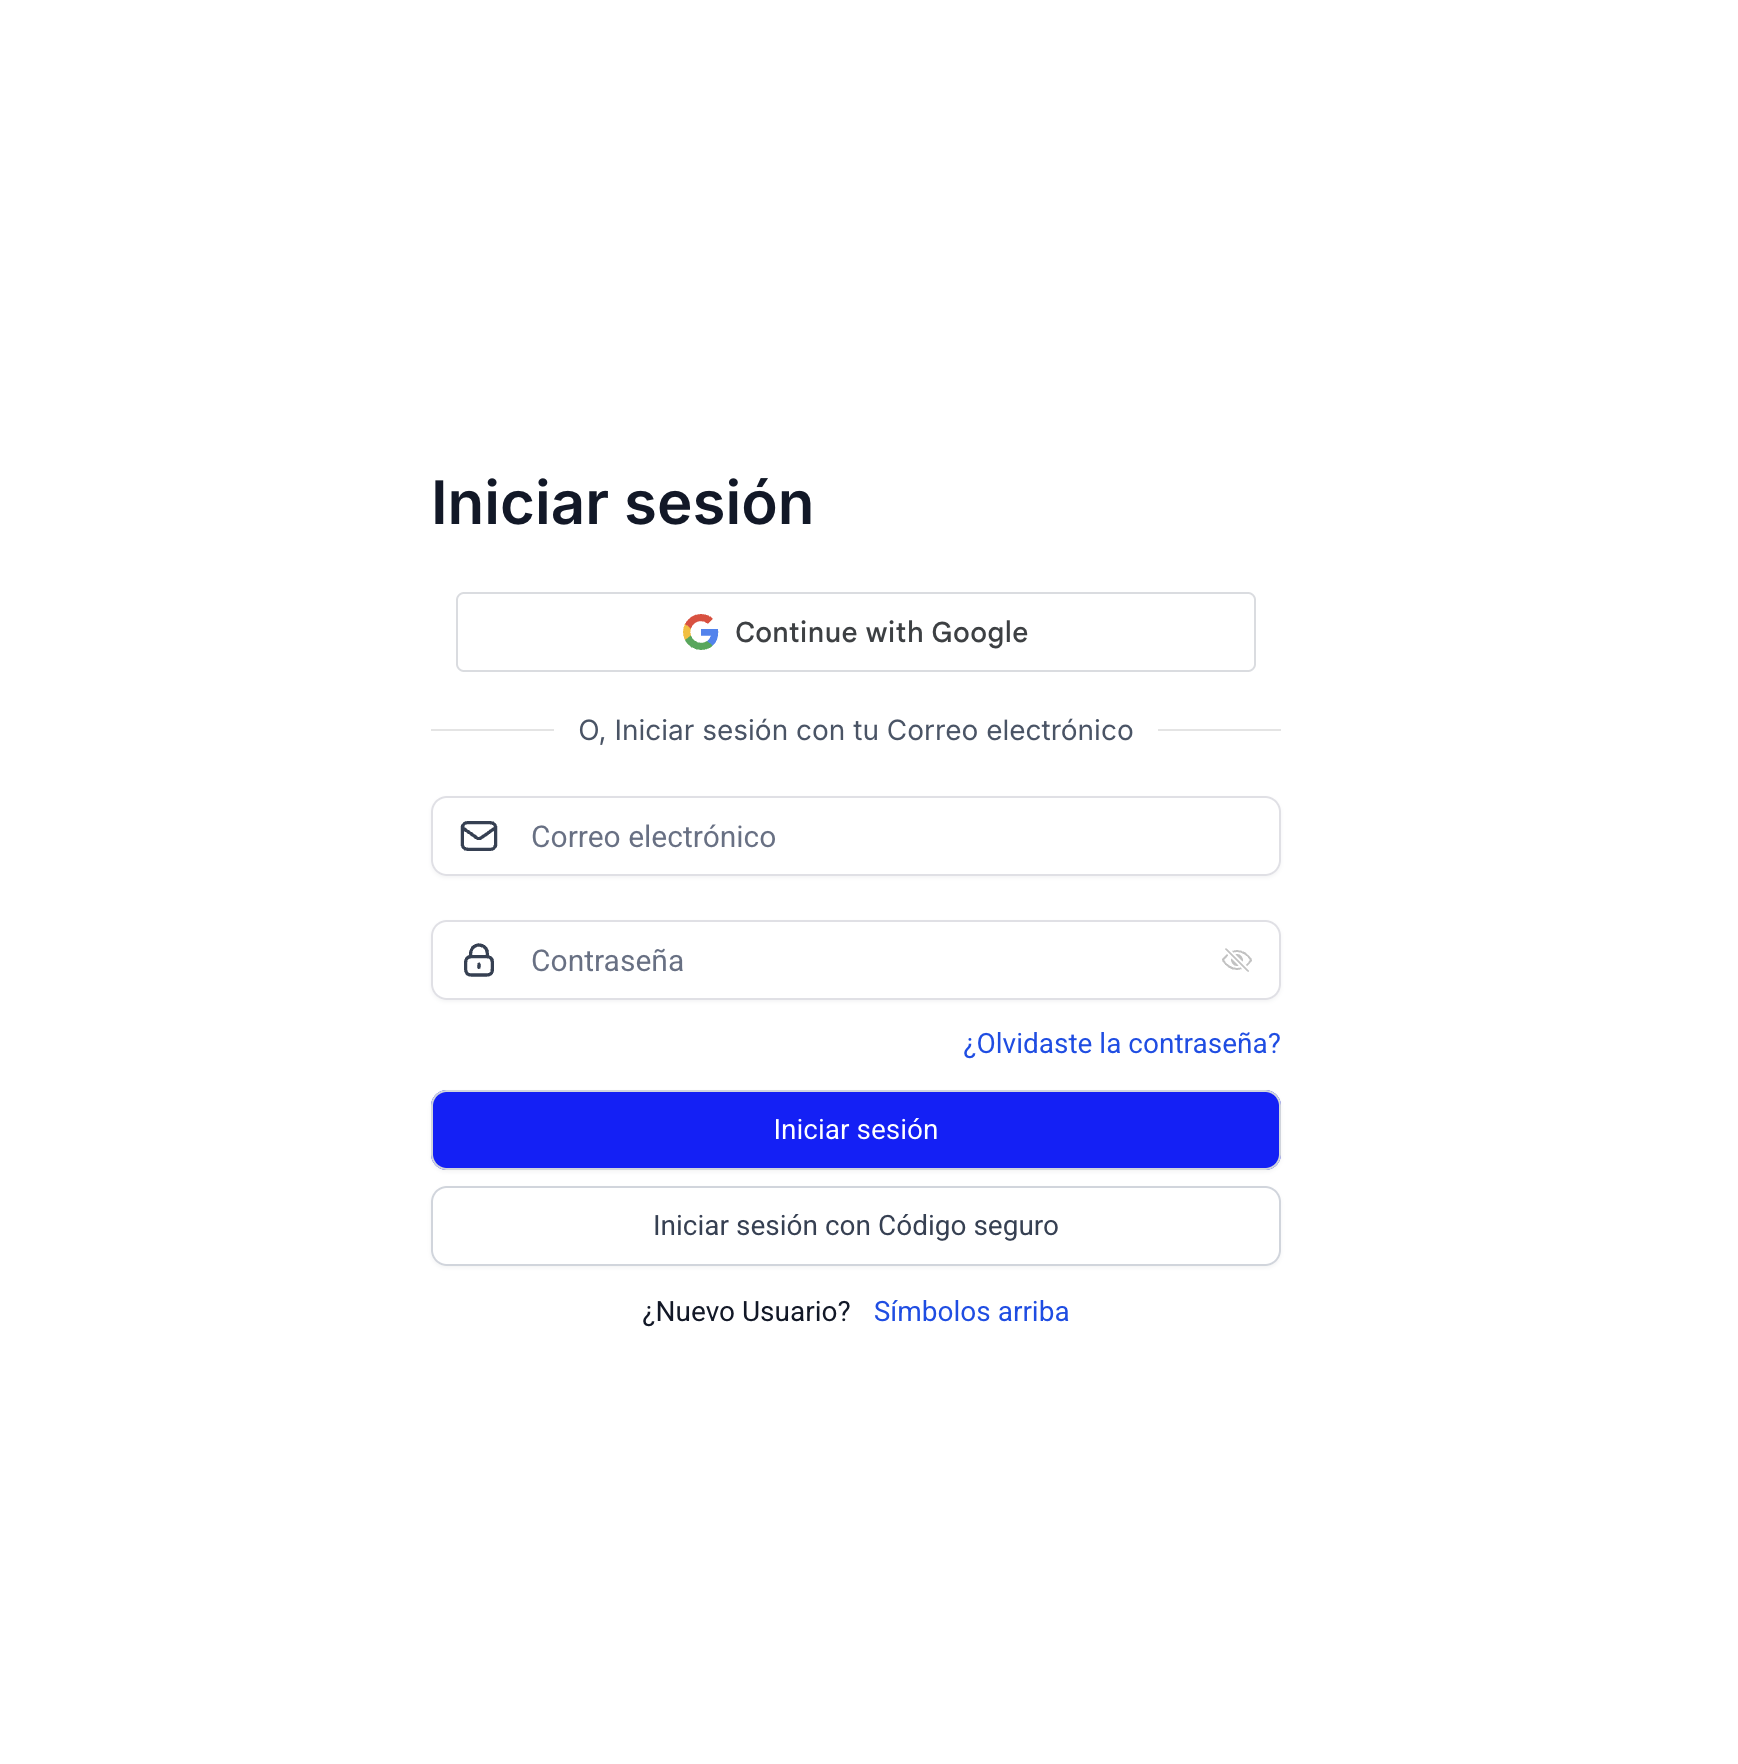
- Portal administrators, as they can set a single language that appears on the login screen for every user.
- Clients who prefer to work in their native language, allowing them to adjust the display on both web and mobile.
02Language internationalization, explained
The feature adds a language selector to the client portal and its companion mobile app. It works on both platforms and offers twelve language options. Admins choose a default language that all users see until they decide to change it themselves. Users can override the default from their personal account settings in either the web portal or the mobile application. When no language is selected at any level, the system falls back to English.
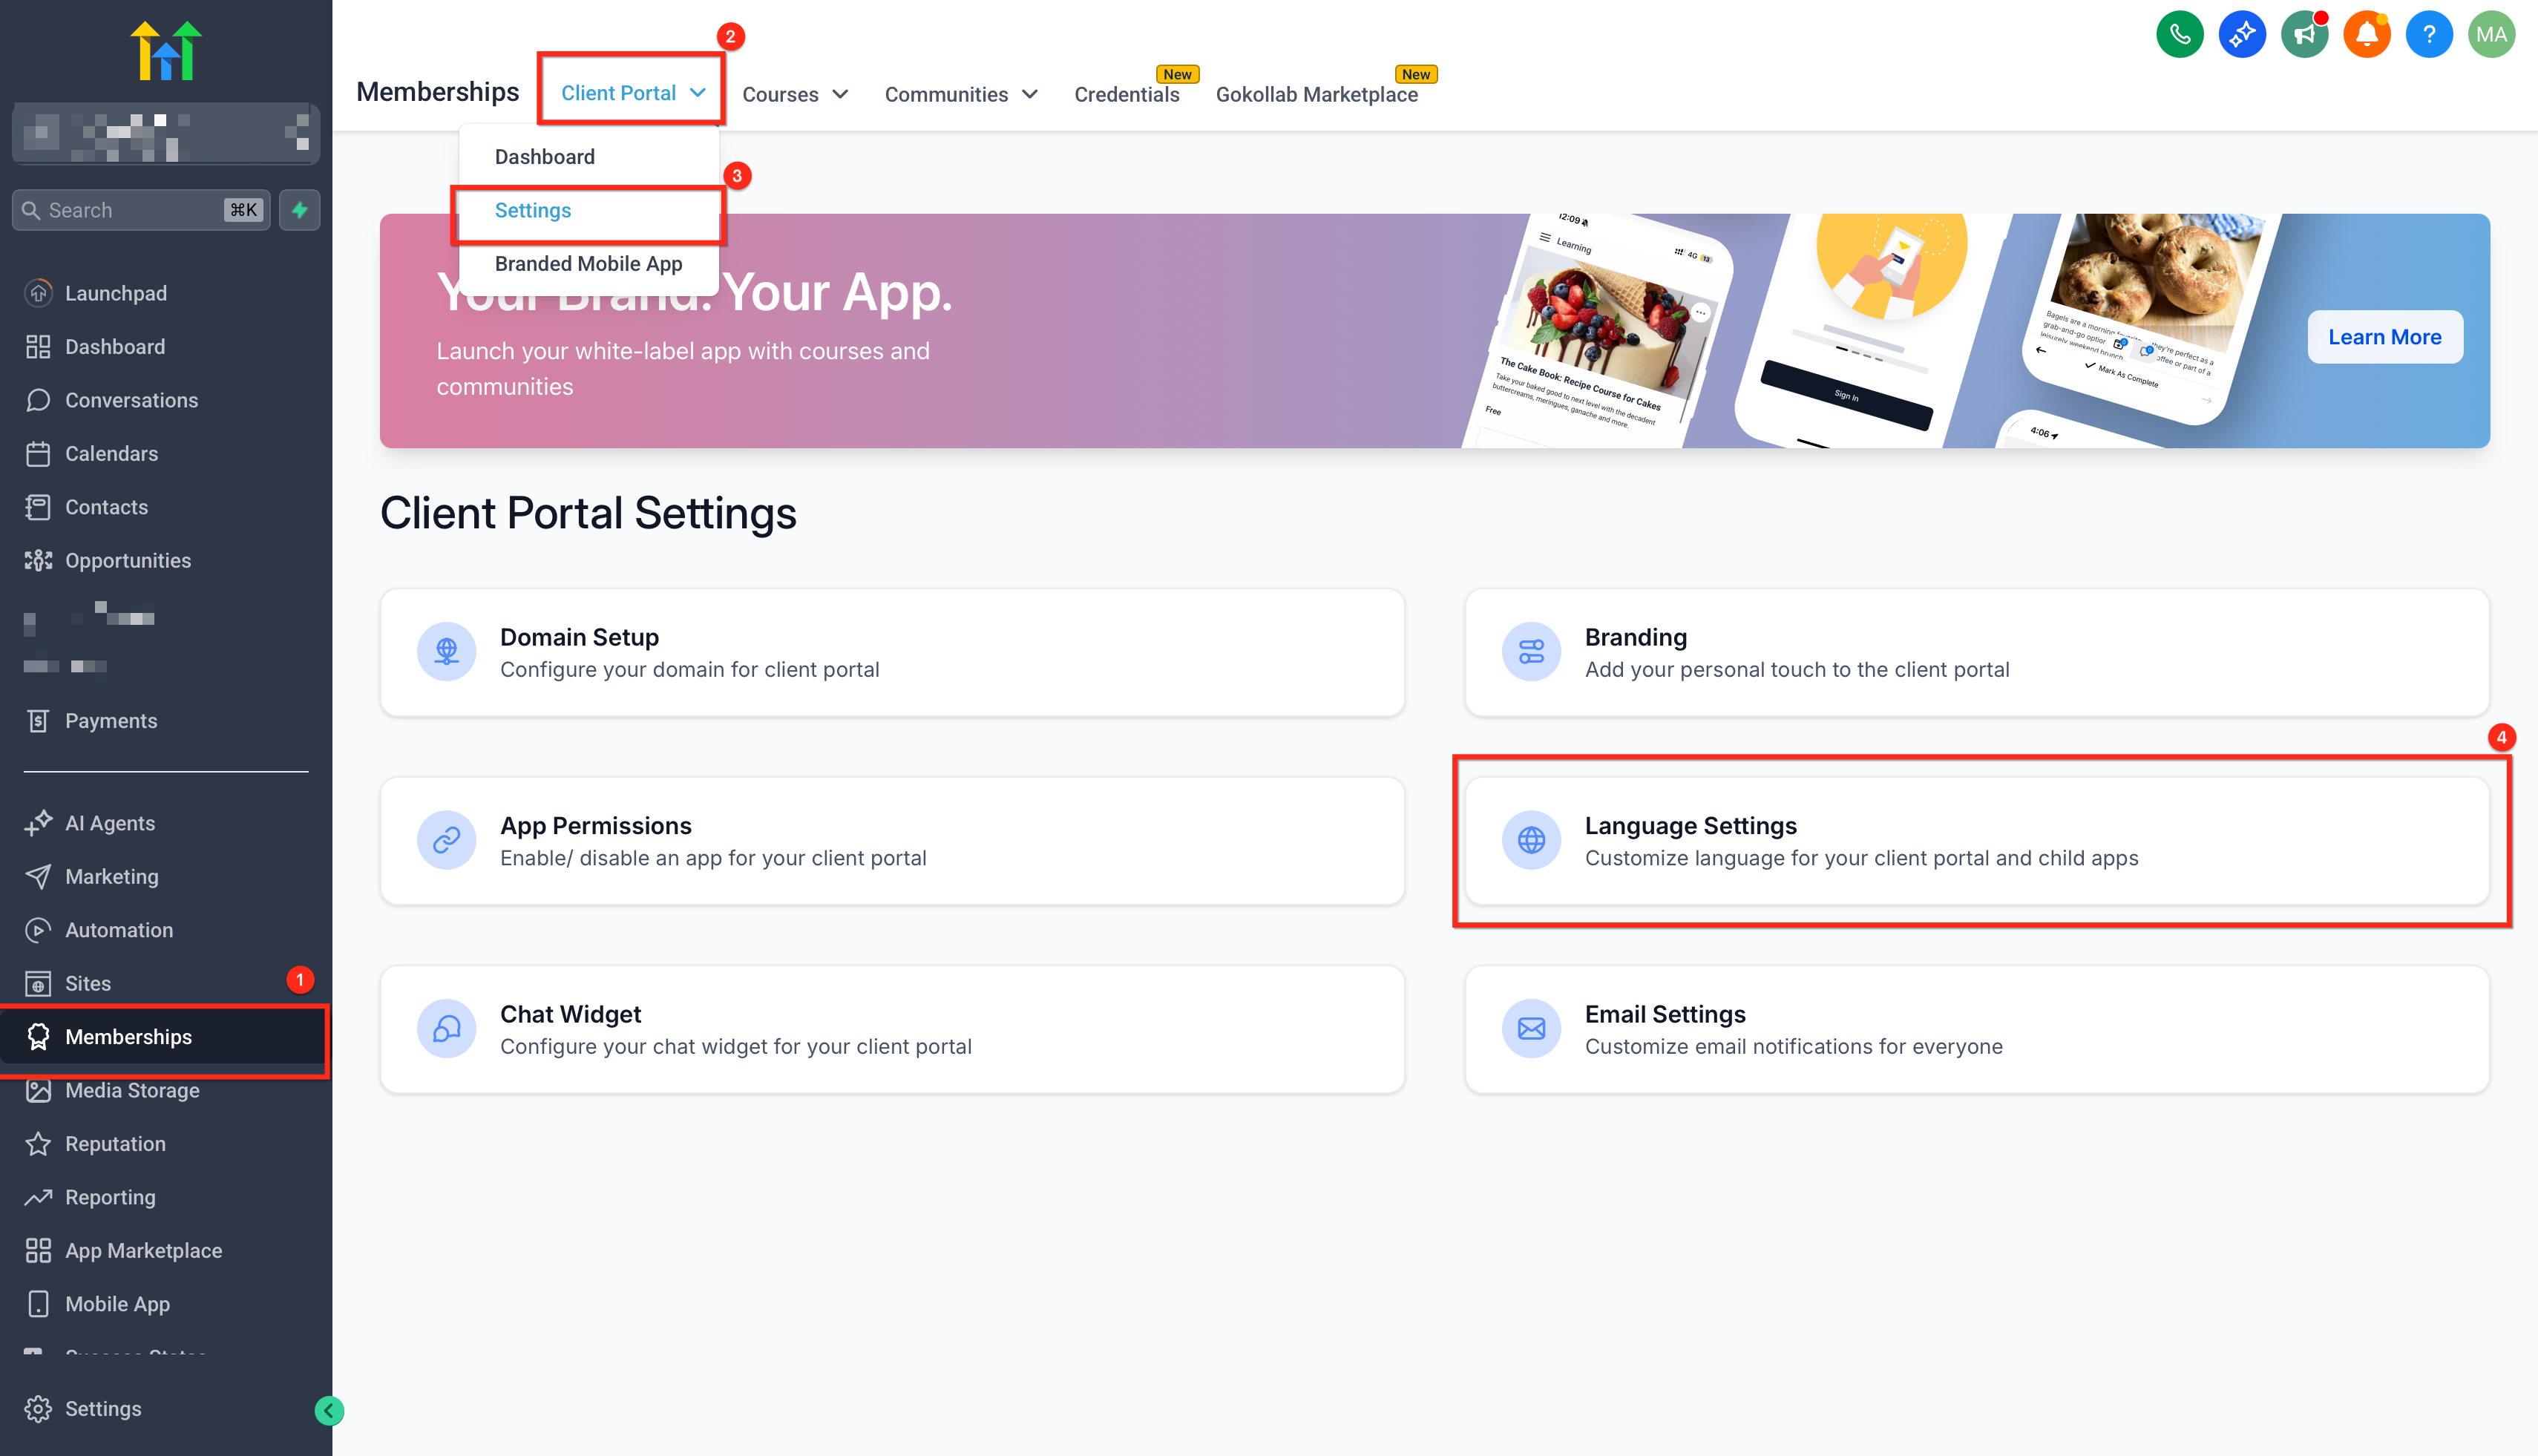
The language controls are found under Memberships > ClientPortal > Settings > Language Settings for admins. Individual users find the same option under Manage your Account on the web or inside Settings on the mobile app. Changes are saved right away and remain specific to the user who made them.
03How businesses use language internationalization
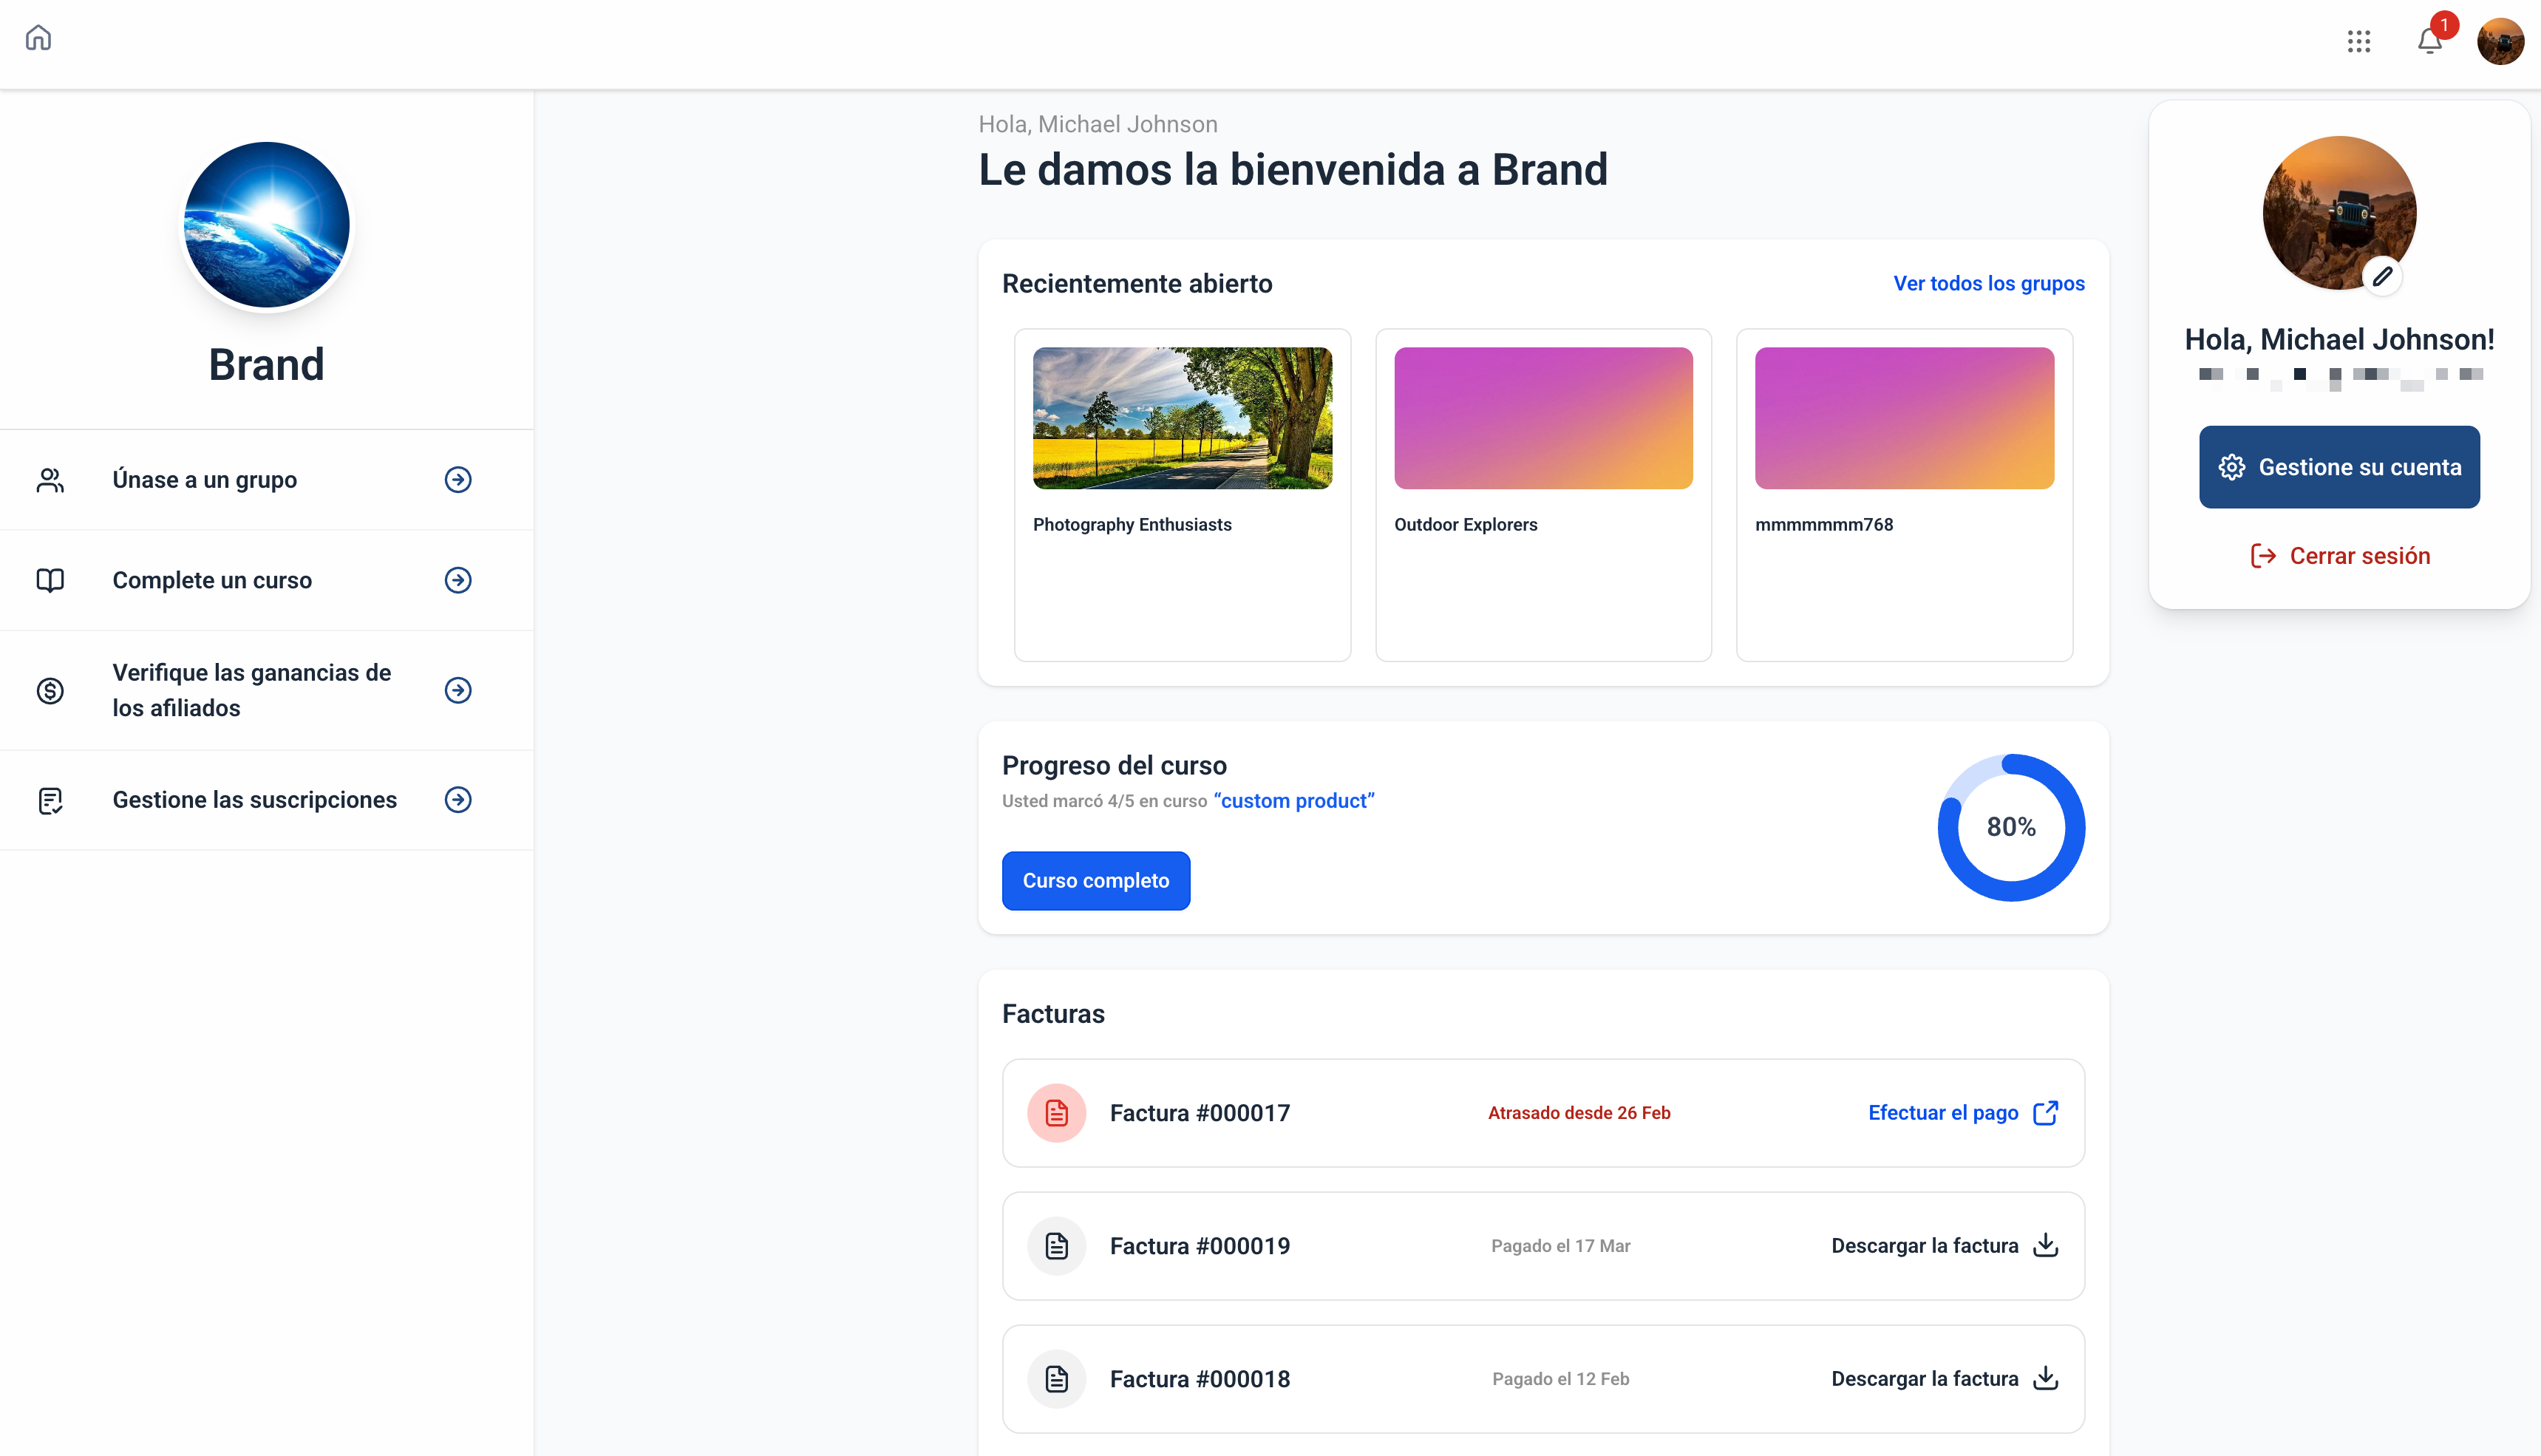
- SaaS startup. The Founder sets English as the default language for the portal, then a Spanish speaking prospect logs in, opens Manage your Account, selects Spanish, and continues using the portal in their native language.
- Language school. The school admin chooses French (France) as the default so new students see the portal in French. A student who prefers German opens the mobile app, goes to Settings, selects German, and saves the change.
- International consulting firm. Consultants set Portuguese (Brazil) as the default for all client logins. A client traveling in Norway opens the web portal, clicks their logo, accesses Manage your Account, switches to Norwegian, and the interface updates immediately.
04The numbers and rules that matter
- Supports 12 languages across multiple global regions.
05How to set up and use language internationalization in HighLevel
Set a default language (admin)
- Navigate to Memberships > ClientPortal > Settings > Language Settings.
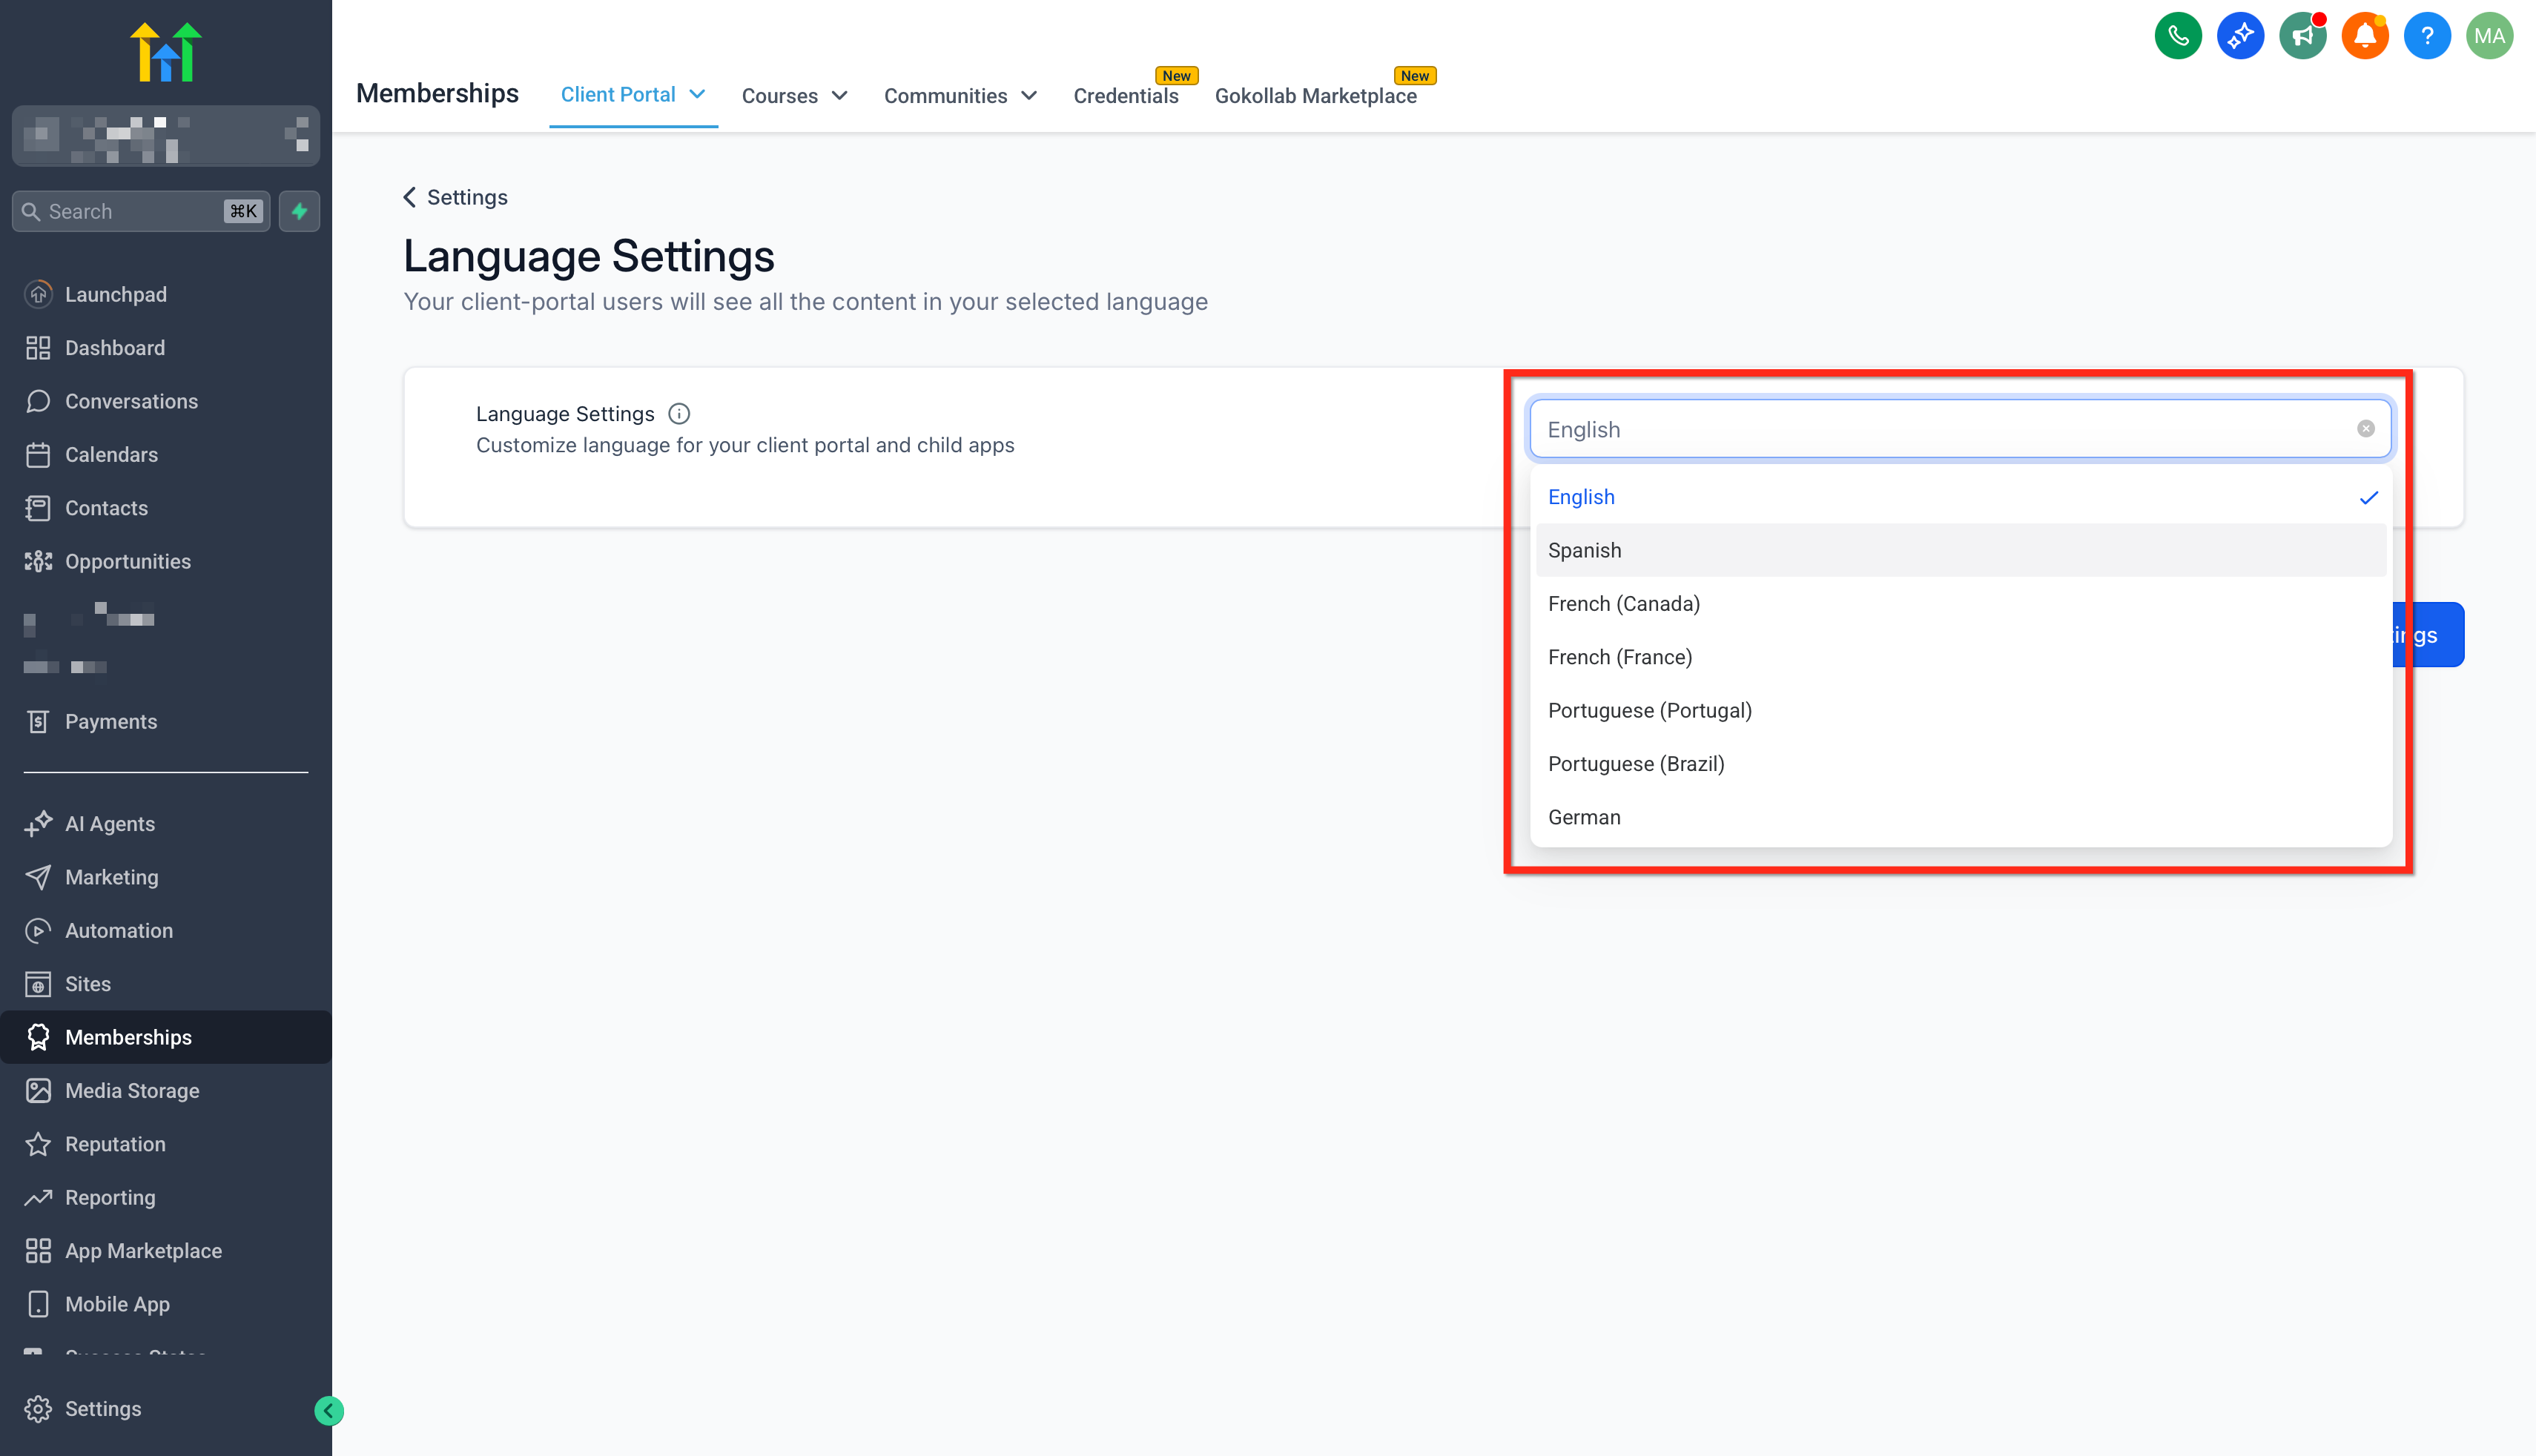
- Pick the desired language from the list.
- Click Save to confirm the selection.
Change language on the web (users/clients)
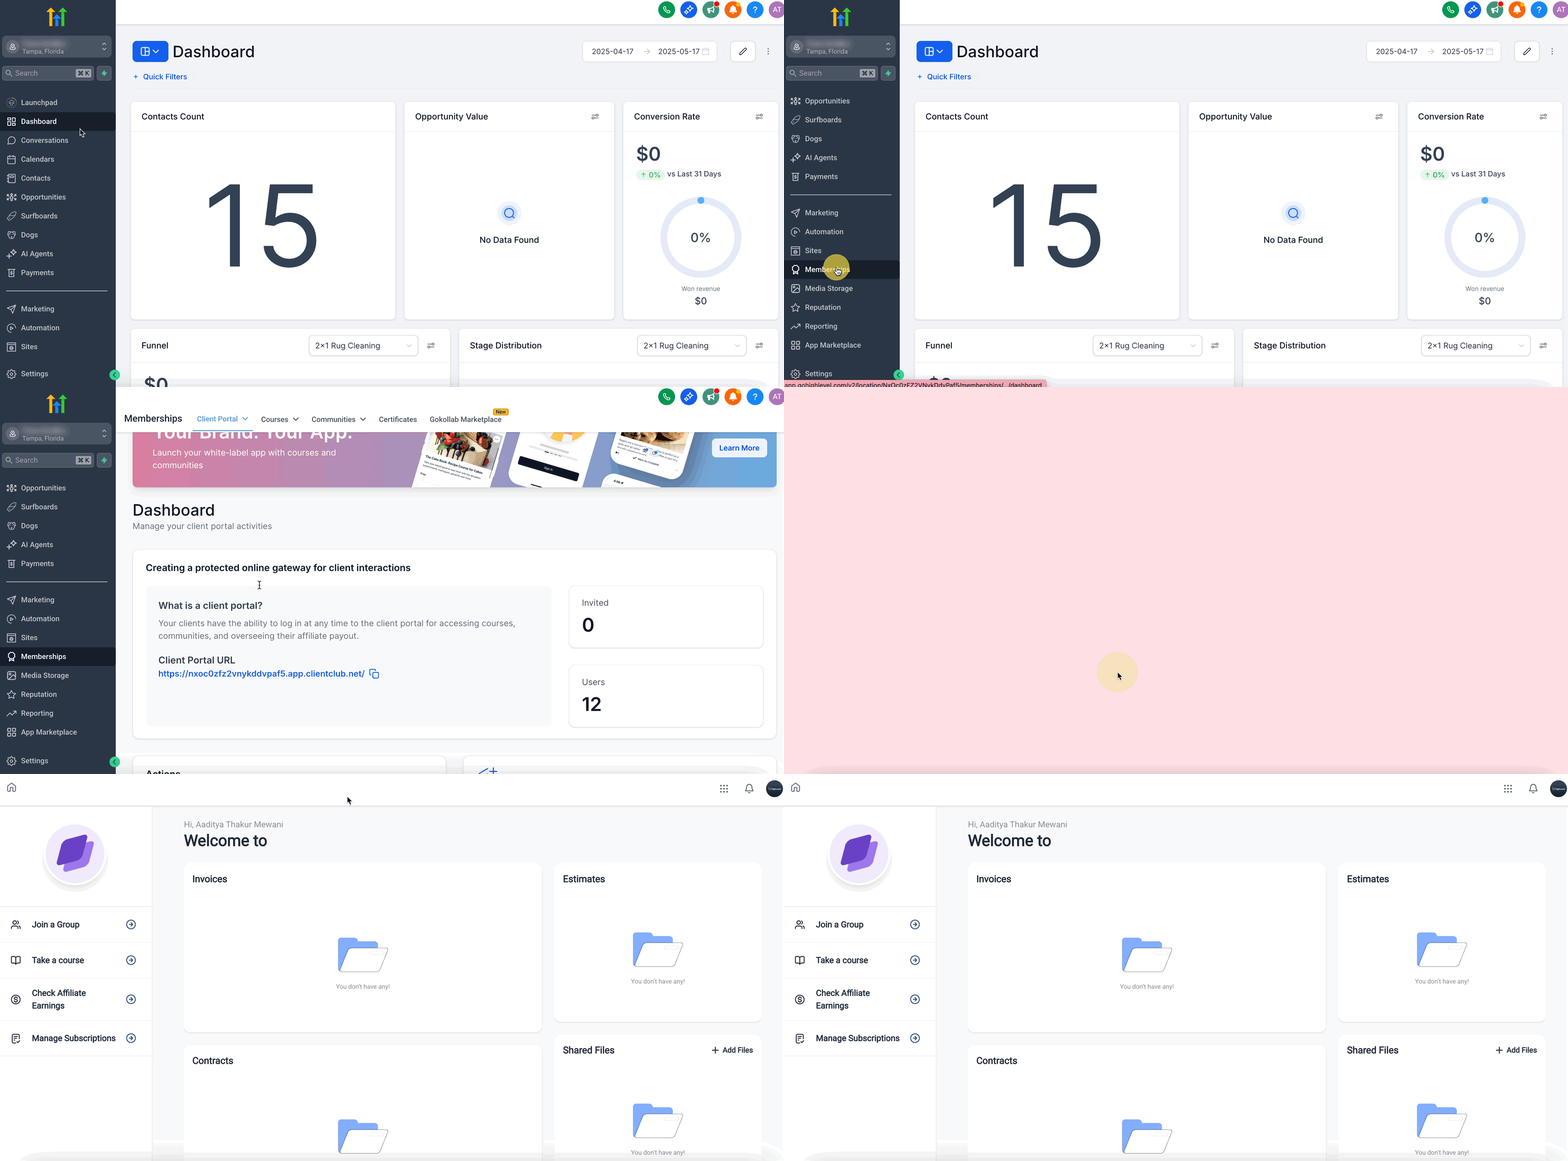
- Log in to the Client Portal via the portal URL or through Memberships > Client Portal.
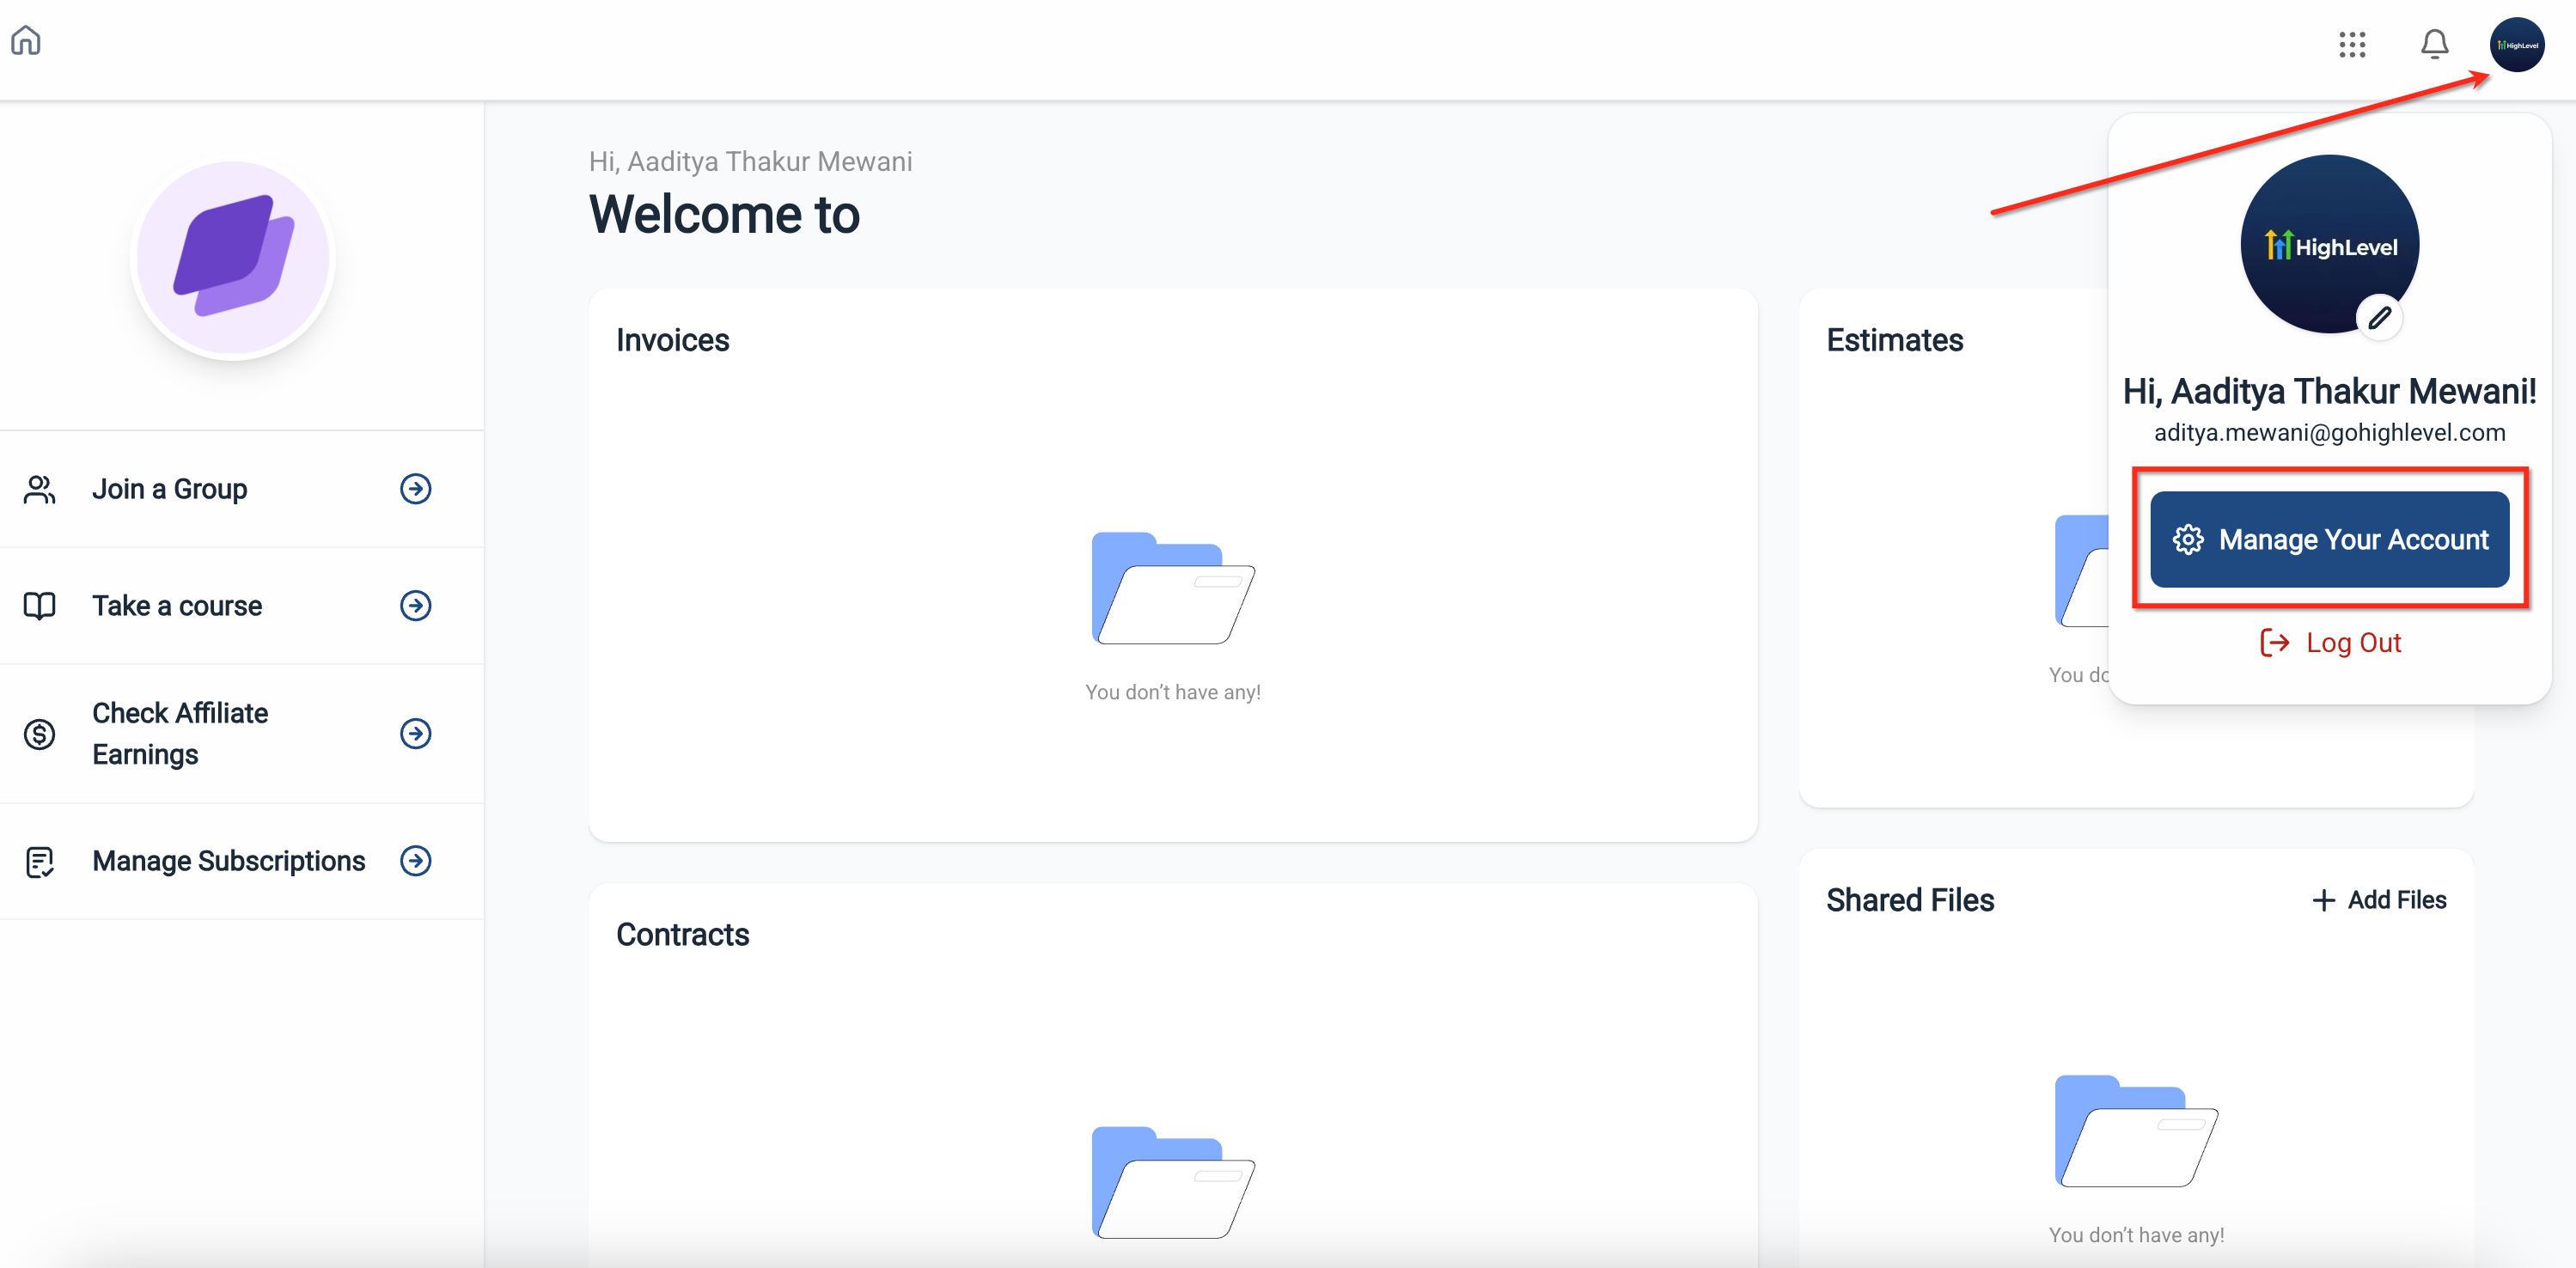
- Click your logo located at the top right of the screen.
- Choose Manage your Account from the dropdown menu.
- Open Language Settings and select a new language from the dropdown.
Change language on mobile app
- Tap Profile on the bottom navigation bar of the app.
- Enter Settings.
- Select Language Settings.
- Choose the preferred language from the displayed list.
- Tap Save to apply the change.
06What it looks like in HighLevel
07Settings that matter
- Language Settings. Controls which language the portal or app displays for the user or for all users when set by an admin.
08Things to know before you rely on it
- Twelve languages are currently supported across both web and mobile versions.
- If a translation is missing for a particular feature, the interface reverts to English.
- English is always used when no other language is chosen at the admin or user level.
09How it connects to the rest of HighLevel
- Overview of Internationalization features in HighLevel Internationalization overview
- Guide on configuring the platform language in HighLevel Configure platform language
- View pricing and plan options for HighLevel HighLevel pricing
Michael's take

I think the ability to offer the portal in several languages is valuable for international clients.
If most of your audience speaks English, you might decide that using the default English experience is sufficient.